
The DTF Glossary
Every direct-to-film word you’ll meet in a builder, on a heat press or in a supplier email — explained in plain English, with the numbers we actually print and press to. Bookmark it, search it, send it to your staff.
DTF Basics
The process, the film, the ink and the powder — what actually happens before a transfer reaches your press.
- DTF (Direct-to-Film)
- A printing method where artwork is printed onto a PET film, coated with hot-melt adhesive powder, cured and then heat-pressed onto fabric. It works on cotton, polyester, blends and dark garments without weeding or pretreatment. → What is a DTF transfer?
- DTF Transfer
- The finished, ready-to-press sheet: your design printed in CMYK plus white ink on film, powdered and cured. You place it on the garment, press, peel the film and the print stays behind.
- PET Film
- The clear or matte polyester carrier sheet the design is printed on. It holds ink and adhesive until pressing, then peels away. Film quality affects peel behavior and edge sharpness.
- DTF Ink
- Water-based pigment inks in cyan, magenta, yellow, black and white made for film printing. The white channel prints under the colors so artwork stays opaque on dark fabric.
- White Underbase
- The layer of white ink printed behind the color pixels of a transfer. It is generated automatically from your file's transparency, which is why a clean transparent background matters so much. → Why dark prints pop
- Hot-Melt Adhesive Powder
- Fine thermoplastic polyurethane (TPU) powder applied to the wet ink. When cured it becomes the glue layer; under the heat press it melts again and bonds the print to the fibers.
- Curing
- Heating the powdered film (typically in an oven or under a heat tunnel) so the adhesive melts into a smooth, dry layer. A properly cured transfer looks matte and feels slightly textured, never sticky.
- Substrate
- Whatever you press the transfer onto: a t-shirt, hoodie, tote, cap or, for UV DTF, a hard surface like a tumbler. Each substrate has its own heat, time and pressure window.
- RIP Software
- Raster Image Processor — the print-shop software that converts your file into printer instructions, builds the white underbase, manages color and controls ink density. It runs on our side, not yours.
- Gang Sheet
- One long sheet of film that carries many designs at once — different sizes, names or logos — so you pay for the length of film, not per design. The fuller the sheet, the lower the cost per print. → What is a gang sheet?
Ordering at Bear
Words you will see in the builder, in the cart and on your order confirmation.
- Gang Sheet Builder
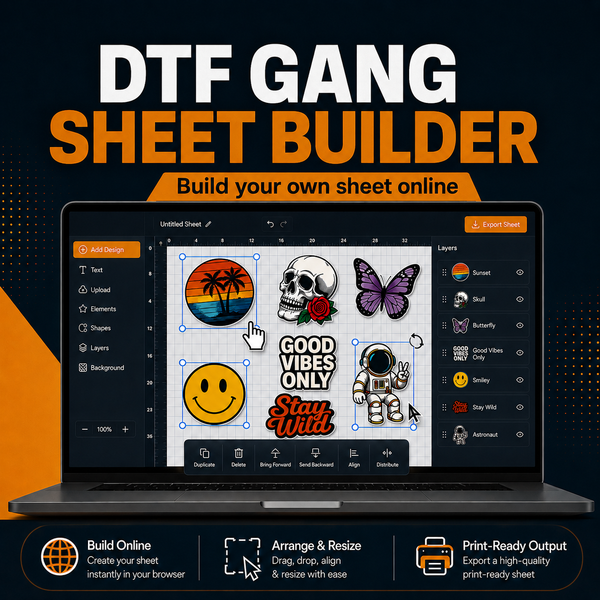
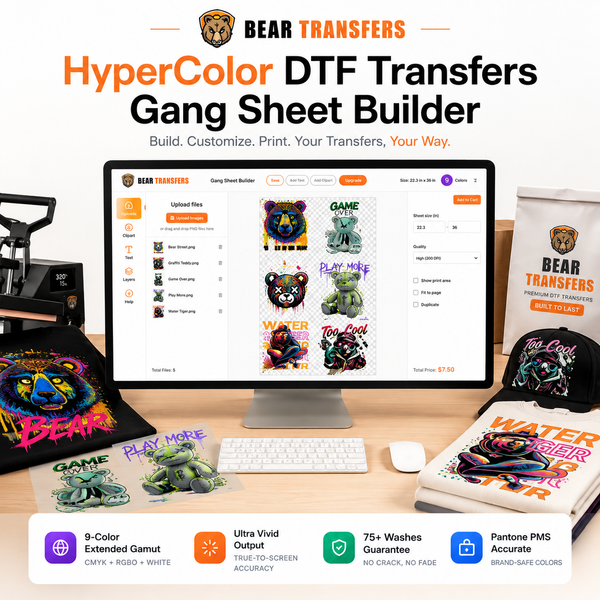
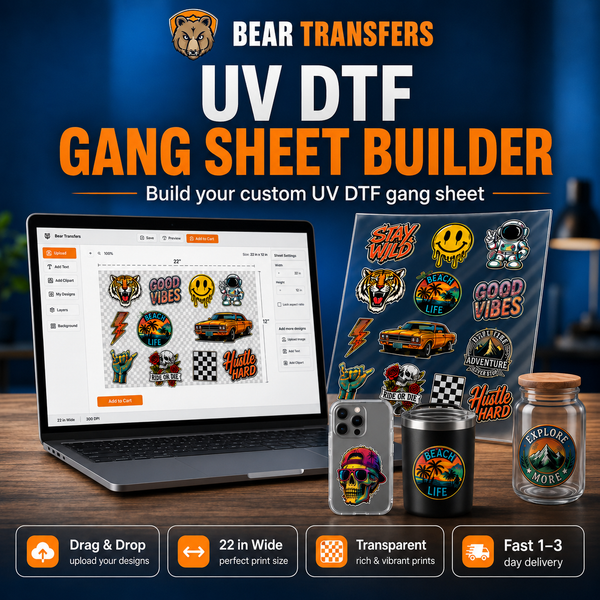
- Bear's free online tool for building a DTF gang sheet in the browser: upload artwork, resize, duplicate, rotate and auto-arrange on a 22.3-inch-wide sheet from 1 ft to 38 ft, then add it to cart. → Open the builder
- Upload Gang Sheet
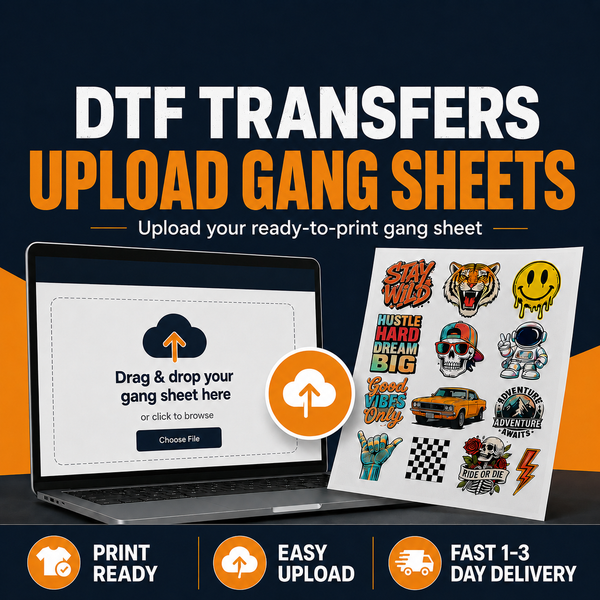
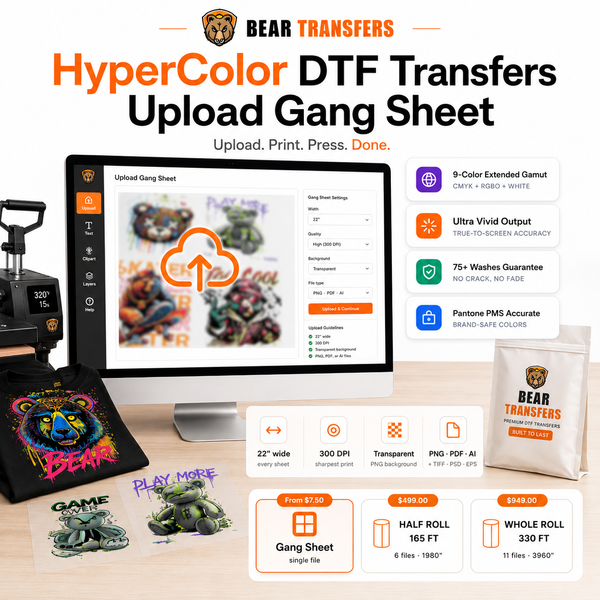
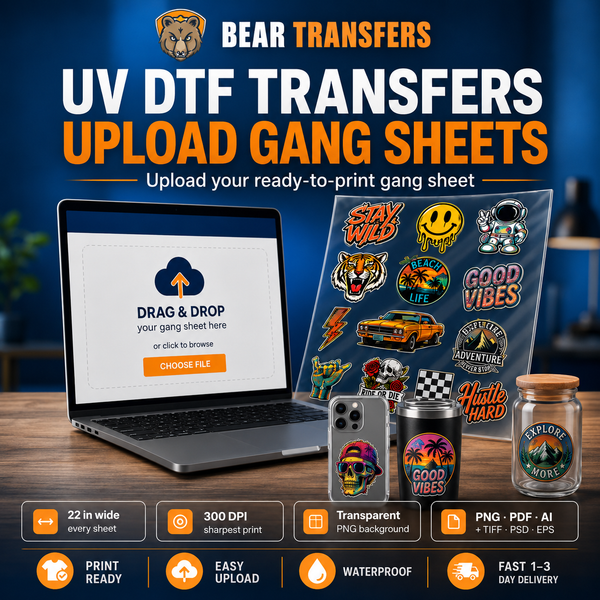
- The ordering path for customers who already have a finished, print-ready gang sheet file. Upload the PNG or PDF, we check its size and quality, and it prints exactly as built. → Upload a ready-made sheet
- DTF by Size
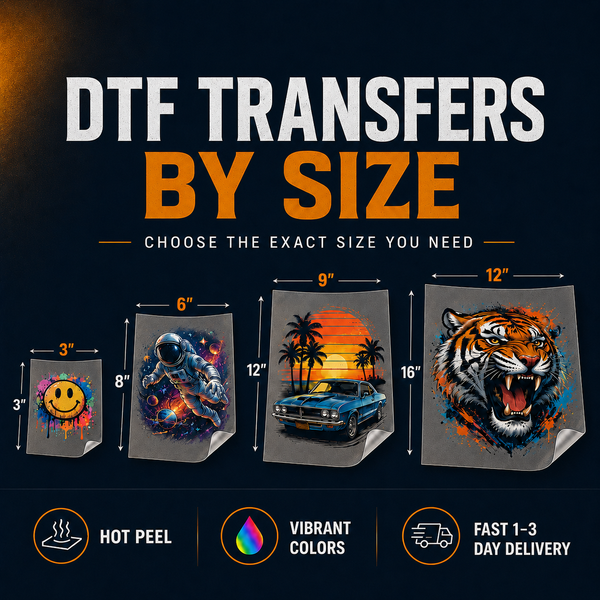
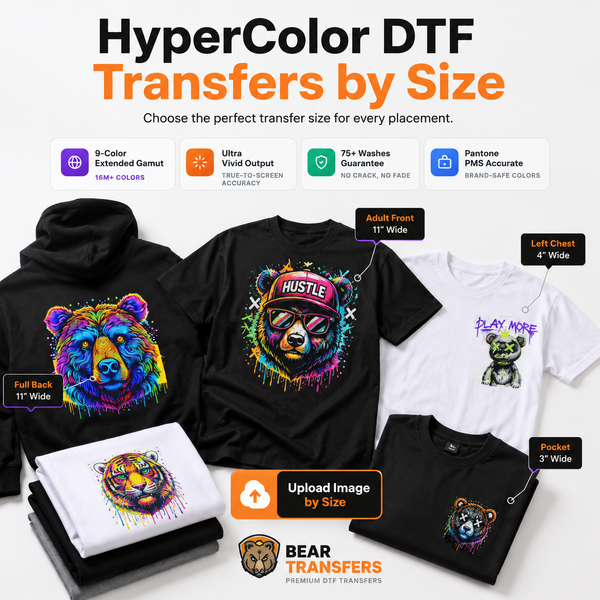
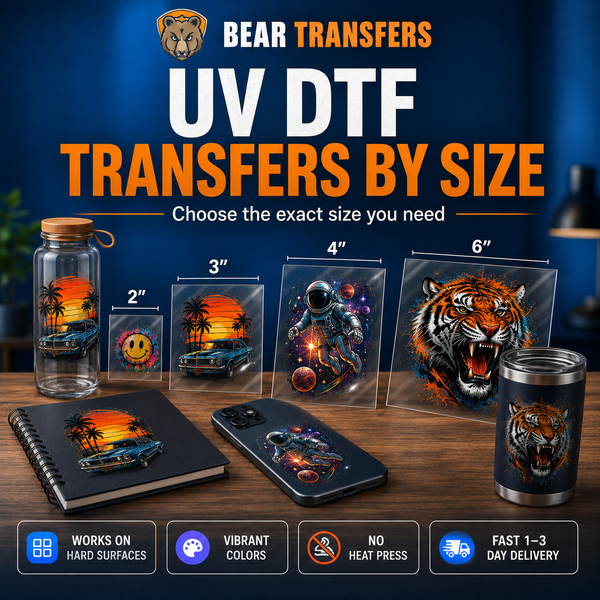
- Order single designs at exact dimensions (for example 3.5 × 3.5 in or 11 × 11 in) and let us arrange them on film. No layout work — ideal when you need a handful of prints fast. → Order by size
- Names & Numbers
- Team-style text transfers — player names, jersey numbers, roster sets — built as text inside the gang sheet builder so a whole team fits on one sheet instead of being ordered piece by piece. → Team uniform guide
- Print-Ready File
- Artwork that can go straight to the printer without edits: transparent PNG (or PDF), 300 DPI at the final print size, no hidden white box, no stray semi-transparent pixels, sized to the sheet width.
- Detected Size
- The width × height our upload checker reads from your file's pixel dimensions at 300 DPI. It is what you are charged for and what prints, so export at real-world size rather than scaling later.
- Name Band
- The short strip printed at the top of every gang sheet carrying your order name and number so sheets are never mixed up. It is added to the film length by us — you never need to design it.
- Cutoff Time
- The daily point after which an order moves to the next production day. Orders are printed and shipped within 24 hours on business days (Mon–Fri); anything placed after the cutoff starts the following morning.
- Express Shipping
- A faster carrier service selected at checkout for deadline orders. Production time stays the same; only the transit days change. Tracking is emailed the moment the label prints. → Shipping policy
- Priority Print
- A cart add-on that moves your order to the front of the press queue so it is produced before standard orders that day. Useful when a team, event or market date is fixed.
- Package Protection
- An optional cart toggle that covers your shipment against loss, theft or damage in transit. If something goes wrong we reprint and reship at no charge, without carrier paperwork on your side. → How it works
- Blind Shipping
- Shipping without Bear branding: neutral sender, no logos, inserts or marketing in the box, so your customer sees only your brand. Available at checkout for $4.90 per order. → Blind shipping details
- Tax Exempt
- An account status for resellers who submit a valid resale or exemption certificate. Once approved, every order checks out without sales tax. The form is processed automatically. → Tax exemption form
- Bear Cash
- Automatic store credit earned on transfer orders — 2% standard, rising to 4%, 6% and 10% with spend — valid for 14 days. Orders using a discount code, blanks and wholesale rolls do not earn. → Bear Cash ranks
- Sample Pack
- A small assortment of pressed-ready DTF and UV DTF pieces so you can test film, peel, feel and durability on your own blanks before ordering full sheets. → Get the sample pack
- Bulk Sheets
- Pre-sized gang sheets sold in bundles (minimum 10) at a lower per-sheet price than single orders — the option for shops that print the same sheet length every week. → Full price list
Transfer Types & Peel
Hot, warm and cold peel, UV DTF, HyperColor and the finishing presses that change the result.
- Hot Peel
- Removing the film immediately after the press opens, while the transfer is still hot. Bear DTF transfers are hot peel: one smooth, low motion right away, then a short second press. → Hot peel explained
- Cold Peel
- Letting the transfer cool to room temperature before removing the film. Some films require it; peeling a cold-peel film hot can lift ink. Always follow the peel type printed on your sheet.
- Warm Peel
- Waiting a few seconds after pressing until the film is warm, not hot, then peeling. A middle ground some printers use on stretchy or slick fabrics to reduce ghosting. → Cold vs hot peel
- Peel Timing
- When and how you remove the carrier film relative to pressing. Wrong timing is a top cause of lifted edges and ghosted outlines; the right timing is consistent and matches the film type.
- UV DTF
- A transfer for hard surfaces — tumblers, glass, metal, plastic, wood — printed with UV-cured inks and applied by hand with no heat press: peel, stick, squeegee, remove the top film. → UV DTF sticker builder
- HyperColor
- Bear's expanded-gamut DTF line printed with a 9-color ink set for noticeably stronger reds, oranges, blues and purples than standard CMYK. Same film, same press settings, wider color range. → Build a HyperColor sheet
- Halftone
- Breaking solid areas or gradients into tiny dots so the print breathes: softer hand feel, less ink, smoother fades. Used deliberately in distressed, vintage and photo-style DTF designs. → Halftone DTF transfers
- Second Press
- Re-pressing the design for 5–10 seconds with a cover sheet after peeling the film. It drives the adhesive deeper into the fibers, softens the hand and adds wash life. → Press guide
Heat Press & Application
Equipment and settings. Bear transfers press at 290–320°F for 8–15 seconds, medium pressure, hot peel.
- Heat Press
- A machine with a heated upper platen that applies even temperature and pressure for a set time. DTF needs its consistency — a household iron cannot hold the pressure or heat reliably.
- Platen
- The flat heated (upper) or padded (lower) plate of a heat press. Platen size sets the largest design you can press in one go; smaller interchangeable platens fit sleeves, pockets and youth garments.
- Clamshell Press
- A heat press whose upper platen hinges open like a clamshell. Compact and affordable; check that pressure is even front to back, since the hinge side can press harder.
- Swing-Away Press
- A press whose upper platen swings to the side, giving full access to the garment and a straight-down, very even pressure — preferred for thick items, hoodies and precise placement.
- Pressure
- How hard the platens squeeze the garment. Bear DTF presses at medium pressure, about 35–45 psi: firm enough that the adhesive wets into the fibers, not so hard that the print flattens and shines.
- Pre-Press
- Pressing the blank garment for 3–5 seconds before placing the transfer. It removes moisture and wrinkles — the number-one cause of poor adhesion — and flattens seams.
- Dwell Time
- The seconds the press stays closed on the transfer. Bear DTF: 8–15 seconds in general, 12–15 on 100% cotton. Too short leaves edges unbonded; too long can scorch or over-flatten.
- Temperature
- Platen heat, set in °F. Bear DTF presses at 290–320°F; cotton likes 310–320°F, polyester 285–300°F, blends 300–310°F, leather/PU 275–285°F. Verify with a surface thermometer — dials drift.
- Cover Sheet
- Parchment paper or a Teflon/PTFE sheet laid over the transfer before pressing and during the second press. It protects the platen, spreads heat and gives the print a matte, even finish.
- Heat Press Pillow
- A foam insert placed inside the garment to raise the print area above seams, zippers and buttons so pressure lands evenly on the design instead of the bumps around it.
- Heat Tape
- Heat-resistant tape that holds the transfer in position on the garment so it cannot shift when the press closes — the easiest insurance against ghosted, double-image prints.
- Hat Press
- A press with a curved platen shaped for caps. Hat designs run small (about 2–2.5 inches wide) and press best on a curved surface; a flat press on a crown lifts at the edges. → DTF on hats, hoodies & sleeves
- Ghosting
- A blurred shadow or double outline next to the design, caused by the film shifting during peel or while the adhesive is still soft. Prevent it with heat tape, a stable peel and consistent timing. → Prevent ghosting on polyester
- Scorching
- Yellow or shiny marks on fabric from too much heat or dwell, most common on polyester and light colors. Lower the temperature, shorten the time and always use a cover sheet.
Artwork & Files
How to prepare a file that prints exactly the way you designed it.
- Transparent PNG
- The preferred DTF file type: a PNG with a genuinely transparent background so only your artwork prints. Any white box or checkerboard left in the file prints as a white rectangle. → Transparent PNG checklist
- DPI
- Dots per inch — the pixel density of your file at its print size. DTF is printed at 300 DPI, so a 10-inch-wide design should be about 3,000 pixels wide. Upscaling a small file does not add detail. → Resolution & small text
- Effective Resolution
- Pixel width divided by the inches you print it at. A 3,000-pixel image printed at 10 inches is 300 DPI; stretched to 15 inches it drops to 200 DPI and starts to soften.
- Vector Artwork
- Shapes and text defined mathematically (AI, EPS, SVG, PDF) that scale to any size without pixelation. Export vectors to a 300 DPI transparent PNG at final size for upload.
- Raster Artwork
- Pixel-based images (PNG, JPG, PSD). Quality is fixed by pixel count, so design at the final print size from the start. JPGs have no transparency and should be converted first.
- Safe Margin
- A small gap kept between designs and from the sheet edge so pieces are easy to cut apart after printing and nothing is trimmed. The builder keeps this spacing for you automatically.
- Knockout
- Removing parts of a design so the garment shows through — for example hollow letters or a distressed texture. Knocked-out areas must be truly transparent, not white, or they print white.
- Anti-Aliasing
- The soft, semi-transparent edge pixels that make curves look smooth on screen. In DTF they can print as a faint halo; keep edges crisp and avoid large feathered or glow effects.
- Minimum Line Thickness
- How thin a line or letter stroke can be and still transfer cleanly. Keep text strokes and fine lines at least about 2 mm thick at print size; hairlines may not bond or may break in the wash.
- Semi-Transparency
- Pixels that are partly see-through (drop shadows, glows, low-opacity fills). The printer must decide whether to lay white under them, which often produces a grainy, pale result — flatten to solid colors instead.
- Mirroring
- Flipping artwork horizontally before printing. DTF files are NOT mirrored — the print is made on film and flips when pressed — so upload text reading normally, exactly as it should appear on the shirt.
- Canvas Size
- The full pixel dimensions of your document, including empty space. Trim the canvas to the artwork: a 3.5-inch logo sitting in a 5-inch transparent box still occupies 5 inches on the sheet. → How many designs fit on 10 ft?
- Auto-Nesting
- The builder function that packs your uploaded designs onto the sheet as tightly as possible, rotating and arranging them to use the least film length — usually the biggest single saving on a gang sheet.
- Orientation
- Which way a design faces on the sheet. Rotation does not affect print quality, so turning designs 90° to fill a gap is free money — just remember to rotate them back before pressing.
- File Formats
- Accepted uploads: PNG (preferred), PDF, AI, PSD, TIFF and EPS. Whatever the source, the print file should be a flattened, transparent, 300 DPI raster at real-world size. → Artwork settings that matter
- Mockup
- A rendered preview of the design on a garment, used to sell before you press. A mockup is not a print file — always upload the artwork itself, not the shirt image.
Color & Quality
Why screen and fabric disagree, and the defects you can prevent before pressing.
- RGB
- The red-green-blue color model screens use to display light. RGB files are accepted, but some vivid neon and electric tones sit outside what ink can reproduce and will print slightly softer. → RGB vs CMYK
- CMYK
- Cyan, magenta, yellow and black — the ink model printers physically use, plus white in DTF. Designing or soft-proofing in CMYK shows you the realistic result before a transfer is printed.
- Color Gamut
- The range of colors a device can reproduce. Screens show a wider gamut than CMYK ink; HyperColor's 9-ink set widens the printable range toward those brighter reds, blues and purples.
- Rich Black
- Black built from several inks (for example C40 M30 Y30 K100) instead of pure K. On DTF a deep, even black comes from the white underbase plus solid black, so plain 100% K usually prints great.
- Color Profile (ICC)
- A file that describes how a device reproduces color. Embedding sRGB in your PNG keeps colors predictable; exotic or missing profiles can shift tones between your screen and the print.
- Dye Migration
- Garment dye bleeding into the transfer under heat, turning white areas pink or gray — common on red and dark 100% polyester. Lower heat, shorter dwell and a cool-down before handling reduce it. → DTF on 100% polyester
- Vibrancy
- How saturated and punchy colors look after pressing. Vibrancy depends on the white underbase, ink density and fabric color; a second press with a cover sheet evens out sheen and perceived depth.
- Soft Proof
- Previewing a design on screen through a CMYK profile to see how inks will render it. A quick soft proof catches out-of-gamut neons and muddy darks before you order the sheet.
Fabrics & Garments
Blanks, fibers and fits — and how each one changes your press settings.
- Cotton
- The most forgiving DTF substrate: 100% cotton takes higher heat (310–320°F, 12–15 s) and gives the best wash resistance. Ring-spun and combed cottons have a smoother surface for fine detail. → Best fabrics for DTF
- Polyester
- Synthetic performance fabric that prints well but is heat-sensitive: press at 285–300°F for 10–12 seconds to avoid scorching and dye migration, and let it cool before peeling protective sheets.
- Cotton/Poly Blend
- Mixed-fiber fabric (for example 50/50 or 60/40). Press at 300–310°F for 10–12 seconds — hot enough for the cotton, gentle enough for the polyester — and pre-press well.
- Tri-Blend
- A soft, drapey mix of cotton, polyester and rayon. It prints beautifully but stretches and scorches more easily; use the cooler end of the range and a heat press pillow for an even surface.
- Ring-Spun Cotton
- Cotton yarn twisted and thinned for a smoother, stronger thread. The flatter surface shows fine lines and small text more clearly than open-end (carded) cotton tees.
- Fleece
- The thick, brushed fabric of hoodies and sweatshirts. It needs a firm pre-press to flatten the nap and the upper end of the heat range (~300°F, 12–15 s) so adhesive reaches the fibers.
- Performance Fabric
- Moisture-wicking, stretchy synthetics used for athletic wear. Treat like polyester or spandex: lower heat (285–295°F), shorter dwell (8–10 s) and a test press on a hidden area first.
- Nylon
- Slick, heat-sensitive synthetic found in jackets and bags. DTF can bond, but nylon melts and shines at cotton temperatures — press low, short and always test a scrap first.
- Leather / PU
- Real or synthetic leather used for patches, bags and hat panels. Press gently at 275–285°F for 6–8 seconds with light-to-medium pressure; high heat can melt PU coatings.
- Pre-Shrunk
- Fabric washed or treated before cutting so the garment shrinks less after purchase. Non-pre-shrunk cotton can shrink a few percent, shifting print placement slightly after the first wash.
- Fabric Weight (GSM / oz)
- How heavy the fabric is per square meter or square yard. Heavier tees feel more premium and hold large prints flat; lightweight tees show seam texture more, so pre-press well.
- Blank Apparel
- Undecorated garments — tees, hoodies, hats — ready for printing. Bear stocks blanks from Gildan, Bella+Canvas, Comfort Colors and more so transfers and shirts ship from one order. → Browse blank apparel
- Crewneck
- A round, close-fitting neckline — the standard t-shirt. Most placement rules (left chest 3–4 in wide, full front 10–12 in wide, 3–4 in below the collar) are written for crewneck adult tees.
- Unisex Fit
- A straight-cut garment sized for both men and women. Because the chest is wider than a fitted or women's cut, the same logo can sit 3.5 in wide on unisex and 3.25 in on fitted styles.
- Youth Sizing
- Children's garment sizes (XS–XL youth). Scale prints down: youth full front 6–8 in wide, youth left chest about 2.75 in wide, placed a little higher than adult equivalents. → Size & placement guide
- Neck Tag
- The brand label inside the collar. Tagless blanks let you press a small DTF neck label (about 2.5 × 2.5 in or 3 × 2 in) with your logo, size and care icons instead of a sewn tag. → Free neck tag templates
Care, Storage & Business
Keeping prints alive for 100+ washes, storing unpressed transfers, and the language of selling.
- Wash Durability
- How many wash cycles a print survives without cracking, peeling or fading. Pressed and cared for correctly, Bear DTF transfers are rated for 100+ washes. → How our 100+ wash rating works
- Wash Care
- Turn inside-out, wash cold or warm (up to about 85°F / 30°C) on a gentle cycle, skip bleach and harsh detergents, tumble dry low or hang dry, and never iron directly on the print. → How to wash DTF transfers
- 24-Hour Rest
- Waiting at least 24 hours after pressing before the first wash so the adhesive fully sets into the fibers. Washing too soon is a common, avoidable cause of early edge lift.
- Air Drying
- Hang-drying printed garments instead of machine drying. Repeated high dryer heat is the fastest way to crack a print; if you must tumble dry, use low heat.
- Transfer Storage
- Keep unpressed transfers flat, cool, dark and dry — a drawer, box or sealed sleeve at room temperature. Heat, sunlight and humidity, not time, are what degrade film and adhesive. → How to store DTF transfers
- Shelf Life
- How long an unpressed transfer stays usable. Stored properly, quality DTF transfers remain press-ready for 12 months or more; sticky, clumped powder or brittle film means they were exposed.
- Humidity Control
- Keeping moisture away from stored transfers. Humid air makes adhesive powder tacky and can pre-cure it, so use sealed bags or bins with a desiccant packet in damp climates.
- Print-on-Demand (POD)
- Producing each item only after it is sold, with no inventory. DTF suits POD because there is no setup cost and a single shirt costs about the same per design as a small batch.
- Wholesale Pricing
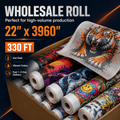
- Lower per-unit prices for volume: longer gang sheets, bulk sheet bundles and half or whole film rolls. On a gang sheet the price per foot already falls as the sheet gets longer.
- Dropshipping
- Selling to customers while a partner prints and ships for you — often with blind shipping so the package carries your brand only. Bear supports reseller and dropship partners. → Dropship partners
- Cost per Design
- Sheet price divided by the number of designs on it. Packing a sheet tightly, rotating pieces and filling gaps with small marks is how gang-sheet users get single prints down to cents. → How to price transfers
- Markup
- The amount added to your cost (transfer + blank + labor) to reach a selling price. Most custom-apparel sellers price finished shirts at roughly 2–3× their all-in cost. → Start a DTF business
- Reprint Policy
- Bear's promise for misprints and defects: email a photo with your order number and a free reprint ships — no restocking games. Application errors on the customer side are not covered. → Report an order issue
- Copyright & Licensing
- The legal right to reproduce artwork, logos and characters. Only print designs you created, licensed or have written permission to use — trademarked team logos and brand marks need a license.