







DTF on 100% Polyester: Prevent Dye Migration & Ghosting

Polyester is fast, affordable, and everywhere in teamwear and workwear—but it can punish sloppy DTF press habits. If you’ve ever seen whites turn pink/gray or a “shadow” outline appear after pressing, you’re dealing with dye migration and ghosting. The good news: both problems are preventable with a consistent workflow.
Why 100% Polyester Is Tricky for DTF
DTF transfers can look incredible on polyester, but poly behaves differently than cotton under heat. Two things are happening at once during application: the adhesive is melting and bonding to the fabric, and the garment’s dyes are becoming more mobile as the fibers heat up.
Dye migration (bleed) in plain English
Dye migration is when the garment’s dye shifts into your transfer after pressing. The most obvious example is white ink on a red poly shirt turning pink, but it can also show up as gray haze in light colors or muddied pastels.
- Heat increases dye mobility.
- Time gives dye more opportunity to move.
- Pressure forces layers into tighter contact.
Ghosting: the “double image” that ruins crisp prints
Ghosting is a blurred edge or shadow of your design, usually caused by the transfer shifting during peel or a press/platen movement while the adhesive is still soft. On polyester, ghosting is common because the fabric is slick, stretchy, and rebounds quickly after pressure is released.
DTF itself isn’t the enemy—settings are
If you’re newer to DTF, it helps to understand what you’re pressing and why peel timing matters. This guide pairs well with What Is a DTF Transfer? Direct-to-Film Printing Explained so you can connect the “why” to your press process.
Prevent Dye Migration: Control Heat, Time, and the Shirt
The most reliable way to reduce dye migration on 100% polyester is to press with the lowest heat and shortest dwell that still produces a full bond. Then stack in a few practical safeguards.
Start with polyester-friendly settings (and adjust from there)
Every press reads a little different, and every garment line dyes differently, so treat these as starting points and test.
| Goal | Recommended Range | Why it helps |
|---|---|---|
| Reduce dye migration | 275–305°F | Lower temp keeps dyes more stable |
| Maintain adhesion | 10–15 seconds | Enough dwell to melt adhesive without overcooking dye |
| Limit fabric distortion | Medium pressure (firm, not crushing) | Too much pressure can drive dye into the transfer |
| Lock in edges | 2–5 second finishing press | Short post-press smooths without reheating the shirt too long |
Pre-press smart (don’t over-preheat poly)
Pre-pressing removes moisture and flattens fibers, but long pre-presses on polyester can start warming dyes before you even apply the transfer. Use a light, quick pre-press:
- 2–4 seconds just to smooth and dehumidify the print area.
- Use a pressing pillow or pad for seams, zippers, and pockets to prevent uneven heat.
- Let the garment cool for a few seconds if it feels hot to the touch before placing the transfer.
Choose garments that behave
Not all 100% polyester is created equal. Some performance fabrics use dyes and finishes that are more likely to migrate. When you can control the blank, pick known-stable options and keep your production consistent. If you need reliable sources for repeatable results, start with blank apparel priced near cost so you can test and standardize your best-sellers.
Use a white underbase strategy (design-side)
Most dye migration disasters show up in whites and light colors. If your art has large white areas (logos, numbers, bold text), consider:
- Adding a thin colored outline around white elements to mask minor migration.
- Avoiding huge “flat white” blocks when the garment is a high-migration red/navy.
- Using halftones where it fits your brand to reduce solid white surface area (see Halftone DTF Transfers: What They Are & When to Use Them).
Prevent Ghosting: Handling, Peel Timing, and Stability
Ghosting is usually a process problem, not a transfer problem. Your job is to keep the film perfectly still until the adhesive has “set” enough to release cleanly.
Square the garment and lock it down
- Use heat-resistant tape when you’re placing close to seams or on slick performance knits.
- Check that the platen isn’t catching the shirt and shifting it as the press closes.
- Press on a stable surface—wobbly tables create micro-movement that shows up as shadows.
Peel timing: hot-peel fast, but not frantic
With hot-peel transfers, peeling at the right moment is key: too early and the adhesive can still be stringy; too late and you can tug and distort edges. Build a repeatable rhythm:
- Open the press smoothly (no bounce).
- Wait a brief beat if needed (often 1–3 seconds) so the film isn’t sliding on molten adhesive.
- Peel in one continuous motion, low and close to the garment.
If you’re training staff, the easiest way to stop ghosting is to standardize your peel timing per fabric line and write it down on a shop card.
Use a quick finish press—then stop heating
A short finishing press can seal edges and reduce a “raised” look, but on polyester, long second presses are a common migration trigger. Keep it brief (2–5 seconds) and use a cover sheet if your workflow calls for it.
A Repeatable Press Workflow for 100% Polyester (Shop Checklist)
Consistency beats “perfect settings.” Here’s a workflow you can run on most 100% polyester tees and performance tops—then tweak only one variable at a time during testing.
- Confirm platen temp with your best available method and let the press fully stabilize.
- Quick pre-press (2–4 seconds) to flatten and remove moisture.
- Place and secure the transfer (tape if needed for slick poly).
- Main press at a polyester-friendly temp (start 275–305°F), 10–15 seconds, medium pressure.
- Controlled peel (hot peel with steady motion). Keep the garment flat—don’t stretch.
- Finish press 2–5 seconds if needed, then let it cool flat.
Need a refresher on placement and avoiding seams that can cause uneven pressure (and ghost edges)? Pair this with DTF Transfers on Hats, Hoodies & Sleeves: Placement and Press Guide.
Transfer & File Choices That Make Polyester Easier
When you’re battling migration and ghosting, small production choices add up—especially if you’re fulfilling team orders or corporate runs on tight deadlines.
Order format: gang sheets vs. by-size
- If you’re running multiple logos/names at once, build a DTF gang sheet online to pack designs efficiently and keep your workflow moving.
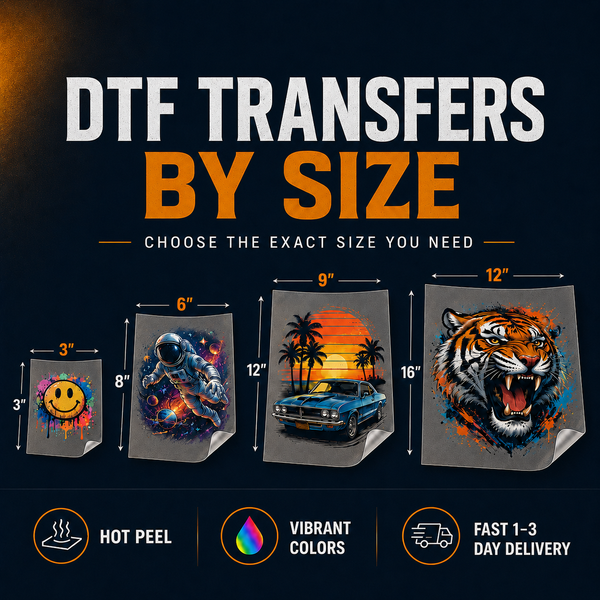
- If you’re standardizing one chest logo across many garments, order DTF transfers by size so every print lands the same and reorders are effortless.
Color control matters on bright poly
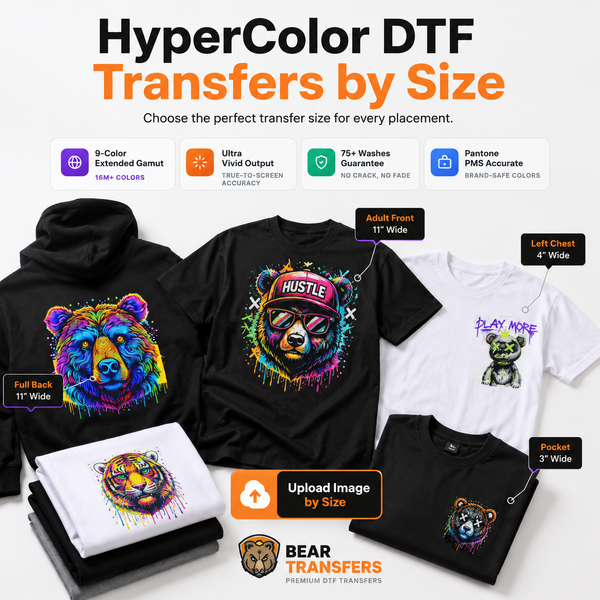
Bright polyester (especially neon or high-chroma team colors) can exaggerate any haze or bleed. If your brand depends on punchy gradients or tight brand colors, consider HyperColor 9-color RGB DTF transfers for expanded gamut work—then run your migration test at the lowest successful temp to protect light inks.
Test before you scale (sample packs save money)
Whenever you add a new polyester blank to your lineup, test it before taking a 50-piece order. The fastest way is to press a couple of small logos and a white swatch at two temperatures (e.g., 285°F and 305°F) and compare after cooling. If you want easy test variety, grab a DTF + UV DTF sample pack and keep it as your shop’s baseline.
Dial in your gang sheet files to avoid edge issues
Some “ghosting” complaints are actually thin outlines, unintended transparencies, or low-resolution edges that become obvious on smooth polyester. If you’re assembling sheets yourself, follow How to Make a DTF Gang Sheet File: Photoshop, Canva & Free Online Builder to avoid surprises like soft PNG edges and unwanted semi-transparent pixels.
FAQ
What temperature should I press DTF on 100% polyester?
Start in the 275–305°F range with 10–15 seconds and medium pressure, then adjust based on wash/peel results. The best setting is the lowest heat that still bonds cleanly.
Why do my white DTF prints turn pink on red polyester?
That’s dye migration—heat is allowing the garment dye to move into the transfer. Lower your temp and/or dwell time, avoid long pre-presses, and keep any finish press very short.
What causes ghosting when peeling DTF transfers?
Movement while the adhesive is still soft—either the film slides, the garment rebounds, or the peel is too jerky. Stabilize the garment, tape slick fabrics, open the press smoothly, and peel in one steady motion.
Should I do a second press on polyester?
Only if needed for texture/edge finish, and keep it brief (2–5 seconds). Long second presses are a common cause of dye migration on 100% polyester.
When you’re ready to run consistent poly jobs, build a DTF gang sheet online and press with a documented, repeatable test-backed workflow.