










DTF Transfers on Hats, Hoodies & Sleeves: Placement and Press Guide

DTF transfers work on hats, hoodies, sleeves, and tote bags at the same settings as a t-shirt: 285–320°F for 8–15 seconds depending on fabric, medium-firm pressure, hot peel. What changes is sizing and prep. DTF transfers on hats should run small (2–2.5 inches wide) and press best on a curved hat press; hoodies need the top of the heat range to push through thick fleece; sleeve designs land between 2 and 4 inches wide. Here are the exact settings, repeatable placement measurements, and the five mistakes behind most failed presses.
Quick-Reference Press Settings by Surface
Every setting below stays inside the standard DTF window: 285–320°F, 8–15 seconds, medium-firm pressure, hot peel. New to pressing? Start with our full heat press settings guide — this table adapts that baseline to each garment.
| Surface | Temperature | Time | Pressure | Peel |
|---|---|---|---|---|
| Hats (structured caps) | 290–305°F | 8–10 sec | Medium-firm | Hot |
| Hoodies (cotton fleece) | 310–320°F | 12–15 sec | Medium-firm | Hot |
| Hoodies (poly blend) | 290–310°F | 8–12 sec | Medium-firm | Hot |
| Sleeves | 300–320°F | 10–12 sec | Medium-firm | Hot |
| Tote bags (cotton canvas) | 310–320°F | 12–15 sec | Medium-firm | Hot |
Two constants: the film is hot peel, so pull the carrier as soon as the press opens, and 100% cotton always gets the top of the range — 310–320°F for 12–15 seconds.
DTF Transfers on Hats

Get the Size Right First
Hat fronts look bigger than they are. The usable flat area on a structured cap is a narrow band across the front two panels, so keep designs 2–2.5 inches wide and roughly 1.75–2.25 inches tall. Go wider and the transfer wraps into the curve of the crown, where the edges never get full pressure — that's where lifting starts. Foam-front trucker caps are flatter and can push toward 2.5 inches; low-profile dad hats sit closer to 2 — measure the flat area with a soft tape before you order.
Pressing with a Hat Press
A hat press has a curved lower platen that matches the crown — that's what makes even pressure possible. The routine:
- Set the press to 290–305°F and stretch the cap over the curved platen so the front panels sit tight and wrinkle-free.
- Pre-press for 3–5 seconds to drive out moisture and flatten the center seam.
- Position the transfer with its bottom edge about 0.5–0.75 inches above the brim, centered on the seam.
- Press 8–10 seconds at medium-firm pressure.
- Peel hot, in one smooth motion, then give it a 5-second finishing press over parchment to seat the edges.
No Hat Press? Use the Edge and a Pillow
You can press caps on a flat heat press by sliding the crown over the front edge of the lower platen so only the front panels sit flat, with a small pressing pillow or rolled towel inside for support. Press in two overlapping passes of 5–6 seconds each instead of one long press, so every edge gets real pressure.
DTF Transfers on Hoodies
Placement: Work Around the Pocket and Drawstrings
Hoodie placement is a t-shirt layout with two obstacles added. For a center-chest design, keep the bottom edge at least 1 inch above the kangaroo pocket and the top edge 2.5–3.5 inches below the collar seam, then pull the drawstrings out of the platen area before you press. Most full-front hoodie graphics end up 10–12 inches wide — big enough to read, small enough to clear the pocket. For left-chest logos, center the design 3–4 inches off the center line, level with the armpit seam. Our size and placement guide has measurement charts by garment size.
Thick Fleece Changes Your Timing
Fleece lofts up and holds moisture — both work against adhesion. Pre-press for about 5 seconds to flatten the nap and steam out humidity, then press cotton fleece at the top of the window: 310–320°F for 12–15 seconds. Poly-blend fleece is more heat-sensitive, so drop to 290–310°F for 8–12 seconds and test an inside hem first — our fabric guide breaks down which blends behave. Slide a pressing pillow inside the hoodie so the print area rises above pocket stitching and seams; on zip-ups, keep designs off the zipper entirely and press each chest panel separately.
DTF Transfers on Sleeves
Sizing: 2–4 Inches Wide
Sleeve designs should stay 2–4 inches wide so they don't wrap around the arm's curve. On short sleeves, that means a small design — a logo, a word, or a number — around 2–3 inches wide. Long sleeves open up vertical layouts: designs 3–4 inches wide can run 10–14 inches down the arm and still press flat, because width, not length, is what fights the curve.
Placement That Reads Correctly
- Short sleeves: center the design between the shoulder seam and the hem, or place small text designs 0.5–1 inch above the hem.
- Long sleeves: start the design 1–2 inches below the shoulder seam with the top of the artwork toward the shoulder, so it reads top-to-bottom when the arm hangs naturally.
- Press setup: slide the sleeve over the edge of the lower platen (or onto a sleeve pillow) so you press one layer only; pressing both layers creates a crease and marks the far side.
- Settings: 300–320°F for 10–12 seconds covers most sleeve fabrics; use 310–320°F and 12–15 seconds when the shirt is 100% cotton.
DTF Transfers on Tote Bags
Cotton canvas totes take the same treatment as heavy cotton: 310–320°F for 12–15 seconds at medium-firm pressure. Center the design 2–3 inches below where the handles attach — higher and it hides behind the handles when the bag is carried. Slip parchment or a pressing pillow inside the bag to block adhesive strike-through, and pre-press to flatten the canvas texture. On a standard 15-inch tote, an 8–10 inch wide design fills the front without crowding the seams.
Alignment Tools Worth Using
Placement mistakes are permanent, so a few cheap tools pay for themselves fast:
- T-square or alignment ruler: squares the design to the collar or hem in seconds, on every garment on this list.
- Heat-resistant tape: keeps the transfer from shifting when you lower the platen — essential on curved hat fronts.
- Fold-and-crease centering: fold the garment or hat front in half, press a light crease with your hand, and use it as your center line. Free and surprisingly accurate.
- Laser guides and placement templates: overkill for one-offs, but a crosshair laser or a collar-hook template keeps a fifty-hoodie batch landing on the same spot.
5 Mistakes That Ruin Small-Placement Presses
- Oversizing hat designs. Anything past 2.5 inches wide wraps into the crown's curve, robs the edges of pressure, and peels within a few wears. Size to the flat area, not the whole front.
- Pressing over seams, pockets, or zippers. Raised obstructions tent the platen and leave the surrounding print under-pressed. A pressing pillow levels the surface.
- Skipping the pre-press. Fleece and canvas hold moisture that flashes to steam under the platen and blocks adhesion. Three to five seconds fixes it.
- Fumbling the hot peel. The film is hot peel — pull it smooth and steady the moment the press opens. Hesitating mid-peel can distort fine lines.
- Eyeballing placement. The eye forgives a design that's slightly low, but a crooked one is instantly obvious. Tape and a t-square take fifteen seconds.
Ordering Transfers Sized for Hats, Sleeves, and More
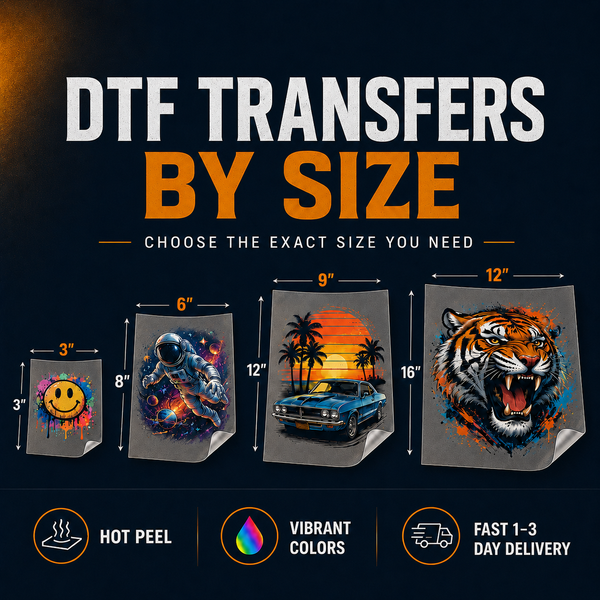
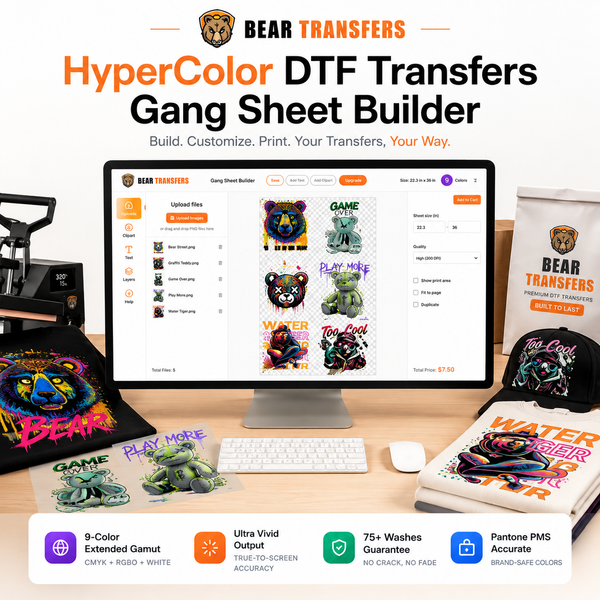
Small placements are where gang sheets earn their keep: hat designs, sleeve prints, and left-chest logos pack tightly together, so one sheet from our gang sheet builder (from $2.58/ft) can cover a whole batch of caps and hoodies. Use the gang sheet calculator to estimate how many feet a batch needs. If you only need a handful of one design, DTF by size is the simpler route — either way there's no minimum order and no setup fees. For planning: orders ship within 24 hours Monday–Friday, with 1–3 day transit within the US.
FAQ
Can you put DTF transfers on hats without a hat press?
Yes — a flat heat press works if you drape only the cap's front panels over the platen's edge, support the inside with a pillow, and run two short overlapping presses. Skip the household iron, though: it can't hold consistent pressure across a curved crown, so edges lift within a few wears.
What size should a DTF transfer be for a hat?
Keep hat designs 2–2.5 inches wide and about 1.75–2.25 inches tall. That footprint stays on the flat front panels where the platen can apply full pressure. Flatter foam-front trucker caps can handle the larger end; low-profile dad hats press best near 2 inches wide.
How long do you press DTF on a hoodie?
Cotton fleece needs 12–15 seconds at 310–320°F after a roughly 5-second pre-press; poly blends do better at 285–300°F for 8–10 seconds. If the print sits over loft or near a seam, add a brief finishing press over parchment to lock the edges down.
Do DTF transfers hold up on hats and hoodies in the wash?
Yes — a properly pressed transfer is rated for 100+ washes when you follow basic care guidelines. Hats are the exception only because most caps shouldn't go in a washing machine at all; spot-clean them by hand and the print will typically outlast the hat itself.
Where should a sleeve print go on a long-sleeve shirt?
Start the design 1–2 inches below the shoulder seam, centered on the outside of the arm, with the top of the artwork facing the shoulder so it reads correctly when the arm hangs down. Keep the width between 2 and 4 inches so the print doesn't wrap around the arm's curve.