How to Make a DTF Gang Sheet File: Photoshop, Canva & Free Online Builder

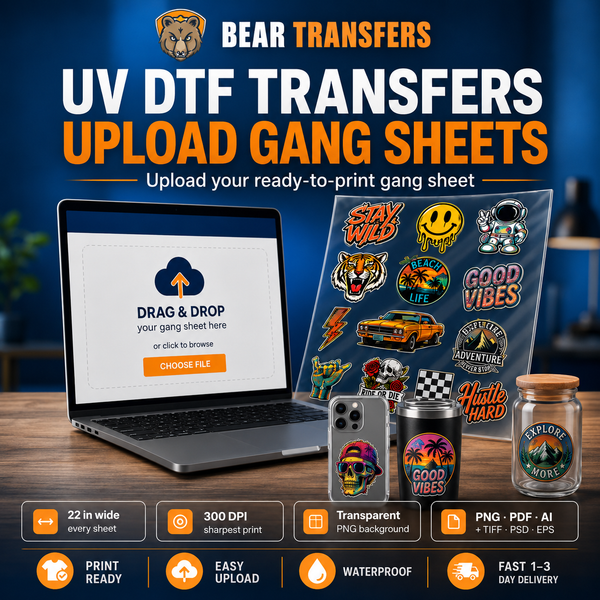
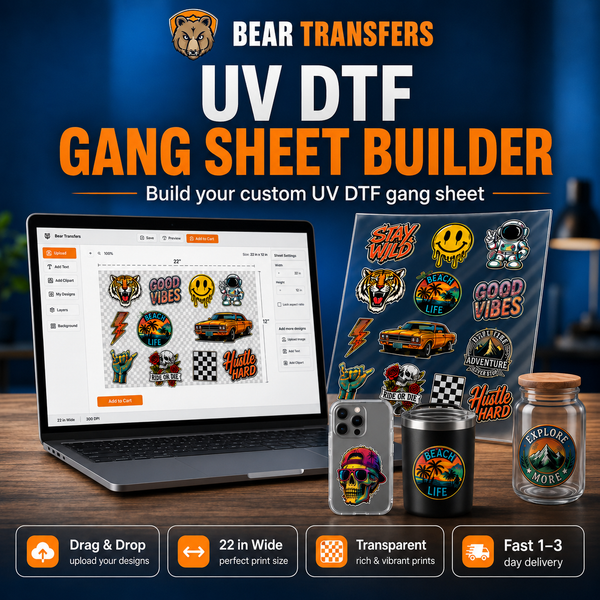
To make a DTF gang sheet file, create a 300 DPI RGB canvas at your sheet's exact dimensions, arrange transparent-background PNGs with 0.5" spacing between designs, and export everything as a single flattened PNG. You can build that file manually in Photoshop or Canva, or skip file prep with a free online gang sheet builder that arranges and nests your designs for you. This guide covers all three methods, the mistakes that ruin sheets, and the layout tricks that cut your cost per design. If you go the builder route, the step-by-step builder walkthrough shows every screen.
New to the concept? A gang sheet is one large sheet of DTF film carrying many designs, which you cut apart and press individually — our explainer on what a gang sheet is covers the basics. This article is about building the file itself.
DTF Gang Sheet File Requirements
Whichever tool you use, the finished file must meet the same specs — print shops print exactly what you send.
| Spec | Requirement | Why it matters |
|---|---|---|
| File format | PNG | Supports true transparency; JPG fills the background with white |
| Background | Fully transparent | Anything visible in the file gets printed — including white boxes |
| Resolution | 300 DPI at actual size | Lower resolution prints soft, pixelated edges |
| Dimensions | Exact sheet size you're ordering | A 22.3" × 60" order needs a 22.3" × 60" file |
| Color mode | RGB (sRGB profile) | DTF printers convert from RGB; sRGB keeps colors predictable |
| Spacing | At least 0.5" between designs | Leaves room to cut each transfer out cleanly |
| Orientation | Right-reading (not mirrored) | The print process handles mirroring — send art exactly as it should look on the shirt |
One rule trips people up constantly: every design must sit at its real-world print size inside the file. A 10-inch chest print must measure 10 inches wide on the canvas.
How to Make a Gang Sheet in Photoshop
Photoshop gives you the most control over the finished file.
Step 1: Set up the canvas
- Go to File > New.
- Set the width to your sheet width — Bear Transfers gang sheets are 22.3 inches wide — and the height to the sheet length you plan to order.
- Set resolution to 300 pixels/inch.
- Set color mode to RGB and background contents to Transparent.
Step 2: Place and size your designs
- Use File > Place Embedded to add each design as a smart object.
- With ruler units set to inches, scale each design to its exact print size — 3.5 to 4 inches for left-chest logos, 10 to 12 inches for full fronts. Our DTF size and placement guide has a full chart by garment and location.
- Never scale a raster design up past its native resolution — enlarged PNGs print exactly as blurry as they look on screen.
Step 3: Arrange with spacing
- Drag guides to mark a half-inch margin around the sheet edges.
- Keep at least half an inch between designs — tight packing makes cutting miserable and risks slicing into neighbors.
- Rotate designs 90 degrees where it helps them tuck into gaps.
Step 4: Export
- Double-check that no hidden layers, stray pixels, or watermarks are visible.
- Go to File > Export > Export As, choose PNG, and make sure Transparency is checked.
- Confirm the exported file's pixel dimensions equal inches × 300 (a 22.3" × 60" sheet should be 6,690 × 18,000 pixels).
How to Make a Gang Sheet in Canva
Canva works, but it has two catches: transparent PNG export requires a Canva Pro subscription, and while Canva accepts inches in its custom-size dialog, it exports PNGs at roughly 96 DPI — so entering your dimensions in pixels is the only reliable way to bake 300 DPI into the file.
Step 1: Create a custom-size design
- Click Create a design > Custom size.
- Switch the units to pixels and enter your sheet size multiplied by 300. For a 22.3" × 24" sheet, that's 6690 × 7200 px.
Step 2: Upload and arrange your artwork
- Upload your transparent PNGs under Uploads and drag them onto the canvas.
- Size each design by pixel math: a 10-inch print should measure 3,000 px wide.
- Leave the same half-inch gaps — that's 150 px at this scale.
Step 3: Export with transparency
- Click Share > Download, choose PNG, and check Transparent background (Pro feature).
- Do not check any size-reduction option; you want the full pixel dimensions you set up.
Canva suits text-based designs and simple graphics — just note its stock elements carry licensing limits for commercial printing.
The Free Way: Use an Online Gang Sheet Builder

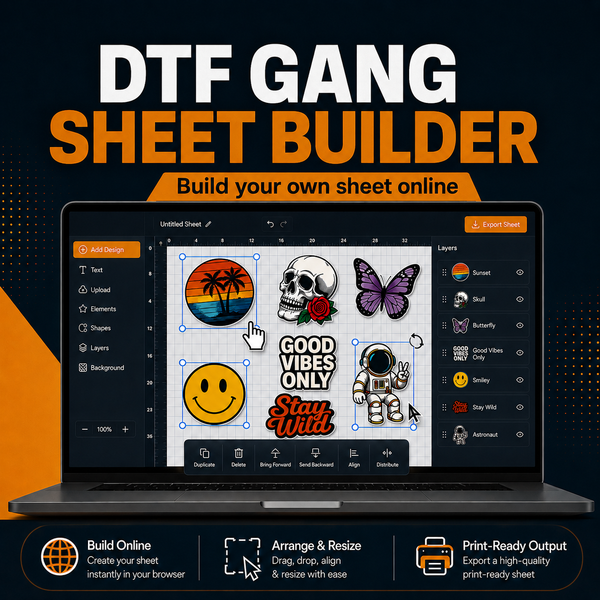
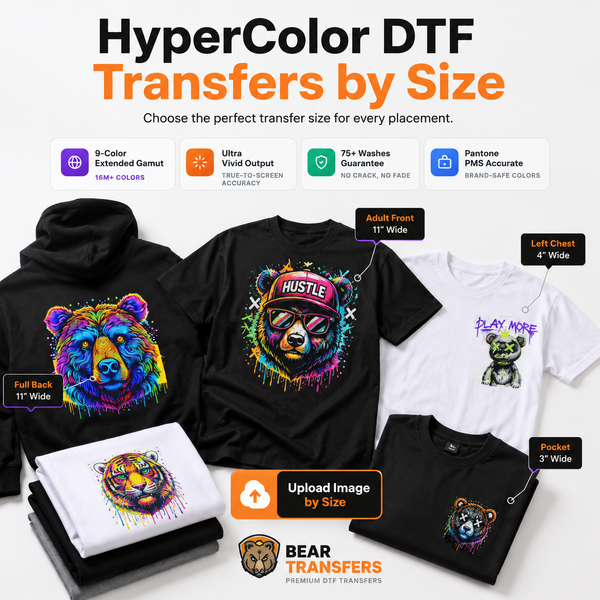
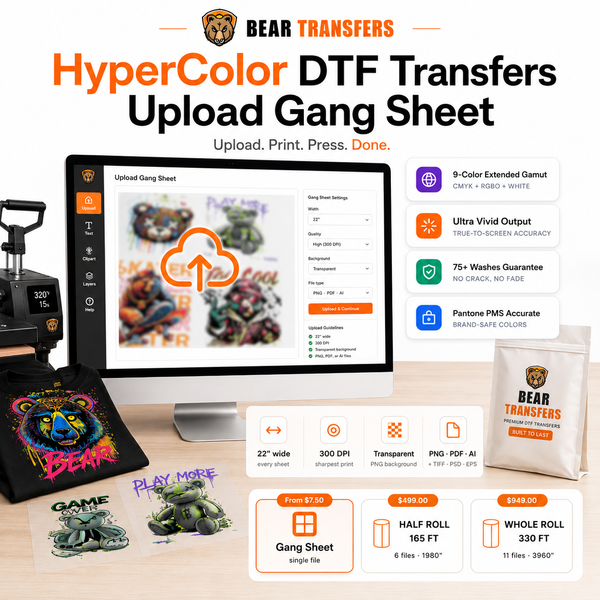
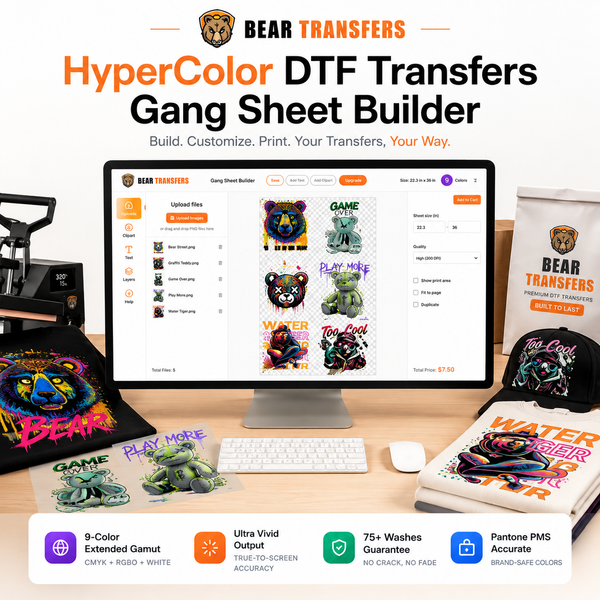
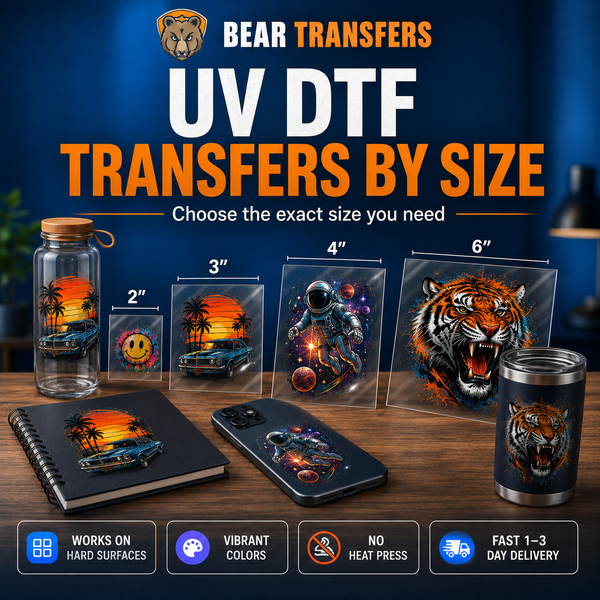
If you'd rather not manage file specs at all, a free online gang sheet builder does everything above in your browser, with resolution and export settings handled for you. And if you only have one or two designs, skipping the gang sheet and ordering DTF transfers by size is simpler still.
The workflow takes minutes:
- Upload your PNGs. Drag and drop each design straight into the builder.
- Set sizes and quantities. Type the exact print size you need and how many copies of each design — say, twelve 4-inch logos and six 11-inch full fronts.
- Let auto-nesting pack the sheet. The builder arranges everything with proper spacing, rotating designs to fill gaps so you pay for the shortest sheet possible.
- Check the live price and order. You see the sheet length and cost update as you build — pricing starts at $5 for a single foot and drops to $2.58/ft on the biggest sheets, with no minimum order and no setup fees.
Because the builder validates uploads and controls output resolution, it takes DPI, dimension, and export mistakes off the table. Your source art is still your responsibility, though — a white background baked into the PNG or a low-resolution image prints exactly as uploaded. And if you want pixel-level control over every placement, building the file by hand in Photoshop remains the better fit; you can upload that finished sheet to the builder as a single image and order it as-is.
5 Common Gang Sheet Mistakes to Avoid
- A white background baked into the file. JPGs, or PNGs flattened onto white, print a solid rectangle around your art. Check for the checkerboard pattern behind your design before uploading.
- Upscaling low-resolution art. A 500-pixel logo stretched to 10 inches is 50 DPI, and it will print exactly that rough. Source vector art or high-resolution exports instead.
- Semi-transparent elements. Drop shadows, glows, and low-opacity layers print unpredictably in DTF and can look gritty once pressed. Keep artwork at full opacity or convert soft effects to halftone-style dots.
- Packing designs too tight. Skimping on spacing turns cutting into surgery. Auto-nesting handles it for you; manual layouts need discipline.
- Ignoring real-world sizing. Designs sized by eyeball come out comically large or small on garments. Use a placement chart and size every design in actual inches.
Size and Cost Optimization Tips
Gang sheets are priced by length, so the game is simple: fit more designs into fewer feet.
- Fill the full width first. A 22.3-inch-wide sheet fits two 10-inch prints side by side, or five 3.5-inch left-chest logos across. Half-empty rows are money printed on blank film.
- Mix sizes to plug gaps. Pair big full-front designs with small left-chest logos, sleeve prints, and neck labels that slot into leftover corners.
- Rotate to fit. A landscape design turned 90 degrees often lets an extra row squeeze in. Auto-nesting does this automatically.
- Plan before you build. The free gang sheet calculator tells you how many designs of a given size fit per foot, so you can order exactly the length you need.
- Batch multiple jobs on one sheet. Combining several jobs drops your per-transfer cost — useful math when setting retail prices.
Once your sheet arrives — orders ship within 24 hours Monday through Friday, with 1–3 day transit across the US — cut the transfers apart and they're ready to press whenever you are.
FAQ
What file format should a DTF gang sheet be?
A PNG with a fully transparent background, built at 300 DPI in RGB color, at the exact dimensions of the sheet you're ordering. Avoid JPGs entirely — they can't store transparency, so the printer would print a white rectangle behind every design on the sheet.
Should I mirror my gang sheet file before uploading?
No. Upload your artwork right-reading, exactly as it should appear on the finished garment. The DTF printing process mirrors the image automatically when it prints onto the film, so a pre-mirrored file would come out backwards on the shirt. This differs from some vinyl workflows.
Can I make a gang sheet in Canva for free?
Partially. You can build the layout on a free account, but exporting a PNG with a transparent background is a Canva Pro feature, and transparency is non-negotiable for DTF. A free online gang sheet builder avoids the subscription entirely and handles resolution and nesting for you.
How much space should I leave between designs?
At least half an inch between designs and around the sheet edges. That margin gives you room to cut each transfer out with straight cuts and no risk of slicing into neighboring artwork. Auto-nesting builders apply safe spacing automatically, so this mainly concerns hand-built Photoshop or Canva files.
How do I press the transfers once my gang sheet arrives?
Cut out each design, then press at 290–320°F for 8–15 seconds with medium-firm pressure — for cotton, aim for 310–320°F for 12–15 seconds. The film is hot peel, so you can remove it right away. Full details are in our heat press settings guide.
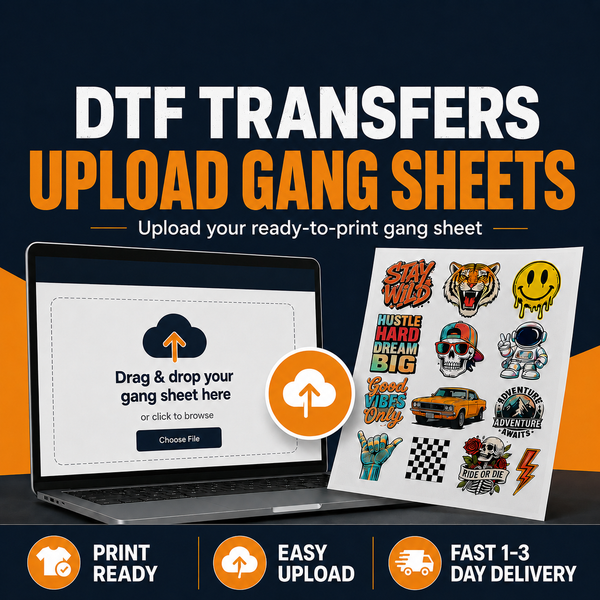
Sheet file ready to go? Upload your gang sheet and we’ll print it within 24 hours — or let the free builder do the layout for you.