

White Underbase in DTF: Why Dark Prints Pop

A bright design can look perfect on-screen and disappear the moment it is printed on a black shirt—unless it has the right white underbase. In DTF printing, that hidden white ink layer is what keeps colors vivid, edges defined, and artwork readable on dark garments.
What Is a White Underbase in DTF Printing?
A white underbase is a layer of white ink printed behind the color portion of a direct-to-film transfer. When the transfer is heat applied, the white layer sits between the garment and the colored ink.
Think of it as a clean canvas. Without an underbase, a semi-transparent red printed on a black shirt can look muddy or nearly invisible. With an opaque white layer underneath, that same red has a neutral surface from which to reflect light, helping it retain its intended appearance.
A typical DTF production workflow builds the transfer in layers:
- The printer lays down the color artwork on the film.
- White ink is printed behind the areas that require opacity.
- Hot-melt adhesive powder bonds to the wet white ink.
- The transfer is cured and later heat pressed onto the garment.
The print order may appear reversed while the transfer is on film because the finished design is viewed from the opposite side after pressing. The white layer ultimately ends up closest to the fabric.
In a properly prepared DTF workflow, you normally do not need to add a separate white silhouette behind your artwork. The RIP software used during production generates the white ink layer based on the transparent areas and printed pixels in the file. If DTF is new to your shop, this direct-to-film printing guide explains the full process from digital artwork through heat application.
Why the Underbase Makes Colors Pop on Dark Fabric
Garment color influences any ink that is not fully opaque. This effect is easy to miss on white or light gray shirts because the fabric already provides a bright background. Black, navy, forest green, maroon, and other dark colors absorb more light and can visually overpower translucent ink.
It protects color brightness
The white underbase prevents the shirt color from showing through the printed color layer. Yellows stay bright instead of turning olive, light blues remain visible on navy, and reds do not become dull brown tones on black fabric.
It improves visual consistency
A customer may order the same logo on black, royal blue, and charcoal shirts. A stable underbase helps the printed colors look more consistent across those garment colors, although fabric texture and dye can still affect the final result.
It supports small details and contrast
Fine lettering, highlights, and thin outlines need separation from the background. An accurately registered white layer gives those elements enough opacity to remain legible. Poor underbase alignment, by contrast, may create a visible white edge or leave dark gaps around the color.
The underbase cannot expand the color range of a source file or repair inaccurate artwork. It provides opacity; color output still depends on the file, printer, inks, and color workflow. For designs that depend on broad color range and smooth, saturated output, HyperColor 9-color RGB DTF transfers combine an expanded ink configuration with the opacity needed for dark garments.
How Artwork Affects White Ink Coverage
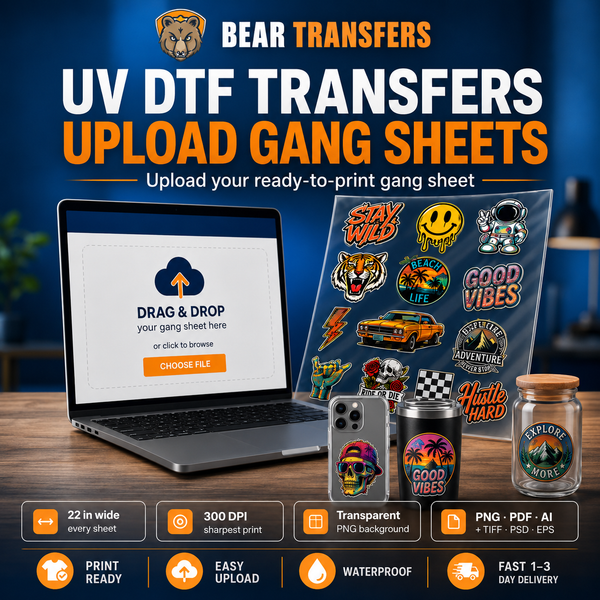
White ink generation begins with the pixels in your file. Clean transparency gives the production software a clear map of where ink should and should not be printed. A transparent PNG at the intended print size is a practical choice for many logos and full-color graphics.
Before ordering, check these artwork details:
- Remove the background completely. A white rectangular background is still printable artwork, not transparency.
- Use adequate resolution. Low-resolution edges can produce jagged color and underbase boundaries.
- Avoid accidental translucent pixels. Soft eraser marks and leftover background halos may cause faint white areas around the design.
- Inspect distressed textures. Every transparent opening can expose the garment, while partially transparent texture may receive reduced ink coverage.
- Size the design before upload. Enlarging a small raster image can soften edges and fine details.
Soft shadows, glows, smoke, and semi-transparent artwork require special attention. These effects contain pixels at varying opacity levels. On a dark shirt, the underbase and garment color can change how subtle transitions appear compared with a backlit monitor. Extremely faint pixels may not reproduce as expected, so simplify effects that are not essential.
Halftones offer another way to create shading or texture while controlling how much garment shows through. The guide to halftone DTF transfers covers when dot patterns are useful and how they differ from ordinary transparency.
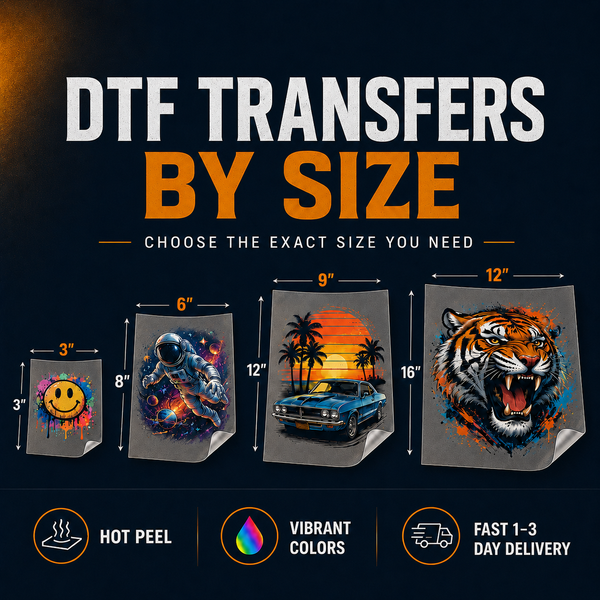
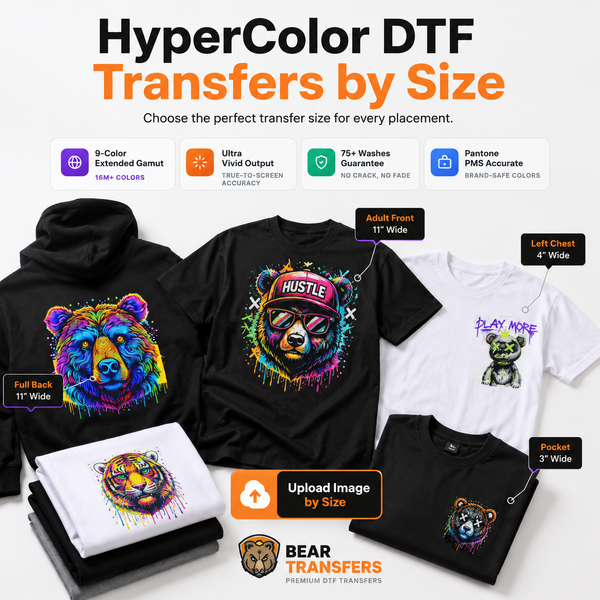
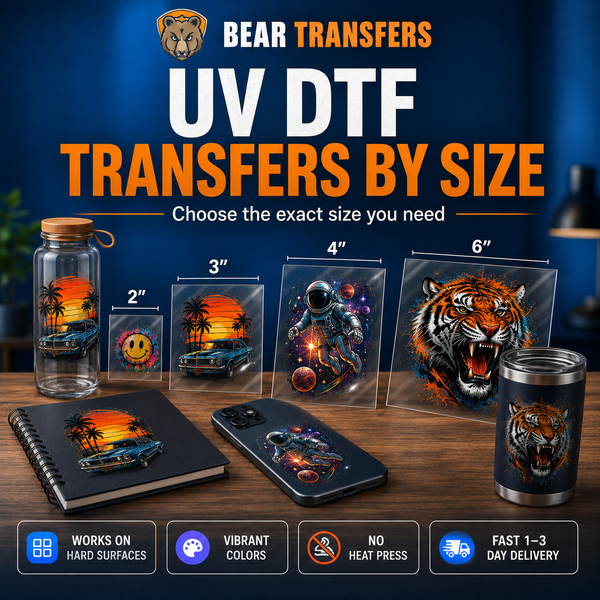
If you need individual logos without arranging a full sheet, you can order DTF transfers by size. This can be convenient for repeat chest logos, back prints, and names that already have clean transparent backgrounds.
Pressing, Fabric, and Common Underbase Problems
A well-printed underbase still depends on correct heat application. Temperature, pressure, time, peel procedure, and garment construction all affect how the ink and adhesive bond to the fabric. Use the pressing instructions supplied with your transfers rather than relying on a universal setting from another product.
Start with a brief pre-press when appropriate to flatten the application area and remove surface moisture. Keep seams, zippers, collars, and pockets from preventing even pressure. A pressing pillow or platen adjustment may help when the application area is not level.
| Visible issue | Likely cause | What to check |
|---|---|---|
| White edge around the artwork | Underbase registration or artwork halo | Inspect file edges at high zoom and confirm the border is not part of the design. |
| Dark shirt shows through | Insufficient opacity or uneven application | Verify pressure, time, temperature, and that seams did not lift part of the transfer. |
| Fine details lift during peeling | Incomplete bond or incorrect peel | Follow the specified hot-peel process and confirm even pressure across the design. |
| Colors change on polyester | Dye migration from the garment | Test the exact fabric and use a polyester-appropriate workflow. |
| Texture looks rough or uneven | Fabric texture, pressure, or moisture | Pre-press as directed and confirm the platen contacts the full print area. |
Polyester introduces a separate issue: garment dye can migrate upward when heated and tint both the white underbase and the colors above it. A strong underbase improves opacity, but it does not automatically stop dye migration. Review the guide to preventing dye migration and ghosting on polyester before decorating sublimated, performance, or highly saturated polyester garments.
Always test a new garment style, especially when it has coatings, heavy texture, stretch, or uncertain dye behavior. You can compare transfer feel and color on your own materials with a DTF and UV DTF sample pack. Testing is less expensive than discovering a compatibility issue in the middle of a customer order.
Choosing Transfers and Garments for Reliable Results
The best dark-garment print begins with a coordinated choice of artwork, transfer size, fabric, and placement. A highly detailed design may need to be printed larger so fine gaps and lettering remain practical. A heavy garment texture can also make tiny elements harder to apply evenly.
For production planning, keep these points in mind:
- Use transparent, print-ready artwork at the final dimensions.
- Order a sample before committing to an unfamiliar garment or large run.
- Press one item first and inspect it before continuing the batch.
- Keep transfer placement and press conditions consistent across every piece.
- Wash-test decorated samples when adding a new blank to your product line.
Bear Transfers produces hot-peel DTF transfers with a 100+ wash guarantee, offers same-day production based on the current cutoff, and ships by UPS in one to three days. Free shipping is available on qualifying orders over $99. Shops that want to simplify sourcing can pair transfers with blank apparel priced near cost.
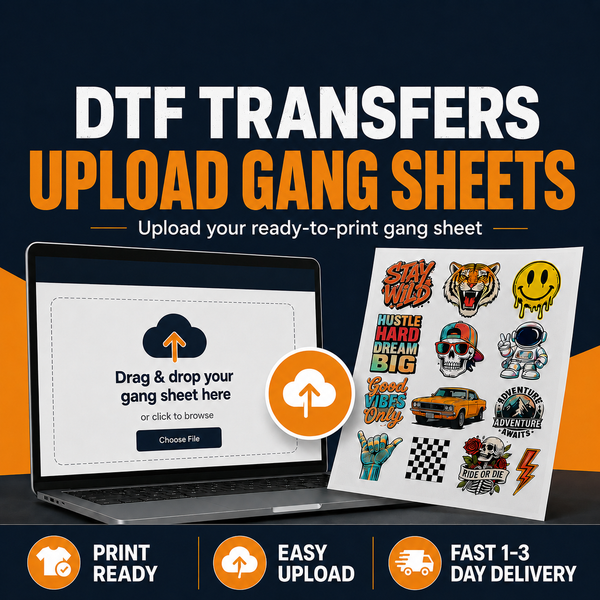
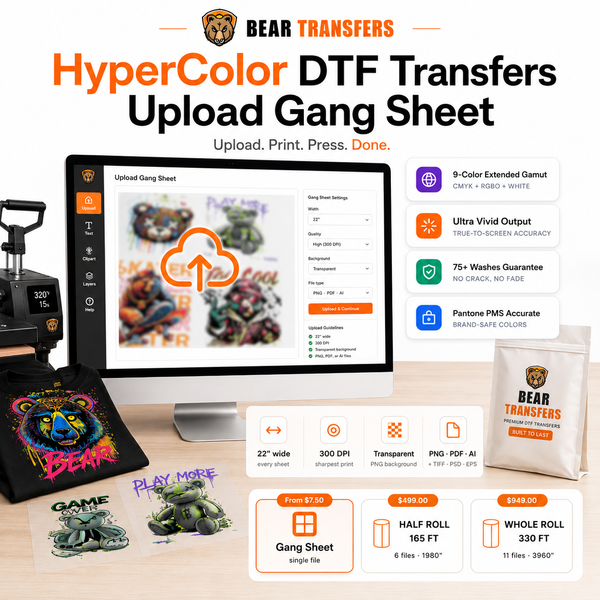
Gang sheets are especially useful when you need multiple logos, neck labels, sleeve prints, or mixed customer designs. Efficient spacing reduces unused film and can lower the transfer cost per design, with DTF gang sheet pricing starting at $2.58 per foot.
FAQ
Do DTF transfers need a white underbase on every shirt?
Dark garments generally need white ink behind colored artwork for opacity. White and very light garments may require less white coverage, but the production workflow determines the appropriate layer for consistent results.
Should I add the white underbase to my PNG file?
Usually, no. Upload the actual artwork with a transparent background. Production RIP software generates the white ink layer, while an added white shape may print as an unwanted border or background.
Why can I see a thin white outline around my design?
The file may contain a light halo from background removal, or the white and color layers may be slightly misaligned. Inspect the transparent edges at high zoom and remove stray pixels before ordering.
Will a white underbase prevent dye migration on polyester?
Not by itself. Dye migration is a heat- and fabric-related problem that can discolor the white layer and printed colors, so test the garment and follow a polyester-specific application process.
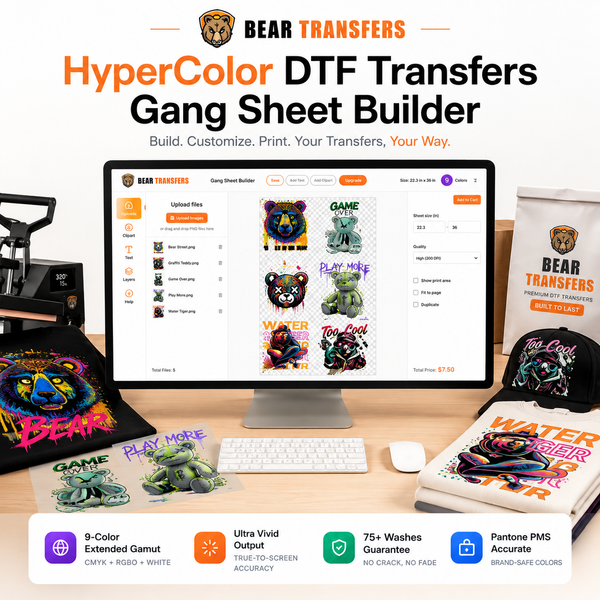
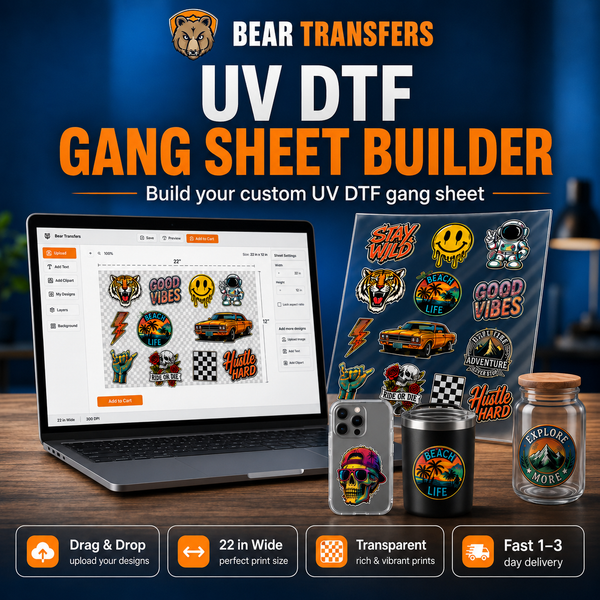
Prepare vivid transfers for black, navy, and other dark garments with the online DTF gang sheet builder.