


How Many Designs Fit on a 10ft Gang Sheet?

A 10ft gang sheet can hold anywhere from a handful of oversized back prints to more than 150 left-chest logos. The difference comes down to design dimensions, rotation, spacing, and whether the artwork has hidden transparent padding.
With a few simple calculations, you can estimate capacity before opening the builder, avoid paying for unused film, and determine your real cost per transfer.
Start With the Actual Dimensions of a 10ft Gang Sheet
A 10ft gang sheet is 120 inches long. For the examples below, we will use a common 22-inch print width, giving you a total rectangular area of 22 by 120 inches, or 2,640 square inches.
That does not mean all 2,640 square inches can become printed artwork. Designs are rectangular or irregularly shaped, and they need enough separation to be handled and cut apart. This guide uses a conservative 0.25-inch gap between design boxes.
Your final capacity depends on four measurements:
- Sheet width: 22 inches in these examples.
- Sheet length: 120 inches for a 10ft sheet.
- Design width and height: Measure the final printed artwork, not the artboard.
- Gap: The open space between neighboring designs.
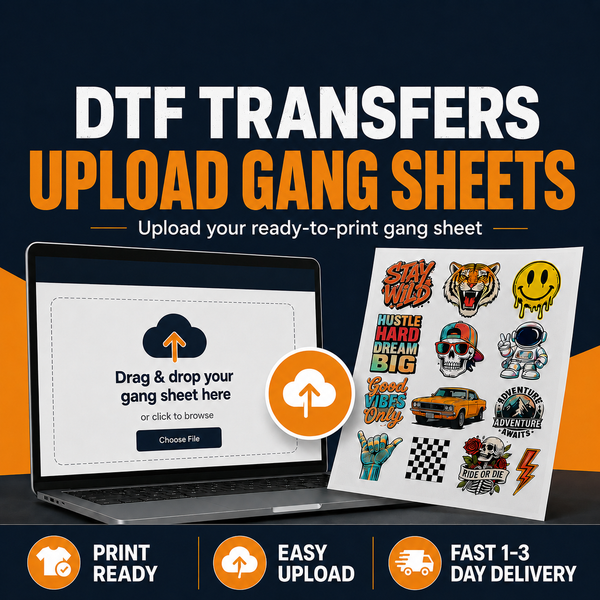
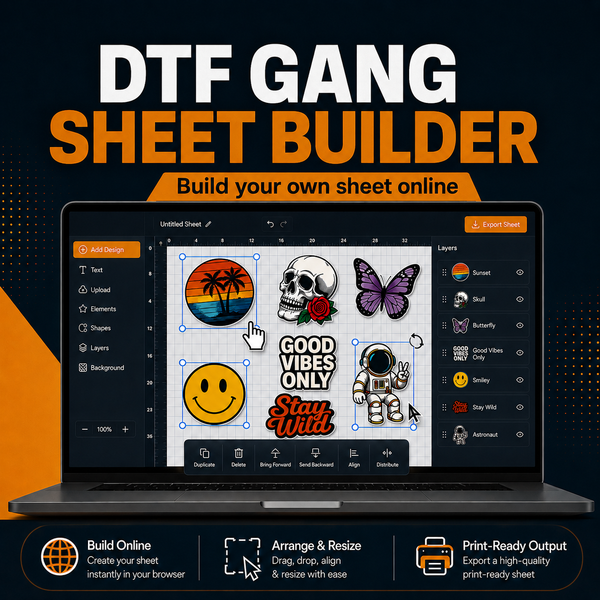
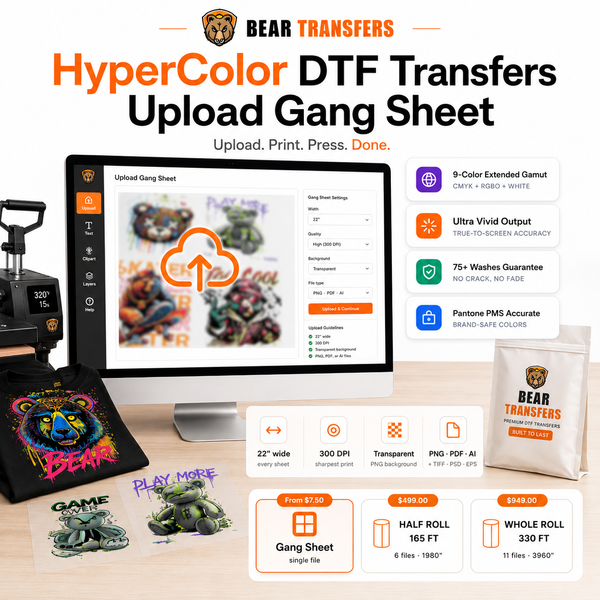
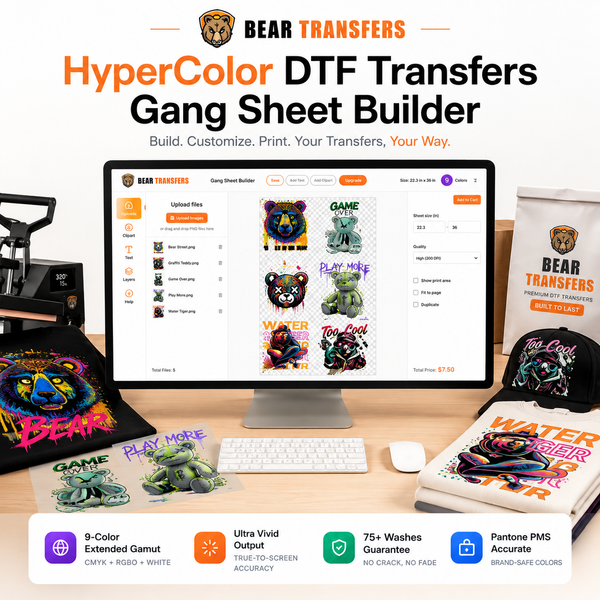
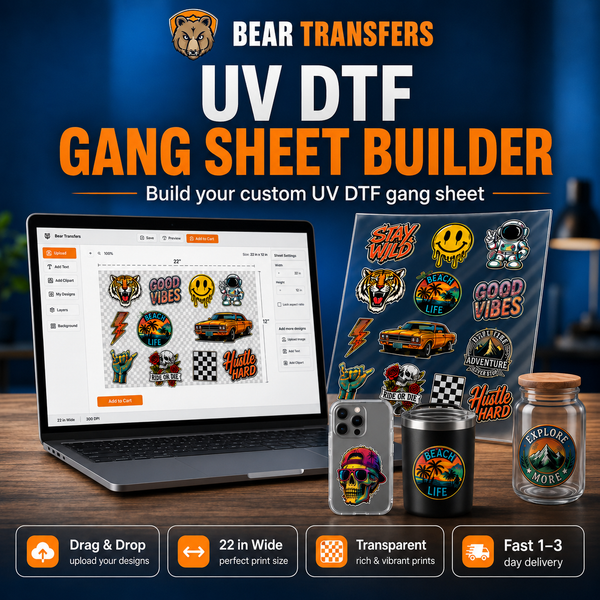
Confirm the available dimensions in the DTF gang sheet builder before completing a production layout. If your artwork is already arranged at the correct sheet dimensions, you can also upload your own ready-made gang sheet.
Why transparent padding changes the count
A logo that looks 3.5 inches wide may sit inside a 5-inch-wide transparent canvas. If the layout software reads the full canvas, it reserves space for all 5 inches and reduces the number of copies that fit.
Crop files closely around the visible artwork while leaving necessary effects intact. Review the transparent PNG checklist for DTF gang sheets before arranging a large order.
Use This Formula to Estimate Design Capacity
For a sheet filled with one rectangular design, calculate how many copies fit across the width and down the length. Always round each result down to a whole number.
Copies across = floor((sheet width + gap) ÷ (design width + gap))
Rows down = floor((sheet length + gap) ÷ (design height + gap))
Total copies = copies across × rows down
For a 3.5-by-3.5-inch logo with a 0.25-inch gap:
- Copies across: (22 + 0.25) ÷ (3.5 + 0.25) = 5.93, rounded down to 5.
- Rows down: (120 + 0.25) ÷ (3.5 + 0.25) = 32.06, rounded down to 32.
- Total capacity: 5 × 32 = 160 logos.
For more conservative production planning, allow a small outer-edge margin. A 0.25-inch margin on every edge reduces the usable area to 21.5 by 119.5 inches, bringing the estimate to 155 logos. This buffer helps prevent an edge-hugging layout and is the basis for the table below.
| Design size | Typical use | Best orientation | Estimated quantity | Starting print cost each |
|---|---|---|---|---|
| 3.5 × 3.5 in | Left chest | Square | 155 | $0.17 |
| 4 × 4 in | Large chest logo | Square | 140 | $0.18 |
| 10 × 10 in | Youth or medium front | Square | 22 | $1.17 |
| 10 × 12 in | Adult front | 10 in across | 18 | $1.43 |
| 11 × 11 in | Large front | Square | 10 | $2.58 |
| 12 × 14 in | Full back | 14 in across | 9 | $2.87 |
These costs use Bear Transfers' advertised starting rate of $2.58 per linear foot, making a 10ft sheet start at $25.80 before shipping, taxes, or optional product upgrades. Divide $25.80 by the number of usable transfers to estimate the starting print cost per piece.
The table is a planning reference, not a guaranteed layout. Exact capacity can change with artwork shape, margins, spacing, and file boundaries.
Rotation and Mixed Sizes Can Recover Wasted Space
Checking both orientations is one of the easiest ways to fit more transfers. A 10-by-12-inch design fits poorly when the 12-inch side runs across a 22-inch sheet because only one column fits. Rotating it places two 10-inch-wide designs across, increasing the estimated count from 11 to 18.
Calculate both orientations
Run the formula twice:
- First with the original width and height.
- Then with the width and height reversed.
- Choose the orientation with the higher whole-number total.
Rotation is especially important when a design is slightly wider than half the sheet. Two 11-inch designs do not fit across a 22-inch sheet once spacing is added, but two 10-inch designs do.
Use small designs to fill leftover strips
A mixed sheet rarely works well with one capacity formula. Build it in rows or zones instead:
- Place the required large front and back designs first.
- Rotate each large design to minimize unusable width.
- Identify open side columns and short spaces at the end of rows.
- Fill those areas with left-chest logos, sleeve prints, neck labels, or customer reorder extras.
- Keep enough space to separate each transfer cleanly.
For example, a row containing one 14-inch-wide back print leaves roughly 7.75 inches after a 0.25-inch gap. That remaining strip may hold two 3.5-inch-wide chest logos side by side. Repeating that arrangement can recover film that would otherwise remain blank.
If you need help choosing practical logo dimensions, use the left-chest logo sizing chart for shirts and jackets. Correct sizing matters because reducing a logo from 4 inches to 3.5 inches may significantly increase the quantity per sheet.
A Planning Workflow That Lowers Cost Per Shirt
The cheapest layout is not automatically the sheet with the highest design count. It is the sheet that gives you the correct quantities, avoids unnecessary extras, and supports your actual production schedule.
1. Build an order quantity list
List every design, print size, garment size range, and required quantity. Separate front, back, sleeve, pocket, and neck-label transfers. Add only the overage you expect to use for test presses, damaged garments, or near-term reorders.
2. Standardize sizes where possible
Using one adult front size across several shirt sizes makes gang-sheet planning easier. However, do not force one oversized transfer onto every garment if it creates a poor fit. A smaller youth version or a separate oversized version may produce better finished apparel.
3. Group designs by repeat demand
Put reliable sellers together when possible. If a large sheet contains seasonal art, one-off names, and evergreen logos, leftover transfers may not have equal value. A slightly less dense sheet can still be more profitable if every transfer is likely to sell.
4. Check artwork at final print size
Inspect small text, thin lines, distressed textures, and fine details at the dimensions you plan to print. Do not enlarge a low-resolution image simply to fill space. File quality should determine whether the design is production-ready, while layout math determines how many fit.
5. Compare sheet pricing with simpler ordering
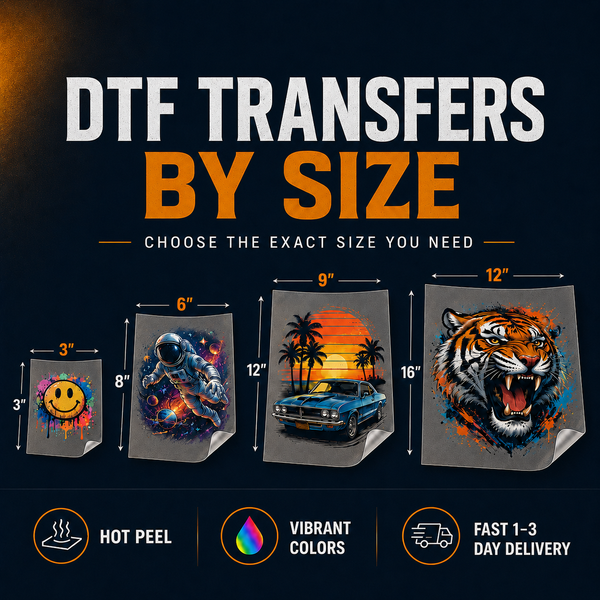
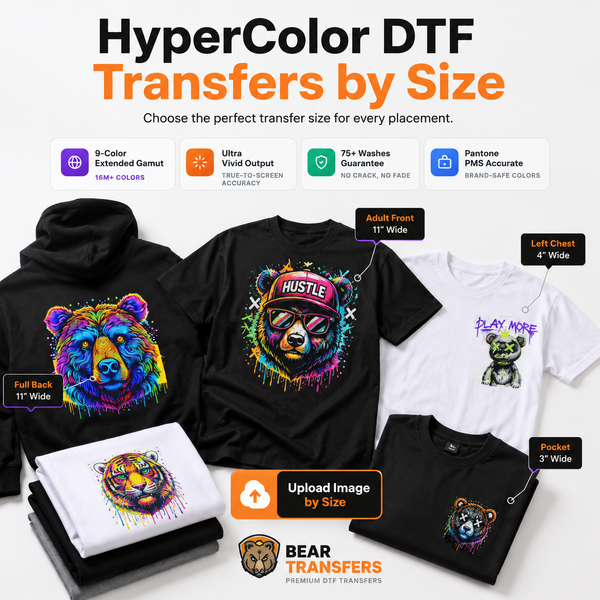
A gang sheet is useful when you can fill most of the available length. For short runs or scattered quantities, it may be easier to order DTF transfers by size and skip manual nesting.
Once the transfer count is set, include the garment in your unit economics. Pairing transfers with blank apparel priced near cost can make it easier to calculate the complete decorated-shirt cost rather than focusing only on film.
FAQ
How many 3.5-inch logos fit on a 10ft gang sheet?
Using a 22-by-120-inch sheet, 0.25-inch gaps, and a small outer margin, approximately 155 square 3.5-inch logos fit. A layout with tighter edge use may hold more.
How much does a 10ft gang sheet cost per design?
At the starting rate of $2.58 per foot, the sheet starts at $25.80. Divide that amount by your usable transfer count; 22 transfers equal about $1.17 each, while 155 equal about $0.17 each.
Should I leave space between DTF designs?
Yes. A practical gap makes individual transfers easier to separate and prevents neighboring artwork from touching. This guide uses 0.25 inch as a conservative planning allowance.
Can different designs and sizes go on the same gang sheet?
Yes. Mixed sheets are ideal for combining fronts, backs, chest logos, sleeves, and labels, provided every item is sized correctly and separated for cutting.
Plan your quantities, crop the artwork, and build a DTF gang sheet online to turn the math into a production-ready layout.