
The Transparent PNG Checklist for DTF Gang Sheets

A transparent PNG may look ready on your screen while still containing a white box, rough cutout, faint halo, or insufficient resolution. Catching those problems before upload helps you build cleaner gang sheets, protect production time, and avoid printing an entire row of unusable transfers.
Use this checklist before submitting individual designs to a builder or uploading a complete, print-ready gang sheet.
1. Confirm That the Background Is Truly Transparent
Deleting a visible white background is not always enough. Small patches of white, gray, or partially transparent pixels can remain around the artwork, especially when a design was removed from a photo or exported from an online background-removal tool.
Check the artwork against multiple colors
Open the PNG over white, black, red, and another bright color. A checkerboard in your design software indicates transparency, but it can make light halos difficult to see. Testing several solid backgrounds exposes leftover pixels more reliably.
- A white rectangle appears: The file was flattened onto a white background instead of exported with transparency.
- A pale outline appears on dark colors: White or gray edge pixels remain from the original background.
- Dark specks appear around the design: The selection or erasing process left stray pixels.
- A glow appears outside the intended artwork: A shadow, blur, or feathered edge may extend farther than expected.
Zoom out after cleaning the file, then zoom in closely around curves, hairline details, distressed areas, and interior openings in letters such as A, B, D, O, P, and R. Those enclosed areas are common places for unwanted backgrounds to remain.
Do not erase intentional white artwork
White design elements are different from a white background. If the design contains white text, highlights, borders, or illustrations, those pixels must remain opaque. They may be hard to see on a white canvas, so inspect the file over a dark background.
DTF printing uses white ink to support color and produce visible white details. For a deeper explanation, review how a white underbase helps DTF prints pop on dark garments.
2. Verify Resolution at the Final Print Size
A large pixel count does not automatically mean a file will print sharply. The important measurement is effective resolution at the size you intend to print.
Use this basic calculation:
Pixel dimension ÷ print dimension in inches = effective pixels per inch.
For example, artwork that is 3,000 pixels wide and printed 10 inches wide has an effective resolution of 300 pixels per inch. If that same artwork is enlarged to 15 inches, its effective resolution drops to 200 pixels per inch.
Aim for 300 pixels per inch at the final print size when possible. Lower-resolution artwork may show soft edges, jagged curves, muddy textures, or difficult-to-read small text. Increasing the resolution number during export does not restore detail that was absent from the original image.
Inspect at 100% size
Open the PNG at 100% view and inspect the features customers will notice first:
- Small text and punctuation
- Thin outlines and borders
- Facial features and fine illustration details
- Distressed textures
- QR codes and other precise geometric elements
- Curved script lettering
If the artwork looks pixelated before upload, arranging it on a gang sheet will not sharpen it. Re-export from the original vector or high-resolution source instead of enlarging the PNG. See the full guide to DTF artwork resolution, file size, and small text for more detailed preparation guidance.
3. Clean the Edges, Transparency, and Fine Details
PNG files support partial transparency, which means edge pixels can be completely opaque, completely transparent, or somewhere in between. Controlled anti-aliasing creates smooth curves, but accidental semi-transparent pixels can create weak-looking edges or unexpected haze.
Watch for white halos
A white halo often appears when artwork was originally placed on white and then cut out. The edge pixels blend with the old background, so they remain pale even after the solid white area is removed.
To correct the problem, return to the highest-quality source file and refine the mask or selection. Avoid repeatedly erasing the edge by hand, which can make curves uneven. When possible, export directly from the original vector, layered illustration, or design file with transparency enabled.
Review shadows, fades, and distressed textures
Semi-transparent effects are not automatically wrong, but they should be intentional. Inspect drop shadows, smoke, glows, watercolor edges, gradients fading to transparent, and distressed patterns. If a texture contains thousands of isolated one-pixel dots, some details may be too fine to reproduce consistently or may be difficult to weed visually from the surrounding transparent area.
Also remove hidden objects outside the visible design. A nearly transparent mark can expand the PNG canvas, make the artwork harder to size, and occupy unnecessary gang sheet space.
4. Set the Correct Size, Color, and Orientation
Finish artwork decisions before arranging multiple designs. Resizing after layout can change spacing, lower effective resolution, or make repeated copies inconsistent.
| Check | What to verify | Common problem prevented |
|---|---|---|
| Dimensions | Artwork matches the intended printed width and height | Transfers printing too large or too small |
| Canvas | Transparent space is cropped close to the design | Wasted gang sheet area |
| Color mode | File is prepared in RGB | Unexpected conversion from a print-oriented CMYK file |
| Orientation | Artwork reads correctly and is not accidentally mirrored | Backward text or logos |
| Opacity | Solid areas are fully opaque | Unintentionally faded print areas |
| Copies | Every repeated design uses the same approved file | Mixed versions on one sheet |
PNG artwork should generally be prepared in RGB. If color range is central to the design, HyperColor 9-color RGB DTF transfers are available for artwork that benefits from an expanded color workflow.
Remember that a monitor produces color with light, while a transfer is printed with ink and viewed under surrounding light. Extremely bright screen colors, subtle dark-on-dark differences, and very low-contrast gradients may not appear exactly as they do on a backlit display. A DTF and UV DTF sample pack can help you evaluate print feel, color, and finish before committing to a larger product run.
5. Run a Final Gang Sheet Preflight
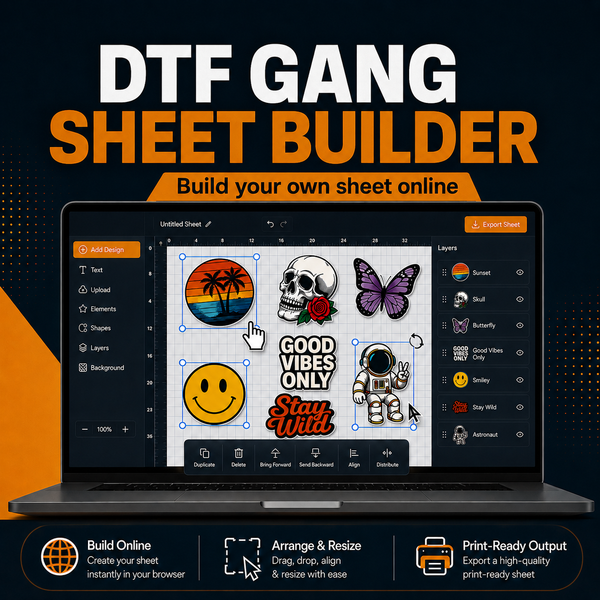
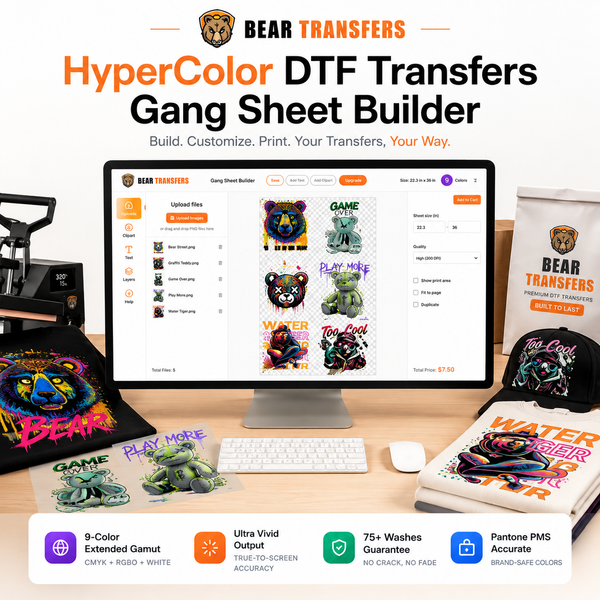
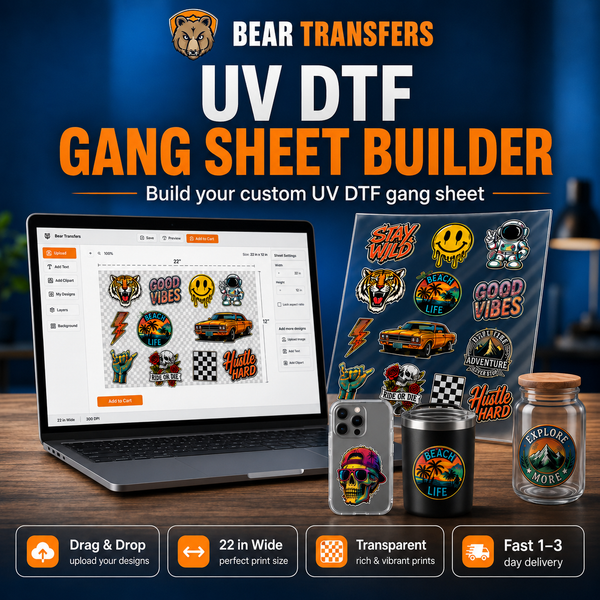
Once every PNG passes inspection, arrange the designs without changing their approved proportions. You can build a DTF gang sheet online when you want to place individual transparent PNGs, rotate artwork, and fill available sheet space.
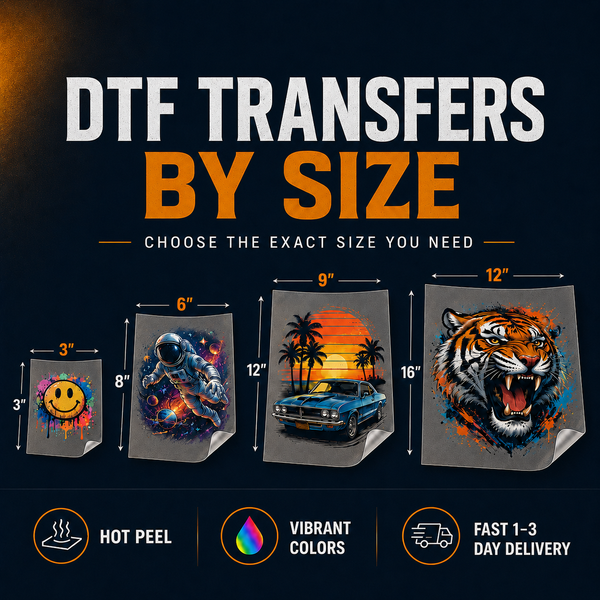
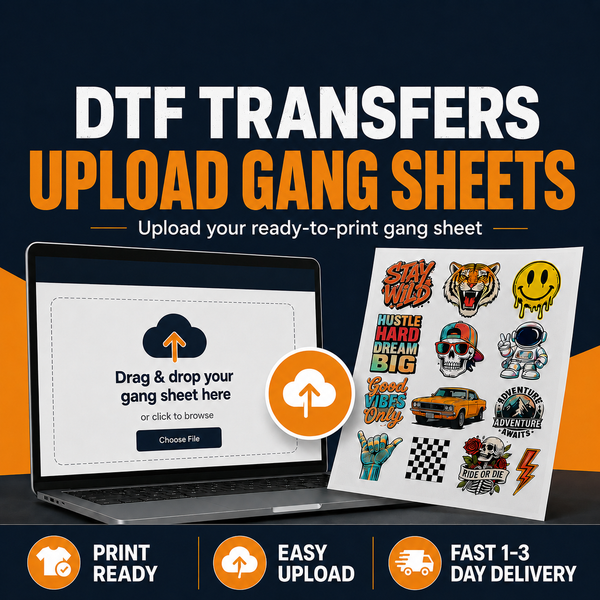
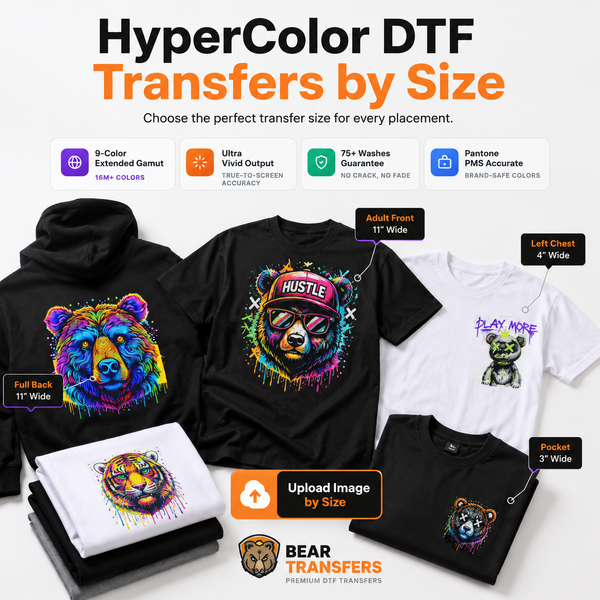
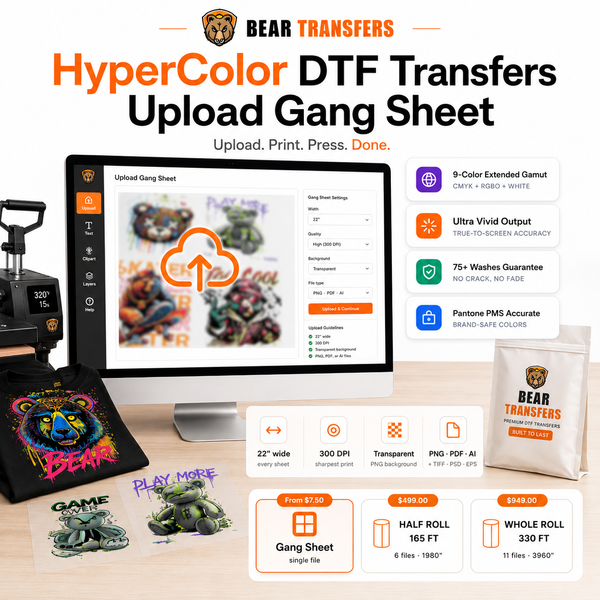
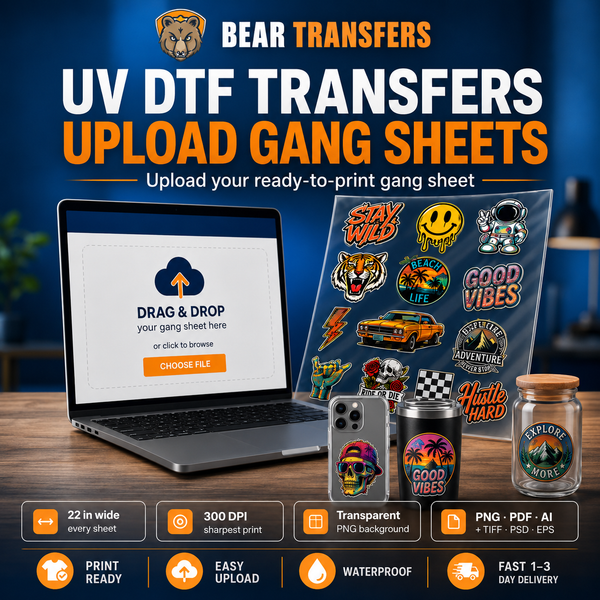
If your complete sheet is already arranged at the correct dimensions, upload your own ready-made gang sheet rather than rebuilding the layout. For a small quantity or a design that does not need gang sheet nesting, you can also order DTF transfers by size.
Use this pre-upload checklist
- Open each PNG over both light and dark backgrounds.
- Confirm that no white box, halo, stray pixel, or hidden object remains.
- Verify the pixel dimensions support the intended print size.
- Inspect text, borders, distressing, and curves at 100% view.
- Confirm intentional white elements are still present.
- Crop unnecessary transparent canvas around each design.
- Check that RGB colors, opacity, and orientation are correct.
- Make sure every repeated copy uses the final approved artwork.
- Leave practical separation between designs so transfers can be cut apart.
- Review the full layout one last time before submitting it.
Do not assume the upload preview will reveal every artwork defect. A preview can confirm placement and approximate size, but subtle halos, low resolution, and tiny stray pixels are easier to catch in the original editing software.
FAQ
Does a PNG automatically have a transparent background?
No. PNG supports transparency, but a PNG can still contain a solid white or colored background. Check the file over multiple background colors before uploading.
Should I remove all white from my DTF artwork?
No. Remove only the unwanted background. Keep white text, highlights, borders, and other intentional design elements opaque.
Can I enlarge a small transparent PNG in the gang sheet builder?
You can resize artwork, but enlarging a small file lowers its effective resolution and can expose pixelation. Start with enough pixels for the final print dimensions.
Should a DTF PNG be mirrored before upload?
Submit artwork in its normal, readable orientation unless the product instructions specifically tell you otherwise. Always inspect text and logos in the final preview.
When your files pass every check, build your DTF gang sheet online and arrange the approved PNGs for production.