
DTF Artwork Resolution: DPI, File Size & Small Text

A logo can look sharp on your monitor and still print with fuzzy edges, broken details, or unreadable small text. The difference usually comes down to the artwork’s pixel dimensions at its final print size—not simply the DPI number shown in the file properties. Understanding that relationship helps you produce cleaner DTF transfers without creating unnecessarily large files.
Judge DTF Resolution at the Final Print Size
Resolution only means something when it is connected to physical size. A 1200-pixel-wide logo has plenty of detail when printed 4 inches wide, but the same file becomes much softer when stretched to 12 inches.
The basic calculation is:
Pixels ÷ print size in inches = pixels per inch
For example, a 2400-pixel-wide design printed 8 inches wide provides 300 pixels per inch. If you enlarge it to 16 inches, it provides only 150 pixels per inch.
DPI and PPI are often used interchangeably in artwork instructions, although they technically describe different things. PPI refers to pixels in a digital image, while DPI refers to printer output. For practical DTF file preparation, the important target is usually artwork sized at approximately 300 pixels per inch at the intended print dimensions.
Changing a file’s resolution field from 72 DPI to 300 DPI does not create detail. If the pixel count stays the same, you have only changed metadata or adjusted the size at which the software interprets those pixels. Genuine improvement requires more original pixels, vector artwork, or a careful redraw.
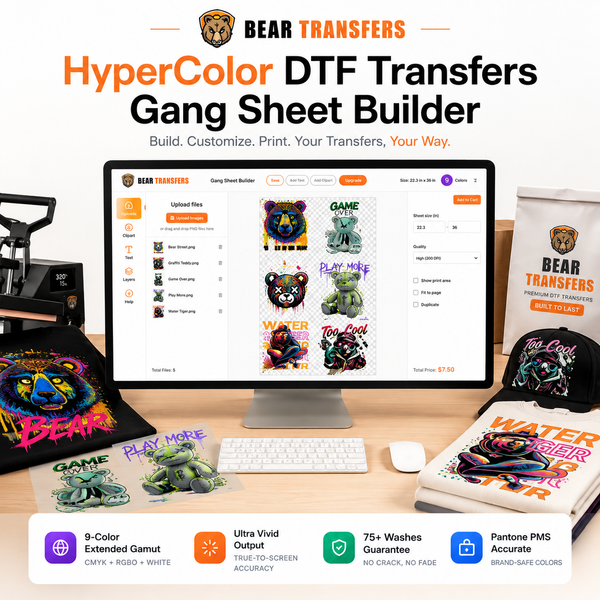
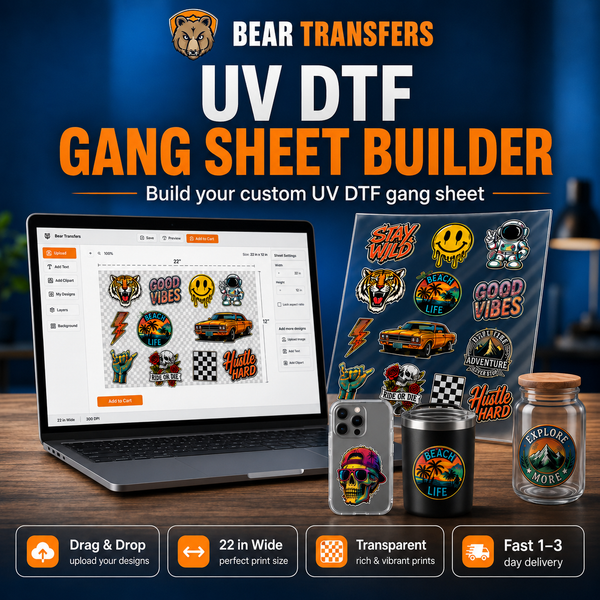
If you are building multiple designs together, set the sheet dimensions first and place each design at its actual production size. The guide to making a DTF gang sheet file explains practical setup options for Photoshop, Canva, and an online builder.
DPI, Pixel Dimensions, and File Size Explained
Use 300 PPI as a reliable preparation target for logos, lettering, detailed illustrations, and most apparel graphics. Large photographic or intentionally distressed artwork may remain usable at a lower effective resolution, but small text and clean geometric edges benefit from the additional pixels.
| Final print size | Recommended pixels at 300 PPI | Typical use |
|---|---|---|
| 2 × 2 inches | 600 × 600 pixels | Small chest mark or tag graphic |
| 4 × 4 inches | 1200 × 1200 pixels | Pocket or sleeve design |
| 8 × 10 inches | 2400 × 3000 pixels | Medium shirt front |
| 12 × 14 inches | 3600 × 4200 pixels | Large shirt front or back |
File size in megabytes is not a dependable quality measurement. A large JPEG may contain compression artifacts, while a smaller vector file may contain perfectly clean paths. PNG compression can also reduce storage size without discarding image detail. Judge the artwork by its pixel dimensions, effective resolution, transparency, and visual quality at the final size.
Avoid enlarging a small web image and assuming the export process will restore sharpness. Standard resampling software can add pixels, but it cannot reliably reconstruct missing letter shapes, line endings, or fine details. For a low-resolution logo, request the original vector file or rebuild the artwork before production.
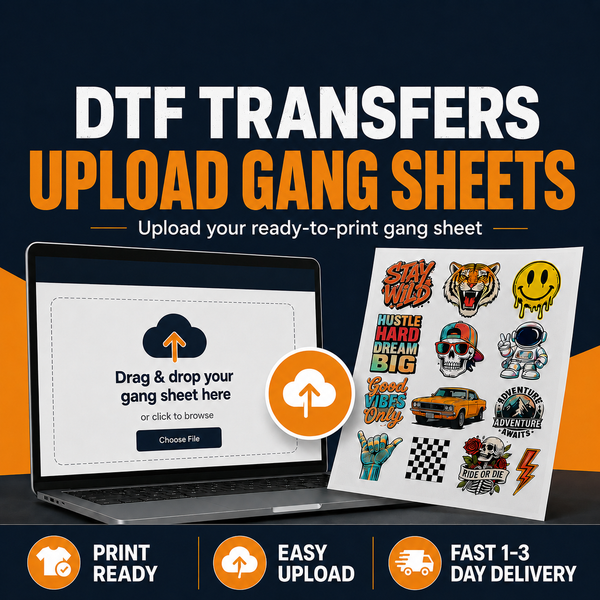
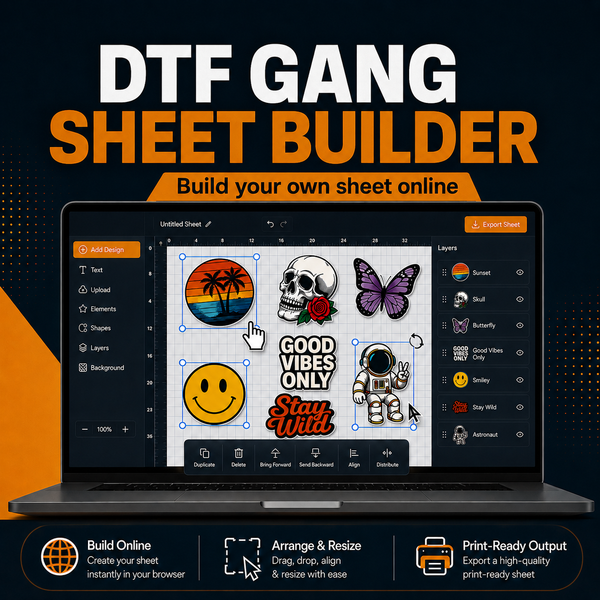
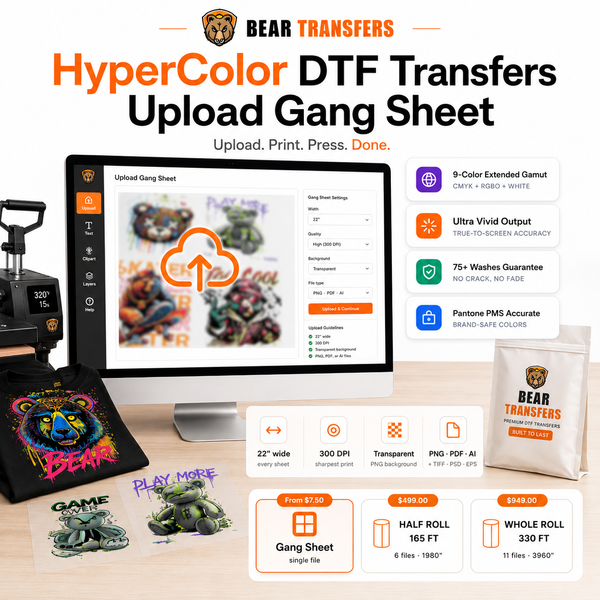
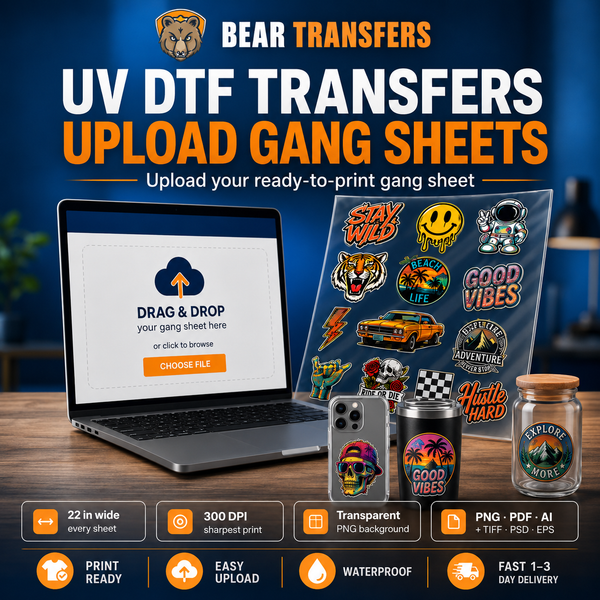
When your designs are already arranged at the correct sheet dimensions, you can upload your own ready-made gang sheet. If you would rather place and resize individual files in the browser, use the option to build a DTF gang sheet online.
How to Keep Small Text Crisp and Readable
Small text is one of the toughest DTF elements because the printed color, white underbase, adhesive, and garment texture all affect the final edge. A typeface that is readable on a bright screen may close up or lose thin strokes after pressing.
Choose fonts for production, not just appearance
Bold and medium-weight fonts usually reproduce more reliably than hairline, light, or highly decorative styles. Pay attention to counters—the open spaces inside letters such as A, B, e, and R. If those spaces are already tiny in the artwork, they may become less distinct on fabric.
There is no universal minimum font size because typefaces have different stroke widths and proportions. As a practical starting point, keep essential wording around 10 to 12 points or larger at the final print size, especially for lightweight fonts. Smaller text should use a simple, heavier typeface and be tested before committing to a customer order.
Inspect stroke widths and negative spaces
- Avoid one-pixel lines and isolated specks that may not hold enough ink and adhesive.
- Increase the weight of thin letter strokes instead of applying aggressive sharpening.
- Open tight spacing between letters so adjacent shapes do not merge.
- Remove tiny distressed holes unless they are important to the design.
- Be especially careful with white or light text reversed out of a dark shape.
At 300 PPI, inspect the final-size raster artwork closely and look for smooth letter curves, complete punctuation, and open interior spaces. Do not judge only from a zoomed-out view. Also review the design at approximately its physical print size, since extreme magnification can make normal anti-aliasing look worse than it will print.
DTF printing normally uses a white layer beneath the color to maintain opacity on dark garments. You generally should not draw a separate white underbase into the customer-facing artwork unless specifically instructed. Learn how this layer affects color and fine detail in the guide to white underbase in DTF printing.
Export Clean Files Without Unnecessary Bulk
For raster artwork, a transparent PNG at the exact print dimensions is a dependable choice. Export in RGB, retain transparency, and confirm that the background is genuinely removed rather than filled with white. Zoom in around the edges to catch leftover background pixels, gray halos, or partially transparent boxes.
JPEG files do not support transparency and can create visible compression blocks around text and high-contrast edges. If the only available source is a JPEG, use the highest-quality original rather than an image copied from a website, message thread, or screenshot.
Vector artwork is ideal for logos and typography because it can be scaled without losing edge quality. Before moving a vector design between programs, convert fonts to outlines or otherwise ensure the typeface will not be substituted. Then export according to the upload requirements for the product you are ordering.
Keep these checks in your export routine:
- Set the document to the exact physical output size.
- Use 300 PPI for raster designs whenever the original artwork allows it.
- Remove hidden backgrounds and unwanted semi-transparent pixels.
- Confirm that text, strokes, and effects are positioned correctly.
- Export once from the best source instead of repeatedly resaving a compressed file.
For artwork designed around expanded RGB color, HyperColor 9-color RGB DTF transfers provide an option for vibrant graphics. Higher color capability does not repair low resolution, so the same sizing and small-text rules still apply.
Run a Final Preflight Before Ordering
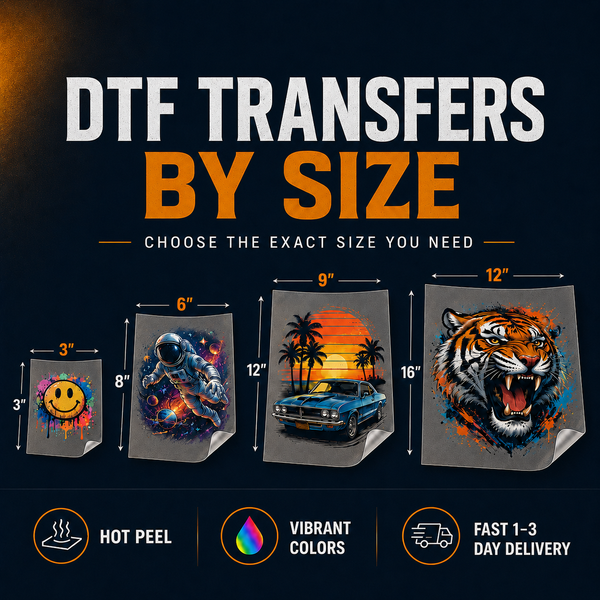
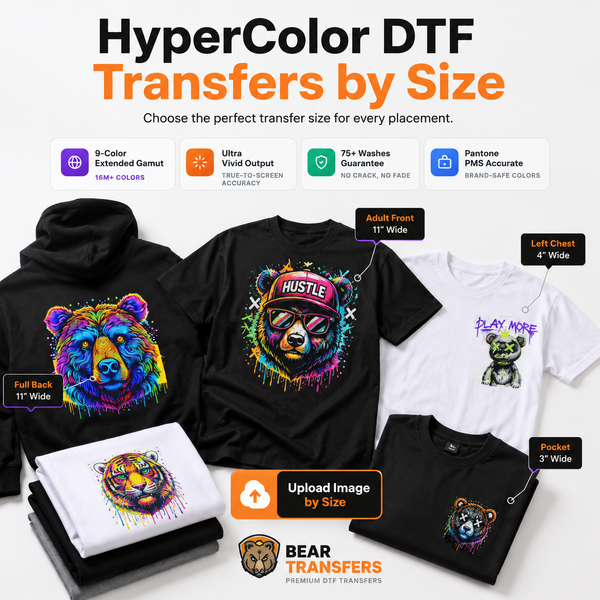
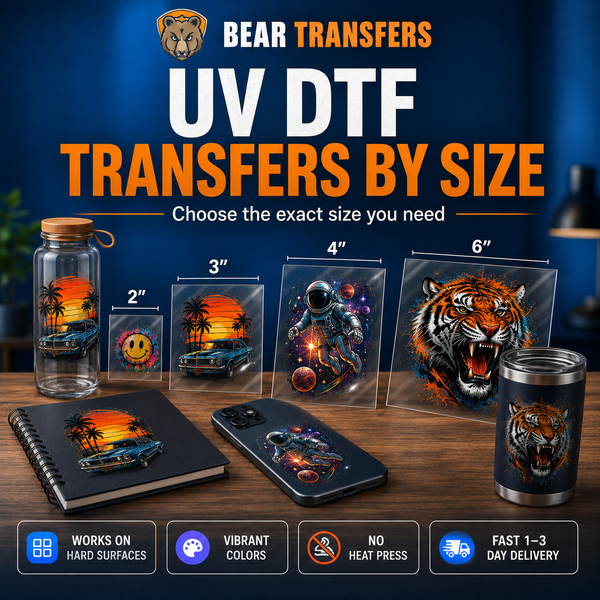
Open the exported file—not just the working document—and verify its pixel dimensions. Check spelling, transparency, orientation, duplicate elements, and the dimensions of every design. If you are ordering a single logo or only a few placements, it may be simpler to order DTF transfers by size rather than assembling a full sheet.
Print the design on office paper at 100% scale when text size or placement is uncertain. A paper proof will not predict DTF color or garment texture, but it quickly reveals text that is too small, incorrect dimensions, and awkward spacing.
For a new logo, very fine lettering, or a high-volume job, test before running the entire order. A DTF and UV DTF sample pack can also help you evaluate the general finish and handling of the products. Remember that clean artwork is only one part of the result; correct temperature, pressure, time, peeling, and repressing matter too. Review the guide to common heat press mistakes that ruin DTF transfers before production.
FAQ
Can a 72 DPI file work for DTF printing?
Yes, if it contains enough pixels for the intended print size. A 3000-pixel-wide image printed 10 inches wide has an effective resolution of 300 PPI, regardless of whether its metadata initially says 72 DPI.
Should I upscale low-resolution artwork to 300 DPI?
Changing the DPI field alone will not add detail. Automated upscaling may help some illustrations, but important logos and text are better recreated from vector artwork or a higher-resolution original.
What is the best file size for a DTF gang sheet?
There is no ideal megabyte size. Build the document at the ordered sheet dimensions, use sufficient resolution, and export with lossless compression when possible; quality and correct dimensions matter more than storage size.
How small can text be on a DTF transfer?
The limit depends on the font, stroke weight, color contrast, garment texture, and press application. Start around 10 to 12 points for essential text, avoid hairline fonts, and test anything smaller or unusually detailed.
Prepare every design at its final dimensions, verify the exported pixels, and then build your DTF gang sheet online.