






Common Heat Press Mistakes That Ruin DTF Transfers

A great DTF transfer can still fail when heat, pressure, peeling, or garment preparation is inconsistent. Before blaming the artwork or transfer, check the pressing process—most common failures have a straightforward fix.
Use this guide to diagnose peeling edges, dull colors, press marks, scorching, dye migration, and other problems that can turn a profitable order into a costly reprint.
Diagnose the Problem Before Changing Press Settings
Changing several variables at once makes troubleshooting harder. If a print fails, note the garment material, press temperature, press time, pressure level, peel method, and whether you completed a final press. Adjust one variable, test again, and record the result.
| Problem | Likely cause | Easy fix |
|---|---|---|
| Edges lift after peeling | Low pressure, insufficient heat, or peeling too early | Repress using the transfer supplier’s instructions and verify even pressure |
| Transfer looks scorched or overly glossy | Too much heat, too much time, or excessive pressure | Reduce the incorrect variable and test on a spare garment |
| Small details stay on the film | Uneven pressure or incorrect peel timing | Lay the film back down, repress, and peel as directed |
| Image changes color on polyester | Dye migration | Lower unnecessary heat exposure and test the garment before production |
| Print cracks or releases after washing | Incomplete bonding or no finishing press | Confirm settings, pressure, and the required repress step |
| One area adheres while another lifts | Seams, pockets, buttons, or an uneven platen | Use a pressing pillow or smaller platen to isolate the print area |
Guessing the temperature instead of verifying it
The temperature displayed on a heat press is not always the temperature across the entire platen. A press may run hot, cold, or unevenly from one side to the other. This can create transfers that adhere in the center but lift around the edges.
Follow the instructions provided with your transfers rather than relying on settings from a different film or supplier. Check platen temperature with an appropriate heat-measuring tool, especially when a press is new, has been moved, or begins producing inconsistent results.
Skipping the garment prepress
Fabric can hold moisture and wrinkles, even when it feels dry. Moisture may turn into steam under the press and interfere with adhesion. Wrinkles can also prevent the transfer from making full contact with the fibers.
Briefly prepress the decoration area, then allow any visible moisture to escape before positioning the transfer. Do not overdo this step: unnecessary heat can create press marks or increase dye migration risk on polyester.
Use Even Pressure and a Flat Pressing Surface
DTF adhesive needs consistent contact with the garment. More pressure is not automatically better, but pressure that is too light—or uneven across the design—can leave sections partially bonded.
Pressing across seams and raised details
Collars, zippers, pockets, drawcords, buttons, and thick seams can hold part of the garment away from the platen. The press may feel tight while the transfer area receives very little pressure.
Place a pressing pillow, pad, or suitable insert inside the garment so the decoration area sits above nearby obstructions. A smaller interchangeable platen can also help with sleeves, youth apparel, pockets, and other restricted locations. For more setup guidance, see this guide to DTF transfers on hats, hoodies, and sleeves.
Using pressure as a vague setting
Labels such as “medium pressure” are useful starting points, but they are not precise across different presses. A manual clamshell, automatic press, and air-powered press may produce different results even when operators use the same description.
Set pressure with the garment loaded because fabric thickness affects platen spacing. Keep a production log for repeat jobs, including the press used and any pillow or platen changes. If the same transfer works on one side of the platen but not the other, inspect platen alignment rather than increasing heat.
Peel and Repress in the Correct Order
Peeling is part of the application process, not an afterthought. A transfer designed for hot peeling should be peeled according to its instructions instead of being left to cool completely. Pulling at the wrong time can leave fine lines, text, or corners attached to the carrier.
Peeling upward instead of low and controlled
Do not yank the film straight up. Start at one corner and peel smoothly while keeping the carrier low and close to the garment. Watch the first inch of the design. If an edge lifts, stop rather than pulling the entire print away.
Lay the carrier back into position and repress using the recommended settings. If the same area fails again, check for a seam, platen cold spot, wrinkle, or contamination beneath it.
Skipping the finishing press
The final press helps complete the bond and gives the print a consistent finish. Protect the design with the recommended cover sheet or finishing material, then repress for the specified time. Using excessive time or pressure during this step can flatten fabric texture, create shine, or leave a visible press box.
Bear Transfers produces hot-peel transfers with a 100+ wash guarantee when properly applied and cared for. If you want to test application and finish before accepting a large order, a DTF and UV DTF sample pack provides materials for dialing in your workflow.
Match the Process to the Garment and Transfer
A setting that works on a heavyweight cotton hoodie may not be suitable for a lightweight polyester jersey. Fabric construction, coatings, dyes, stretch, and heat sensitivity all affect pressing.
Ignoring dye migration on polyester
Polyester dyes can reactivate under heat and move into the transfer. The result may appear immediately or develop after the garment cools. White areas can turn pink, gray, blue, or another shade pulled from the fabric.
Test an actual garment from the production batch before decorating the full order. Minimize unnecessary heat exposure, avoid stacking hot garments, and let pressed items cool separately. Read the full guide to preventing dye migration and ghosting on polyester before running teamwear or performance apparel.
Pressing through contamination
Lint, pet hair, thread, pretreatment residue, and shop debris can become trapped beneath a transfer. The obstruction may create a bump, weak spot, or permanent mark. Keep films covered until use, lint-roll the garment when appropriate, and clean the press without using products that leave residue.
Using an unsuitable design or transfer size
Very small disconnected details require careful placement and even pressure. Oversized prints may cross seams or extend beyond the heated area. Measure the usable flat space on the garment rather than choosing a design size based only on shirt size.
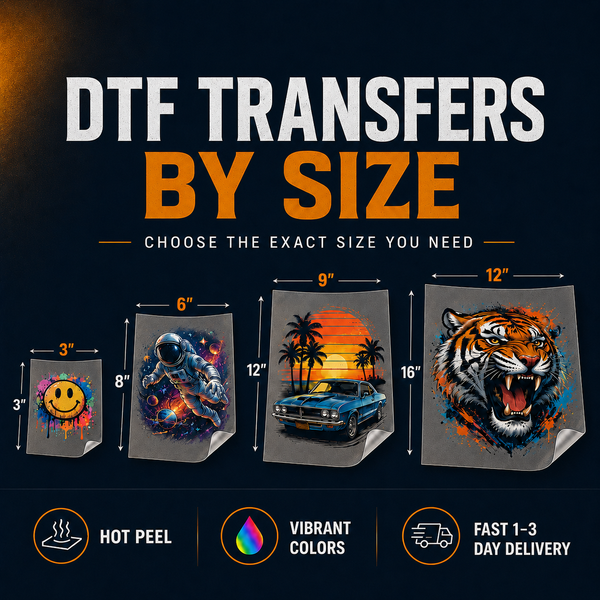
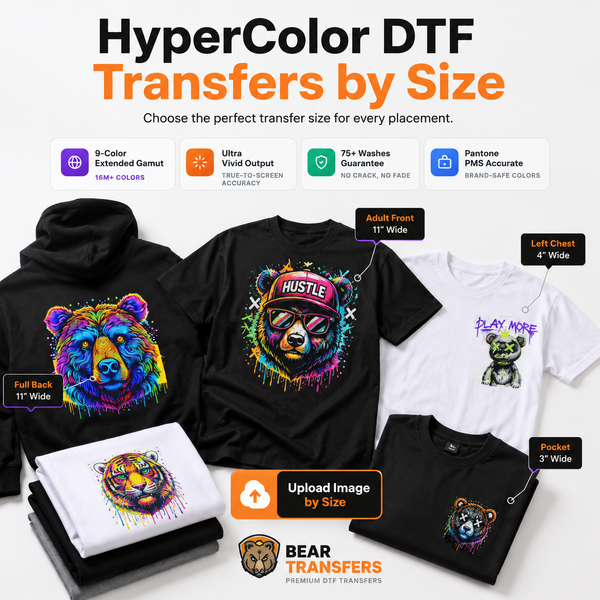
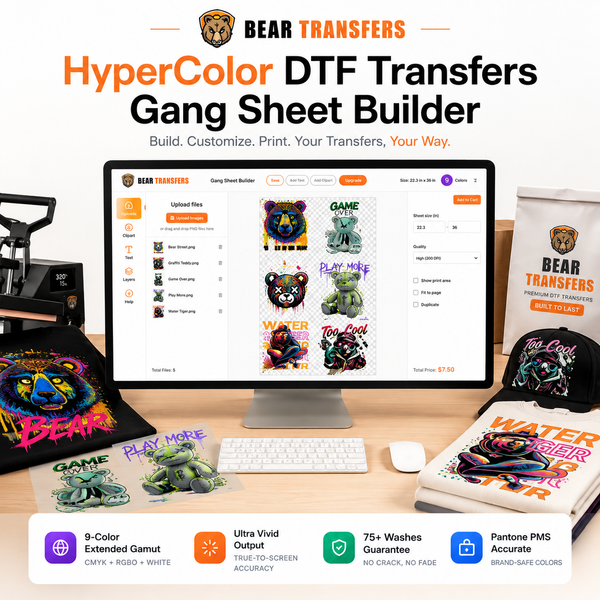
For individual logos and standard placements, you can order DTF transfers by size. For repeat production, use the online DTF gang sheet builder to arrange multiple graphics efficiently. Shops needing an expanded color range for bright, color-critical artwork can also consider HyperColor 9-color RGB DTF transfers.
Build a Repeatable Heat Press Workflow
Consistency prevents more failures than last-minute troubleshooting. Create a written process for each transfer type and train every operator to follow it.
- Inspect the garment. Confirm fabric content, decoration location, seams, coatings, and heat sensitivity.
- Prepare the press. Allow it to reach operating temperature, verify the platen, and set pressure with the garment loaded.
- Run a test. Use a spare or imperfect blank from the same batch whenever possible.
- Prepress and position. Remove moisture and wrinkles, then align the transfer without touching the printed adhesive.
- Press exactly as directed. Use the specified temperature, time, pressure, and peel method for that transfer.
- Inspect before continuing. Check edges and fine details immediately, then complete the finishing press.
- Let garments cool separately. Avoid creating heat buildup by piling freshly pressed apparel.
- Record the result. Save successful settings by garment style, material, transfer type, and press.
Testing is less expensive when you have dependable blanks available. Bear Transfers offers blank apparel priced near cost, allowing small shops to source test pieces and production garments with their transfers.
FAQ
Why is my DTF transfer peeling at the edges?
Edge lifting usually points to insufficient or uneven heat and pressure, incorrect peel timing, moisture, or a seam beneath the print. Repress the transfer as directed and inspect the platen setup before raising the temperature.
Can I repress a DTF transfer that did not stick?
Often, yes. Put the carrier back in place if available, protect the design, and repress according to the transfer instructions. Stop if the garment or print already shows signs of excessive heat.
Why does my DTF print look shiny after pressing?
Excessive heat, time, or pressure can create gloss on the print or fabric. The finishing material also affects texture, so use the recommended cover sheet and avoid extending the repress unnecessarily.
Should I use the same settings for cotton and polyester?
No. Polyester can be more sensitive to heat and dye migration, while fabric thickness and garment construction affect pressure. Test each garment style and follow the instructions supplied with the transfer.
Standardize your next production run by arranging correctly sized artwork with the DTF gang sheet builder.