

Pressing Pillows, Pads and Accessories: What You Need

Pressing pillows and pads can rescue a difficult garment, but they do not belong under every shirt. The right accessory creates a level pressing area around seams, zippers and other obstructions; the wrong one can reduce pressure, distort placement or slow production.
Start With a Flat Platen, Then Solve Specific Problems
A standard T-shirt with a smooth, single-layer print area usually needs no pillow or extra pad. Lay the garment flat, pre-press it to remove moisture and wrinkles, position the transfer and follow the transfer supplier’s time, temperature and pressure instructions.
That simple setup is normally the most repeatable. Every extra layer placed on the lower platen changes the distance between the platens and can change effective pressure. Before adding an accessory, identify the obstruction you are trying to fix.
The terminology can be confusing because shops sometimes use “pillow” and “pad” interchangeably. In practical production terms:
- Pressing pillow: A resilient, heat-resistant cushion inserted inside or beneath a garment to raise the print area above seams and hardware.
- Pressing pad: A flat heat-resistant surface, often silicone or foam, used to support a small or irregular item.
- Cover sheet: A reusable or disposable sheet placed over the transfer or exposed print. It protects the upper platen but does not correct uneven pressure.
- Heat tape: Heat-resistant tape used to keep a transfer from shifting when movement is likely.
Pre-pressing is still required when using a pillow. Review why you should pre-press every garment before applying DTF before treating an accessory as the solution to moisture or wrinkles.
When a Pressing Pillow Actually Helps
A pillow is useful when a raised feature prevents the upper platen from applying even pressure to the entire transfer. The pillow goes inside the garment or directly beneath the target area so the printable surface sits slightly higher than the obstruction.
Seams, collars and pockets
Thick seams can hold the platen away from part of a transfer. Common examples include a left-chest print near a polo placket, a design above a sweatshirt pocket or a small print near the neckline of kids apparel. Choose a pillow smaller than the unobstructed print zone so the seam can fall outside its raised surface.
The pillow should support the complete transfer without placing the transfer edge on the pillow’s slope. An edge pressed over that transition may receive inconsistent pressure.
Zippers, snaps and buttons
Do not close a flat press directly onto bulky hardware. Insert a pillow that raises the print area while allowing the zipper, snap or button to sit lower and outside the pressure zone. Confirm that the accessory and garment hardware are suitable for the required heat before production.
Small and shaped garments
Infant garments, sleeves and other narrow pieces may not fit cleanly over a full-size platen. A small pillow can isolate the print zone from folded fabric, snaps or side seams. For sizing and placement considerations, see the guide to soft DTF printing on baby onesies and kids apparel.
| Pressing situation | Best starting setup | Why |
|---|---|---|
| Flat cotton or polyester T-shirt | Bare lower platen | Provides the simplest, most even pressure |
| Print beside a thick seam | Small pressing pillow | Raises the design above the seam |
| Garment with zipper or snaps | Pillow sized to the print area | Keeps hardware outside direct pressure |
| Small sleeve or infant garment | Small pillow or compatible platen | Reduces interference from folded layers |
| Standard print needing platen protection | Cover sheet on top | Protects the press without leveling the garment |
When Pads and Other Accessories Earn Their Place
A flat heat-resistant pad can help support items that are too small or awkward for the normal lower platen. It may also provide a cleaner working surface when decorating a compatible flat product. Like a pillow, however, a pad changes pressure. Test the setup and adjust only within the transfer and garment requirements.
Cover sheets and finishing sheets
A cover sheet protects the upper platen from adhesive or ink that could transfer to later garments. It is also useful during a finishing press after the carrier has been peeled. Keep sheets clean and replace them when they become creased, contaminated or damaged.
Do not expect a cover sheet to fix pressure lines or bridge a zipper. It is thin and sits above the design, so it serves a different purpose from a pillow placed below the garment.
Heat-resistant tape
Heat tape is helpful for small transfers, sleeve placements and any setup where loading or closing the press could move the design. Use only enough tape to stabilize the carrier. Keep tape off the printed image, and verify that it does not leave marks on the garment.
Alignment tools
Rulers, collar guides and projected alignment systems can improve consistency, but a simple repeatable method is often enough. Record the distance from the collar or seam for each product and size. Always check the design visually because collars, pockets and garment panels can vary.
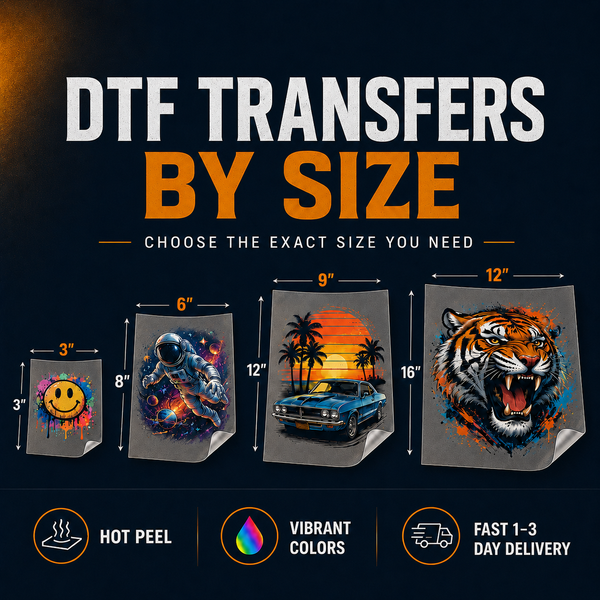
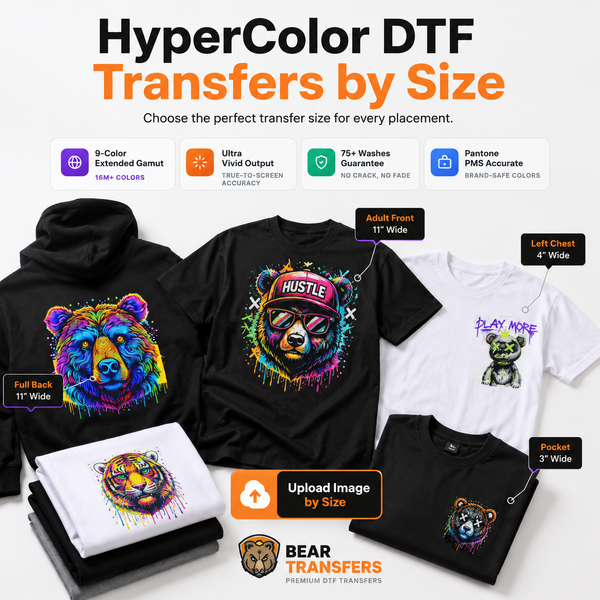
For short runs or placement testing, order DTF transfers by size rather than building a large sheet immediately. A DTF and UV DTF sample pack can also help your team practice handling and application before working on a customer order.
Accessories You Should Not Use by Default
More cushioning is not automatically safer. If a garment is already flat, adding a thick pillow may cause the center to receive pressure before the edges. It can also encourage the garment or transfer to shift as the press closes.
Avoid these common mistakes:
- Stacking multiple pads to compensate for incorrect press pressure.
- Using a pillow larger than the available flat print area.
- Letting the edge of a transfer cross a seam or the sloped edge of a pillow.
- Pressing directly over plastic buttons, zippers or snaps without checking heat compatibility.
- Using towels, cardboard or household foam as improvised pressing pads.
- Adding thick accessories without recalibrating or testing effective pressure.
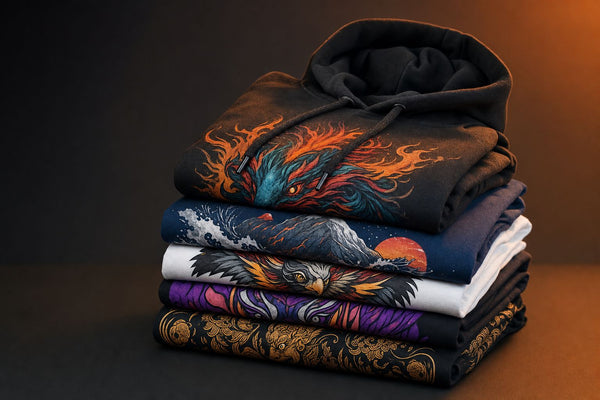
Hoodies are a frequent source of unnecessary accessory use. Some front designs press well when the pocket and seams remain outside the platen; others need a pillow to isolate the print area. The correct approach depends on placement, as explained in the guide to hoodie printing with DTF around fleece, seams and pressure.
Build a Practical Pressing Kit and Workflow
A small apparel shop does not need a drawer full of specialty tools. Start with a few sizes of quality heat-resistant pillows, clean cover sheets, heat tape, an alignment ruler and a temperature-checking method appropriate for your press.
- Inspect the garment. Find seams, pockets, plackets, zippers and extra fabric layers.
- Choose the simplest setup. Use the bare platen when the print zone is already flat.
- Pre-press. Remove moisture and wrinkles before positioning the transfer.
- Add support only if needed. Select a pillow or pad that keeps obstructions outside the raised pressing area.
- Position and secure. Use a guide and minimal heat tape when movement is a concern.
- Press and peel as directed. Follow the supplied application instructions rather than relying on one universal setting.
- Inspect the result. Check the full design, especially edges near seams or pillow slopes, before continuing the run.
Test each new garment style before accepting a large order. You can pair blank apparel priced near cost with sample transfers to document a repeatable setup for your team. When color range matters, test HyperColor 9-color RGB DTF transfers on the actual garment instead of judging color only on a monitor.
FAQ
Do I need a pressing pillow for every DTF transfer?
No. A flat garment on a level platen usually presses best without one. Add a pillow only when seams, hardware or extra fabric prevent even contact.
Can a pressing pillow fix poor transfer adhesion?
Only when uneven pressure is the cause. Poor adhesion can also result from moisture, incorrect temperature, insufficient pressing time, unsuitable fabric or failure to follow the peel instructions.
Can I use a folded towel instead of a pressing pillow?
A towel is not a reliable substitute because its thickness, surface and heat response are inconsistent. Use a purpose-made heat-resistant pillow or pad rated for heat press work.
What pillow size should I buy first?
Choose one that supports your most common obstructed print area while fitting between nearby seams or hardware. Many shops benefit from one small pillow for sleeves and kids apparel plus one medium pillow for pockets, plackets and hoodies.
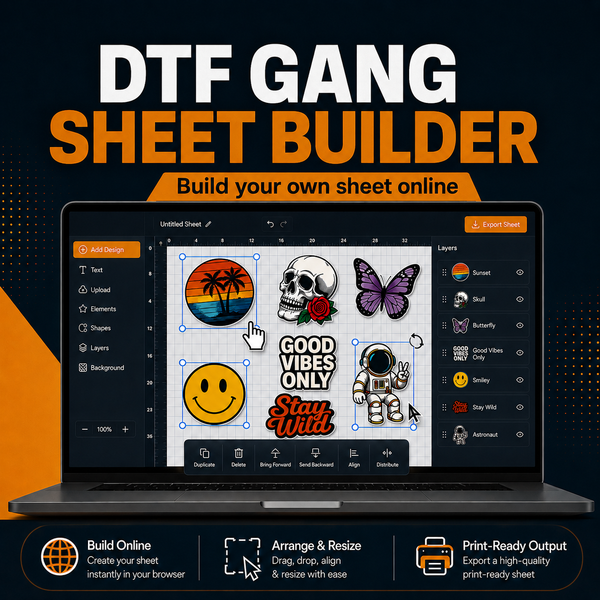
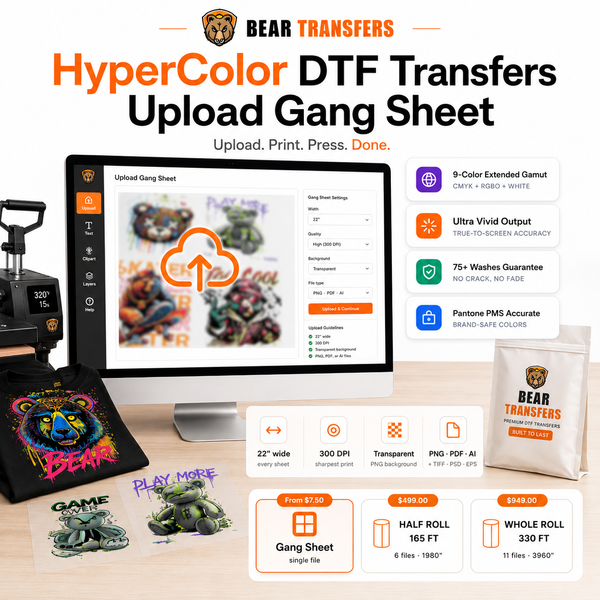
Once your pressing setup is ready, build a DTF gang sheet online for efficient production.