








Why Pre-Press Every Garment Before Applying DTF

A few seconds of pre-pressing can prevent wrinkles, weak adhesion, uneven texture, and costly reprints. Before applying any DTF transfer, give the garment a clean, dry, and flat surface so heat, pressure, and adhesive can do their jobs consistently.
This step is easy to overlook when orders pile up, but it belongs in every reliable DTF production workflow.
What Pre-Pressing Does Before DTF Application
Pre-pressing means closing the heat press on the blank garment before positioning the transfer. The short press prepares the fabric without applying artwork.
Its primary purpose is to remove moisture. Cotton, polyester, fleece, and blends can absorb humidity during manufacturing, shipping, storage, or daily handling. A garment may feel dry while still holding enough moisture to turn into steam under the press.
Pre-pressing also smooths wrinkles and settles the fabric on the lower platen. That creates more uniform contact between the transfer, garment, and heated platen. Consistent contact matters because DTF adhesive needs the right combination of time, temperature, and pressure across the entire design.
A proper pre-press helps you:
- Release moisture trapped in the fibers.
- Flatten wrinkles, folds, and storage creases.
- Stabilize stretch fabrics before artwork placement.
- Confirm that the garment is loaded straight.
- Reveal seams, buttons, pockets, or collars that may affect pressure.
- Check how the fabric reacts to heat before applying the transfer.
Pre-pressing does not compensate for incorrect application settings or a poorly maintained heat press. It creates the prepared surface needed for the recommended settings to work as intended.
Problems You Can Prevent by Pre-Pressing
Steam and moisture interference
When moisture rapidly heats, it becomes steam. That vapor can interfere with contact between the adhesive and fabric, especially around fine lines, corners, and large solid areas. You may see lifting after the peel, tiny bubbles, uneven edges, or adhesion that fails in the wash.
Wrinkles trapped under the design
A DTF transfer follows the surface beneath it. If the shirt is wrinkled, the finished print may show ridges or distorted edges. Pressing a transfer over a crease can also leave part of the adhesive without firm contact.
Uneven pressure
Pressure is not just a number on a press. It depends on the thickness and shape of the item loaded on the platen. A bunched hem, side seam, drawcord, pocket, or zipper can hold the upper platen away from the print area. Pre-pressing makes those obstacles easier to spot before the transfer is committed.
Fabric movement and shrinkage
Some blanks contract slightly when first exposed to heat. If that movement happens under the transfer, it can contribute to puckering or distortion. A short pre-press allows the fabric to react before artwork is applied.
This is particularly important on fleece. Review the recommendations in our hoodie printing guide for fleece, seams, and pressure when working around thick pockets, drawcords, and raised seams.
How to Pre-Press a Garment Correctly
- Inspect the blank. Check the fabric label, print area, seams, stains, coatings, and heat-sensitive details. Remove tags, stickers, lint, and packaging materials that do not belong in the press.
- Set up the press. Start with the application instructions supplied with your DTF transfer. Confirm the platen is clean and has reached a stable operating temperature.
- Load the garment smoothly. Thread the shirt onto the platen when possible so only one layer is being pressed. Keep collars, hems, pockets, and side seams outside the print area.
- Pre-press briefly. For many standard shirts, three to five seconds is enough to release moisture and smooth the surface. Heat-sensitive fabrics may require a shorter test at an appropriate temperature.
- Watch for steam. Visible vapor is a sign that the garment held moisture. Allow it to escape rather than immediately covering the area with a transfer.
- Position and press promptly. Once the fabric is flat and dry, align the transfer and complete the application using the recommended time, temperature, pressure, and peel method.
Do not pre-press a large stack and leave it sitting. Fabric can absorb humidity again, and folded garments can develop new creases. Prepare each item shortly before application.
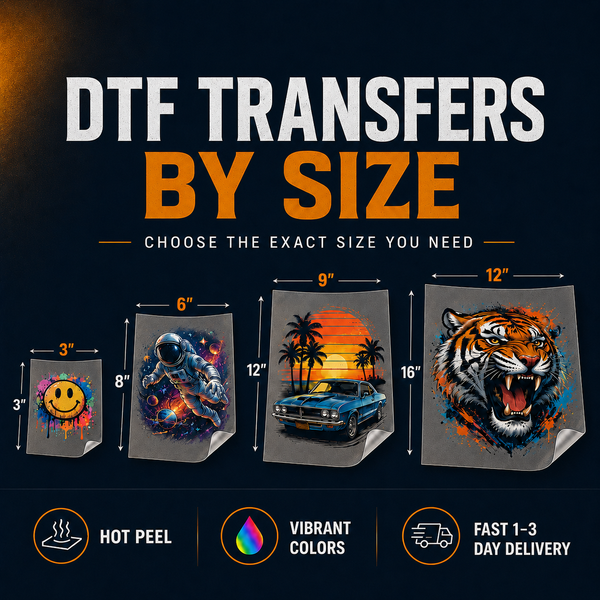
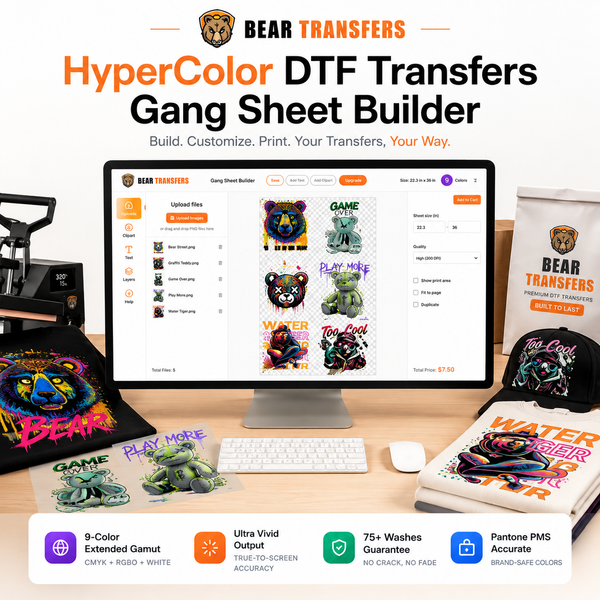
Bear Transfers produces hot-peel DTF transfers backed by a 100+ wash guarantee when properly applied and cared for. You can build a DTF gang sheet online for efficient batch production or order DTF transfers by size when you want straightforward quantities for individual designs.
Adjust Pre-Pressing for Different Garments
There is no single setting that is ideal for every textile. Always check the garment label and test an inconspicuous area when working with a new blank, color, or fabric treatment.
| Garment or fabric | What to watch for | Pre-press approach |
|---|---|---|
| Cotton T-shirts | Moisture, wrinkles, and slight initial shrinkage | Use a short, firm pre-press and smooth the shirt before placement. |
| Cotton-poly blends | Heat sensitivity varies by blend | Follow the blank and transfer instructions; test unfamiliar styles. |
| Polyester | Scorch marks, shine, and dye migration | Use controlled heat and the shortest effective pre-press; test dark colors. |
| Fleece and hoodies | Thick seams, pockets, loft, and uneven pressure | Isolate the print area with a pressing pillow or suitable platen setup. |
| Canvas and tote bags | Heavy weave, coatings, handles, and multiple layers | Flatten the print zone and keep handles and seams away from the platen. |
| Stretch fabrics | Distortion from pulling or over-stretching | Load without tension and let the fabric relax after the pre-press. |
Polyester deserves special attention. Excess heat can create a glossy press box or encourage dye to move into the transfer. Pre-pressing remains useful, but more time is not automatically better. Test the exact garment color and style before starting a production run.
Heavy bags and canvas products introduce different pressure challenges. The weave may hold moisture, while handles and seams can prevent level contact. See our guide to printing tote bags and canvas with DTF transfers for loading and placement advice.
If blank consistency is slowing production, shop blank apparel priced near cost and document a tested recipe for each style you regularly decorate.
Make Pre-Pressing Part of Production Quality Control
A repeatable process protects margins better than relying on memory. Add pre-pressing to the written steps at every heat press station, then record successful settings by transfer type, blank brand, style, fabric composition, and color.
A practical production checklist should include:
- Verify the correct garment, size, color, and artwork.
- Inspect and lint-roll the print area.
- Confirm press temperature with reliable equipment.
- Load the garment without stretching it.
- Move seams and extra layers away from the design area.
- Pre-press and check for moisture or heat reactions.
- Position the transfer using consistent reference points.
- Apply, hot peel, and finish according to the transfer instructions.
- Inspect edges and fine details before packing.
Test whenever you change the blank, press, artwork coverage, or fabric color. A small logo and a full-front solid design do not always behave identically because their adhesive coverage and pressure demands differ. A DTF and UV DTF sample pack can help you evaluate materials and practice your workflow before taking on customer work.
For artwork that needs an expanded color range, HyperColor 9-color RGB DTF transfers offer another production option. Regardless of transfer type, a dry and level garment remains the foundation of a clean application.
FAQ
How long should I pre-press a shirt for DTF?
Three to five seconds is a common starting point for standard shirts, but the correct duration depends on the fabric and press temperature. Use enough time to remove moisture and wrinkles without scorching, shining, or damaging the blank.
Should I pre-press polyester garments?
Yes, but use caution. Polyester can show heat marks or dye migration, so test the exact garment and use a controlled, brief pre-press based on the blank and transfer instructions.
What if I see steam during the pre-press?
Steam indicates moisture in the garment. Let the vapor escape, then repeat a brief pre-press if necessary before positioning the transfer.
Can I skip pre-pressing if the shirt looks smooth?
No. A smooth shirt can still contain moisture, and pre-pressing also confirms loading, pressure clearance, and fabric response before the artwork is applied.
Prepare your next production run efficiently when you build a DTF gang sheet online.