
Printing on Tote Bags and Canvas with DTF Transfers

Canvas totes give apparel businesses an easy way to expand beyond T-shirts, but their seams, handles, coatings, and heavy weave require a different pressing approach. With the right preparation and pressure, DTF transfers can produce sharp, full-color tote bag graphics without screen-printing setup or vinyl weeding.
Why DTF Works Well on Tote Bags and Canvas
DTF transfers are useful for tote bags because one transfer can include detailed artwork, small lettering, gradients, and multiple colors. You do not need to separate colors or weed individual design elements, making short runs and personalized orders practical.
Common tote bag opportunities include:
- Retail merchandise and branded shopping bags
- School, club, church, and nonprofit fundraisers
- Wedding welcome bags and event favors
- Bookstore, library, and teacher designs
- Craft fair inventory and personalized gifts
- Local business and employee appreciation bags
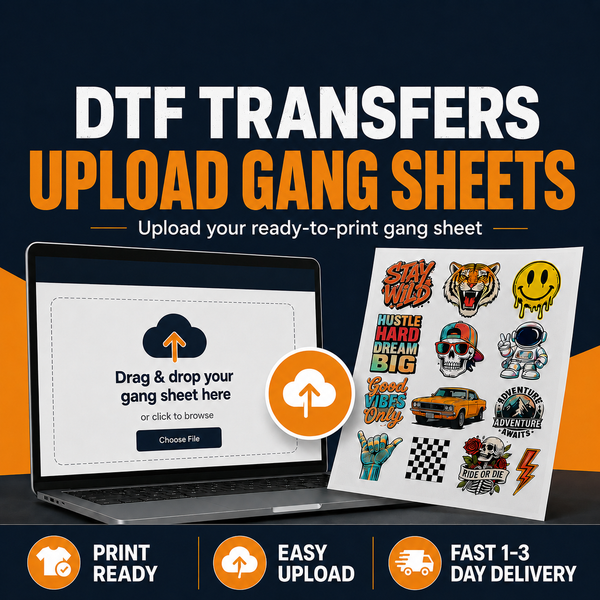
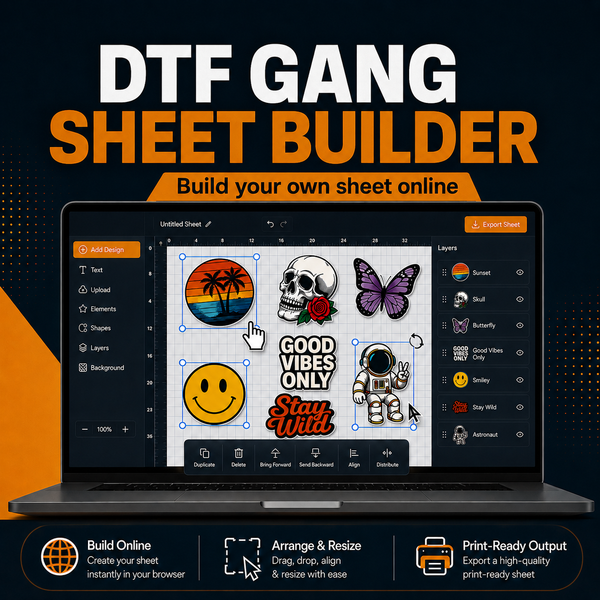
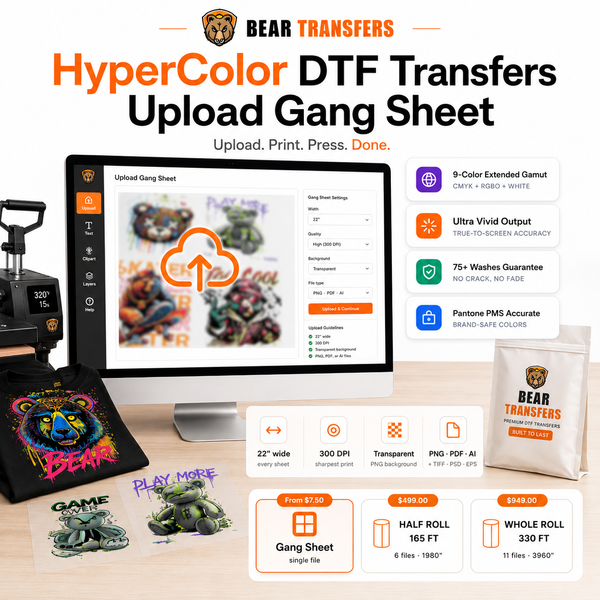
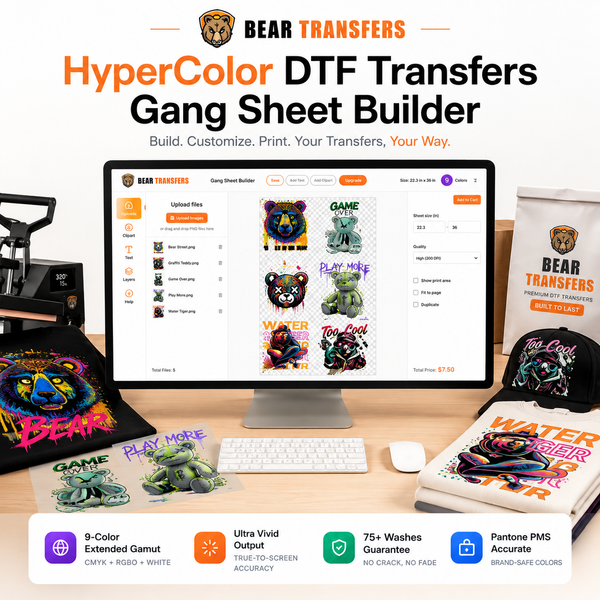
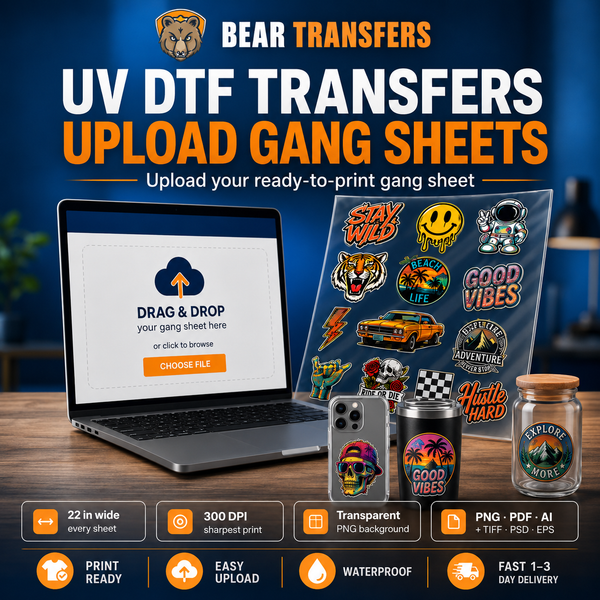
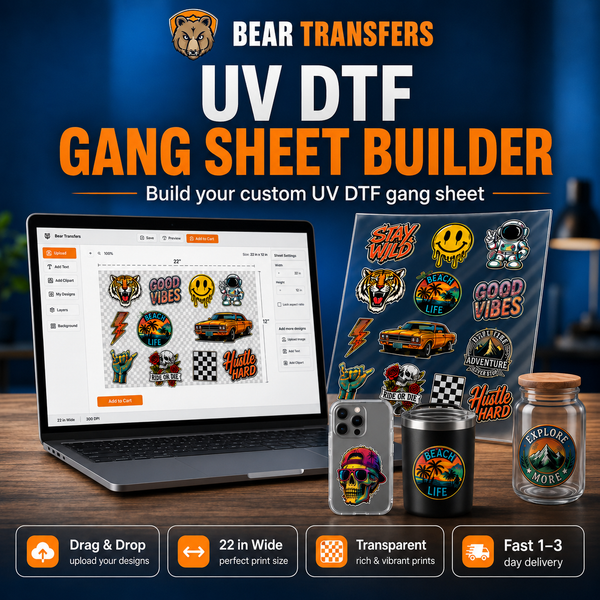
DTF is especially helpful when an order includes several designs or colorways. You can build a DTF gang sheet online and arrange multiple tote graphics on one sheet. If you already have a complete print file, you can instead upload your own ready-made gang sheet.
Canvas is not one universal fabric, however. A natural cotton tote, polyester convention bag, waxed canvas pouch, and water-resistant utility bag may all react differently to heat. Always identify the material and test one bag before pressing the full order.
Choose the Right Tote and Inspect the Print Area
Flat, uncoated cotton canvas is generally the simplest tote material to press. Its textured weave may require more pressure than a lightweight T-shirt, but it usually tolerates heat well. Cotton-polyester blends can also work, although polyester content introduces the possibility of scorching, shine, or dye migration.
Use extra caution with waterproof, waxed, laminated, or heavily treated bags. Heat may discolor the finish, create press marks, release an odor, or reduce water resistance. If the supplier does not provide heat-application guidance, run a small test in an inconspicuous area.
Check for pressure obstacles
Lay the empty tote on the lower platen and examine the entire intended print area. Handles, side seams, interior pockets, zippers, snaps, gussets, and thick hems can prevent the platen from applying even pressure.
Do not simply press across these obstacles. Insert a firm pressing pillow, pad, or heat-resistant platen into the bag so the print surface sits above the seams. The support should be slightly smaller than the transfer area, allowing seams and handles to fall outside the pressure zone.
Measure the usable area, not the bag
A tote listed as 15 inches wide does not offer a 15-inch-wide print area. Leave clearance from side seams, the bottom gusset, and handle attachment points. Center the design within the visible front panel rather than the full dimensions of the bag.
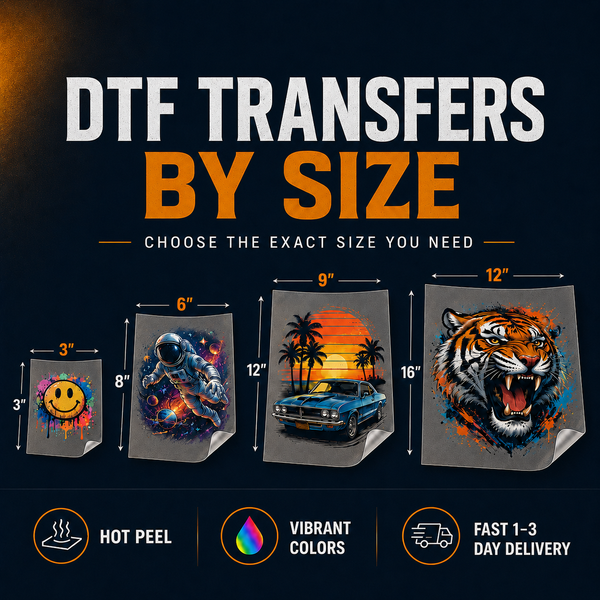
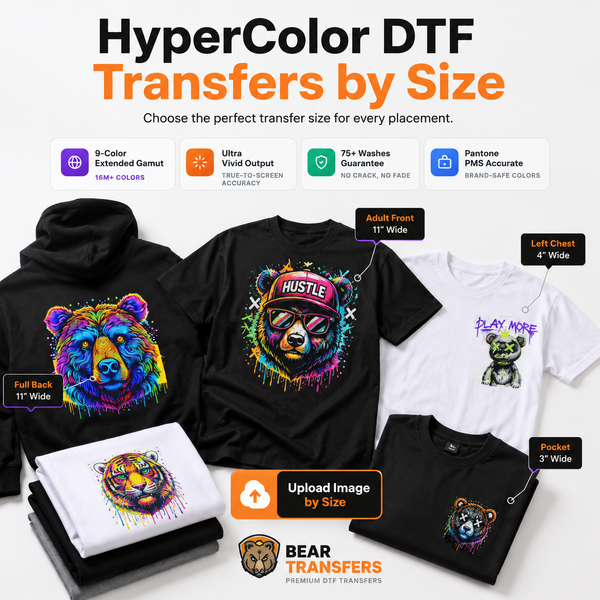
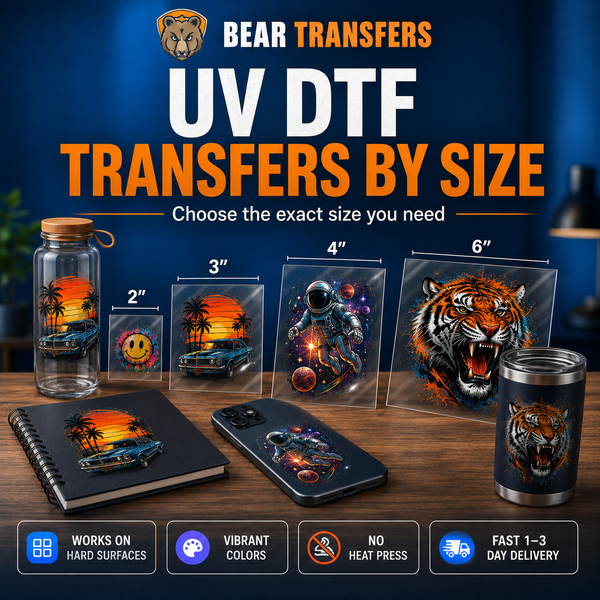
For one-off logos or names, order DTF transfers by size to avoid building a full sheet. For larger production runs, gang sheets generally provide a more efficient layout; DTF gang sheets from Bear Transfers start at $2.58 per foot.
Starting Press Settings for Canvas Totes
The application instructions supplied with your transfers should always take priority. Heat presses vary in platen temperature, pressure calibration, and heat recovery, while tote fabrics vary in thickness and finish. The following ranges are practical starting points for testing, not universal settings.
| Tote material | Starting temperature | Starting time | Pressure and notes |
|---|---|---|---|
| Natural cotton canvas | 300–320°F | 10–15 seconds | Medium to firm; use an insert to isolate seams |
| Cotton-poly canvas | 290–310°F | 10–15 seconds | Medium; test for shine and dye movement |
| Polyester tote | 275–300°F | 8–12 seconds | Medium; start low and watch for scorching |
| Coated or treated canvas | Test required | Test required | Confirm that the coating can tolerate heat |
Check the actual platen temperature with heat-testing strips or another suitable calibration tool if applications are inconsistent. A display reading of 310°F does not guarantee every part of the platen is reaching that temperature.
Pre-press briefly
Pre-press the isolated print panel for about three to five seconds to remove moisture and flatten the fabric. Long pre-presses are rarely necessary and can create discoloration on natural canvas or shine on polyester.
After pre-pressing, allow any steam to escape before positioning the transfer. If the bag shifts easily, use heat-resistant tape on the transfer carrier without placing tape under the printed image.
Use the correct peel method
Bear Transfers produces hot-peel DTF transfers, so the carrier can be removed promptly after the initial press when applied according to the provided instructions. Peel smoothly at a low angle rather than pulling sharply upward.
If any edge lifts, stop peeling, lay the carrier back down, and repress for a few seconds. Lifting usually points to insufficient heat, pressure, or contact—not a need to pull harder.
Step-by-Step Tote Bag Application
- Confirm the fabric. Check the fiber content, finish, and any supplier heat restrictions.
- Inspect the bag. Remove packaging, lint, loose fibers, and debris from the print panel.
- Load an insert. Place a pressing pillow or firm pad inside the tote so seams, pockets, and handles remain outside the pressure area.
- Pre-press the panel. Use a short pre-press to flatten the canvas and release moisture.
- Position the design. Measure from the visible panel edges and handle attachments. Confirm that the artwork is straight while the bag is lying naturally.
- Press the transfer. Follow the transfer instructions, using enough pressure to reach into the canvas weave without crushing seams under the platen.
- Peel the carrier. For hot-peel film, remove it in one controlled motion at a low angle.
- Finish press. Cover the design with parchment or the recommended finishing sheet and press again according to the instructions. This helps seat the transfer into the fabric texture.
- Inspect before production continues. Look closely at fine text, corners, and solid-color edges. Flex the fabric gently after it cools to check adhesion.
A heat press is strongly recommended. A household iron does not provide reliable temperature, pressure, or full-surface contact, particularly on dense canvas.
For saturated artwork, extended gradients, or colors that are difficult to reproduce in a standard CMYK workflow, consider HyperColor 9-color RGB DTF transfers. A DTF + UV DTF sample pack can also help you evaluate transfer finish and application before committing to a customer run.
Design, Production, and Troubleshooting Tips
Plan artwork around the canvas texture
Bold shapes and readable type perform well on textured totes. Very thin lines can visually disappear into a coarse weave even when the transfer has adhered correctly. Inspect small text at its intended print size, and avoid placing critical details directly over folds or creases.
Gang sheets are useful for mixing front logos, pocket-size marks, care labels, and customer names. Keep enough cutting space between designs for fast trimming. If you are estimating a larger run, the guide to how many designs fit on a 10-foot gang sheet explains how design dimensions and spacing affect capacity.
Fix common application problems
- Edges lift during peeling: Increase contact by checking the insert, pressure, temperature, and press time. Repress before removing the carrier again.
- The transfer looks uneven: A seam or handle may be holding part of the design away from the platen. Reposition the support so the entire transfer receives equal pressure.
- Canvas shows a press box: Reduce unnecessary heat or pressure, test a smaller insert, and confirm the tote is not coated. Some temporary marks fade as the fabric cools.
- Polyester changes color: Lower the temperature and time, then test again. Dark polyester may also experience dye migration.
- Fine details look rough: Confirm that the artwork is large enough for the canvas weave and that the finish press provides full contact.
Before selling a new tote style, create a finished sample and perform handling and wash tests using the care instructions you plan to give customers. Bear Transfers hot-peel transfers include a 100+ wash guarantee when properly applied and cared for, but the tote fabric and its coating must also be suitable for laundering.
For event sales, tote bags can complement your shirt inventory without adding many garment sizes. The craft fair DTF playbook covers inventory, display, and production planning that can also be applied to custom bags. Bear Transfers offers same-day production with the applicable cutoff, 1–3 day UPS shipping, and free shipping on orders over $99 to help keep scheduled launches moving.
FAQ
Can DTF transfers be applied to 100% cotton canvas?
Yes. Uncoated cotton canvas is generally a strong candidate for DTF. Use a short pre-press, isolate seams with an insert, and follow the transfer’s temperature, time, pressure, and peel instructions.
What size should a tote bag design be?
Measure the flat panel between the side seams, handle attachments, and bottom gusset. Many designs fall between 8 and 11 inches wide, but the correct size depends on the specific tote and the visual balance of the artwork.
Can I press over a tote bag seam?
Avoid it whenever possible. Raised seams prevent even pressure and can cause incomplete adhesion. Place a pressing pillow or pad inside the bag so the seam falls below or outside the active pressing area.
How should customers wash a printed canvas tote?
Follow the bag manufacturer’s care label first. When machine washing is allowed, turn the tote inside out, use cold water and mild detergent, avoid bleach and fabric softener, and air-dry or use low heat; never iron directly over the transfer.
Ready to prepare a tote collection? Build a DTF gang sheet online and arrange every design for efficient production.