




Hoodie Printing with DTF: Fleece, Seams & Pressure

Hoodies are profitable decorating blanks, but fleece, pockets, zippers, and bulky seams make them less forgiving than T-shirts. The right DTF transfer is only half the job; consistent results depend on controlling heat, pressure, placement, and the surface under the print.
Use the following settings and techniques as practical starting points, then test each hoodie style before beginning a customer order.
Start with the Hoodie Fabric and Construction
Before setting the heat press, read the garment label and inspect the printable area. Two hoodies that look similar can react differently because of their fiber content, fleece weight, coatings, dye, or seam construction.
Cotton and cotton-rich fleece
Cotton-rich fleece is generally straightforward to press. It tolerates heat well, provides a stable face for the adhesive, and is less prone to dye migration than polyester-heavy fleece. However, high heat or excessive pressure can still flatten the fleece and leave a shiny press box.
Polyester and performance fleece
Polyester requires more caution. Too much heat can create gloss, scorching, discoloration, or dye migration into light-colored ink. Dark red, maroon, navy, and other heavily dyed polyester garments deserve a test press before production.
Use the lowest temperature and shortest dwell time that produce a complete bond. If a polyester hoodie shows color shift or press marks, reduce heat exposure, confirm the pressure is not excessive, and allow the garment to cool between test presses.
Blended fleece
Most everyday hoodies are cotton-polyester blends. Treat the polyester content as the limiting factor while checking that the transfer adhesive fully bonds to the textured surface. A smooth cotton face usually presses more easily than a dry, highly textured fleece face.
If you are choosing garments for a new line, compare weights, fiber content, colors, and printable areas within Bear Transfers’ selection of blank apparel priced near cost. Testing one unit before buying deeper inventory can prevent an expensive production problem.
DTF Heat, Time, and Pressure Settings for Hoodies
Always follow the pressing instructions supplied with your transfers and verify the actual platen temperature with appropriate testing equipment. Heat presses can run hotter or cooler than their displays indicate, especially across different areas of the platen.
The table below provides useful starting ranges for common fleece garments. These are test settings, not universal specifications.
| Hoodie type | Starting temperature | Starting time | Pressure | Main concern |
|---|---|---|---|---|
| Cotton-rich fleece | 300–320°F | 10–15 seconds | Medium to medium-firm | Flattened fleece or press marks |
| Cotton-poly blend | 290–310°F | 10–15 seconds | Medium | Heat sensitivity and texture |
| Polyester fleece | 275–295°F | 8–12 seconds | Medium | Dye migration, gloss, or scorching |
| Heavyweight fleece | 300–315°F | 12–15 seconds | Medium-firm at print area | Uneven contact near seams |
Pre-press briefly, not aggressively
A short pre-press can remove moisture, smooth the printable face, and help stabilize the garment. Usually, a few seconds is enough. Long pre-presses add unnecessary heat and can flatten fleece before the transfer is applied.
If moisture is visible as steam, let the hoodie rest briefly after pre-pressing. Placing a transfer immediately onto a damp, hot garment can make positioning difficult.
Use enough pressure to reach the fabric face
DTF adhesive needs even contact, but more pressure is not automatically better. Excessive pressure can force the transfer texture deeper into the garment, flatten the fleece, create an obvious platen outline, or make seams and pocket edges show through the print.
Set pressure based on the actual print area, not the thickest part of the hoodie. A pressing pillow, pad, or elevated platen surface lets the decorated area receive pressure while bulky features fall outside the contact zone.
Peel and finish consistently
Bear Transfers produces hot-peel transfers backed by a 100+ wash guarantee when applied and cared for correctly. Peel using the supplied instructions and a smooth, confident motion rather than stopping halfway across the design.
If the process calls for a finishing press, cover the design with the recommended protective sheet and press only for the specified time. This step helps seat the transfer, but excessive reheating can increase shine or affect heat-sensitive fleece.
How to Handle Seams, Pockets, Zippers, and Drawcords
Most failed hoodie prints are pressure problems disguised as temperature problems. A pocket edge or zipper can hold part of the design away from the platen, leaving sections that look bonded but lift after stretching or washing.
Create a flat pressing zone
Thread the hoodie onto the lower platen when possible so only the front layer is being pressed. Move the hood, drawcords, back seams, and tags away from the pressing area. Do not leave plastic drawcord tips under the heated platen.
For a front print above a kangaroo pocket, place a firm pressing pillow or pad inside the hoodie. The support should be smaller than the printable area and thick enough to raise the fabric face above the pocket seam.
- Keep the entire transfer on the supported flat area.
- Do not let one edge of the transfer overlap a pocket seam.
- Check that the pillow does not create a hard edge through the design.
- Recheck pressure after adding or removing a pillow.
- Press zippers only with a suitable setup that keeps the zipper outside the pressure zone.
Split large graphics when construction demands it
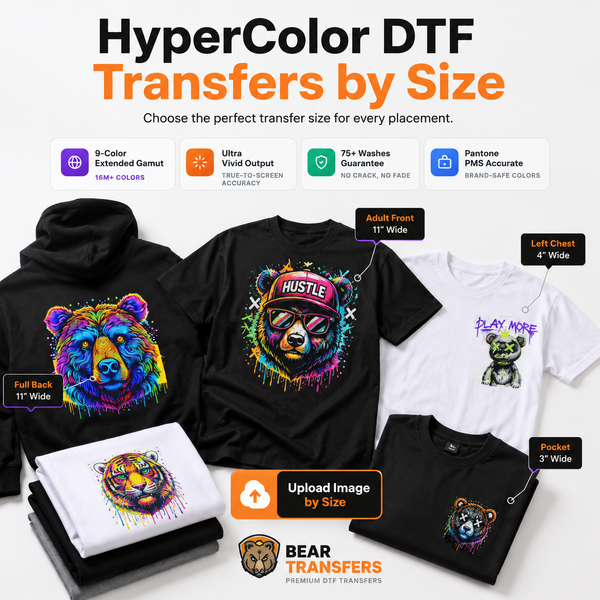
A large front design may not fit cleanly between the neckline and kangaroo pocket. Instead of forcing the graphic across a seam, resize it or redesign it as separate chest and pocket elements. Sleeve, back-neck, and left-chest details can add value without creating a difficult oversized press.
For practical placement ideas, review pocket, sleeve, and back-neck prints that sell. If the job uses smaller branding, the left-chest logo sizing chart for shirts and jackets can help keep scale consistent across hoodie sizes.
Placement and Production Tricks for Repeatable Orders
Consistency matters when a customer orders multiple sizes. A graphic placed correctly on a small hoodie may look too high or overlap the pocket on a 3XL if you rely on one measurement for every garment.
- Lay out each size. Measure the available space between the neckline and pocket before deciding on the final transfer height.
- Use center points. Fold the transfer lightly without creasing the printed area, then align its center with the garment’s centerline.
- Build a placement chart. Record measurements by garment style and size after approving the first sample.
- Press one approval piece. Stretch-test the cooled print and inspect every edge before running the batch.
- Stack finished hoodies loosely. Let heat dissipate instead of trapping it between thick garments.
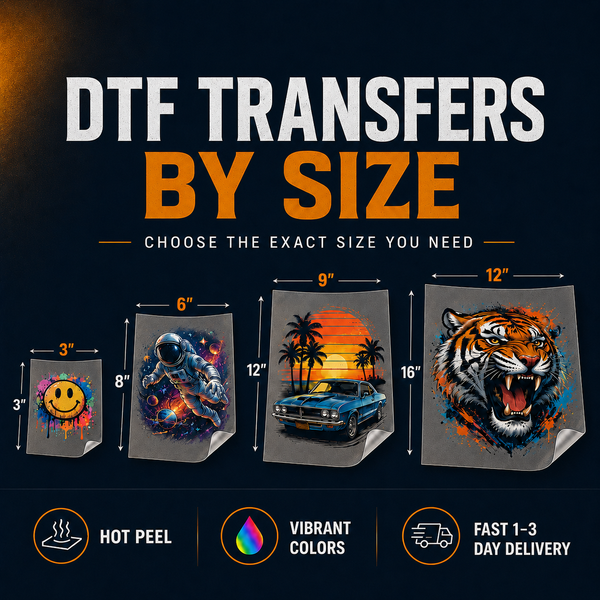
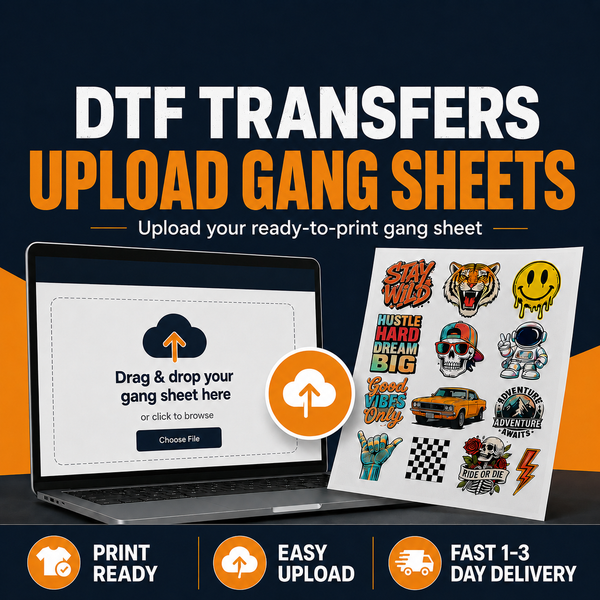
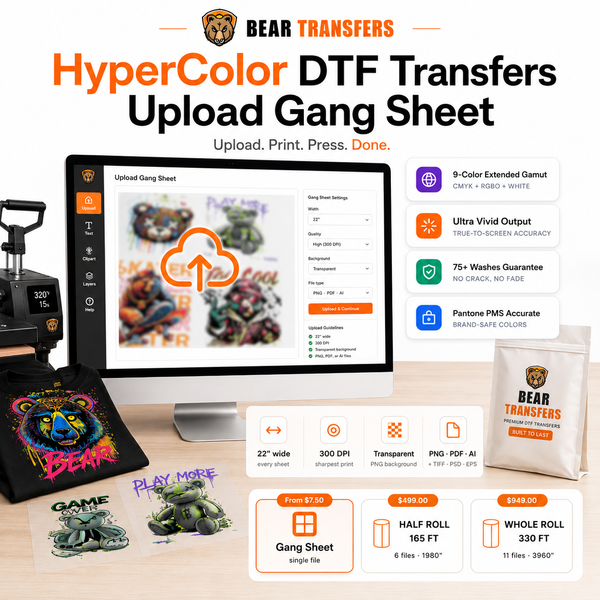
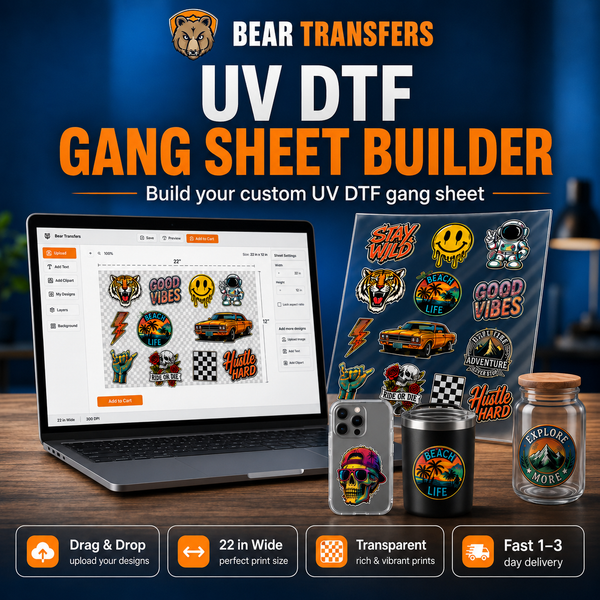
For standard logos or a short run, you can order DTF transfers by size without arranging a full sheet. When several chest, sleeve, and neck graphics are needed, gang sheets help consolidate the order and reduce unused film.
Color-sensitive merchandise may benefit from HyperColor 9-color RGB DTF transfers, especially when the artwork includes vivid RGB colors or gradients. If you want to evaluate print feel and color before committing to a customer line, order a DTF + UV DTF sample pack.
Run a wash test before scaling
For a new hoodie style, press one sample using your recorded settings. Wait before washing, following the transfer care instructions, then wash and dry it as the finished product is expected to be maintained. Inspect fine details, edges, solid ink areas, and locations close to seams.
Once the result is approved, record the hoodie brand, style number, fiber content, color, press temperature, dwell time, pressure, support pad, and peel method. That production note is more valuable than relying on memory when the customer reorders months later.
FAQ
What temperature should I use for DTF on a hoodie?
A practical starting range is 300–320°F for cotton-rich fleece and lower for polyester-heavy garments. Follow the transfer instructions, test the exact hoodie, and use the lowest setting that creates a complete bond.
Why does my DTF transfer lift near the kangaroo pocket?
The pocket seam is probably preventing even pressure. Raise the print area with a pressing pillow or pad, keep the transfer completely above the seam, and verify that every edge receives equal contact.
How do I avoid a shiny rectangle around the print?
Reduce unnecessary heat and pressure, shorten the pre-press, and use a support pad that isolates the print area. Always test polyester and dark fleece because they tend to show heat marks more readily.
Should I size hoodie graphics differently from T-shirt graphics?
Often, yes. Hood openings, drawcords, pockets, and thicker seams reduce the usable print area, so measure the actual space on every hoodie size before ordering transfers.
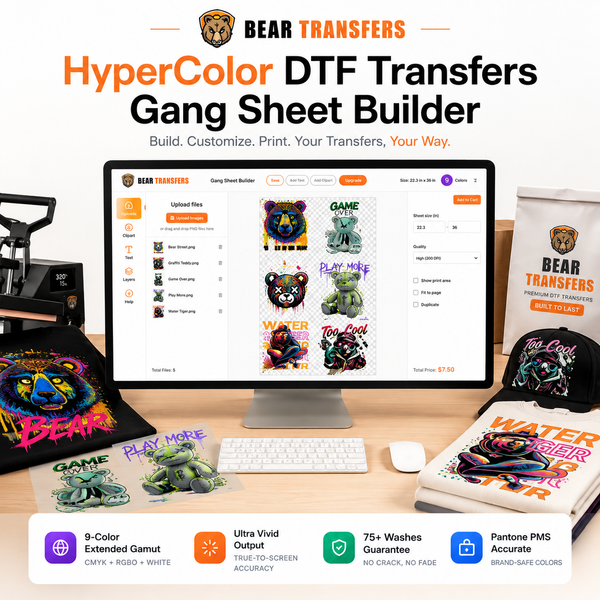
When your artwork and measurements are ready, build a DTF gang sheet online for your hoodie fronts, sleeves, and branding details.