

Pocket, Sleeve & Back-Neck Prints That Sell

A large front graphic is not the only way to make a shirt feel valuable. Small pocket, sleeve and back-neck prints can turn a basic blank into a coordinated product while giving apparel shops practical ways to offer upgrades, collections and branded details.
The key is making each detail look intentional. That requires the right print size, consistent placement, readable artwork and a production plan that does not waste gang sheet space.
Why Small Print Placements Work
Small placements create visual interest without overwhelming the garment. A customer may prefer a subtle pocket logo for everyday wear, while a sleeve mark or back-neck detail gives the same shirt a more finished retail appearance.
These placements also help apparel businesses build product tiers. Instead of selling only a basic one-location shirt, you can offer a standard version and a premium version with an additional sleeve or back-neck print. The upgrade is easy for customers to understand because they can see where the added value comes from.
- Pocket-area prints work well for company logos, monograms, club marks and small illustrations.
- Sleeve prints can display dates, locations, team names, web addresses or supporting graphics.
- Back-neck prints are useful for brand marks, collection names and compact design elements that connect the front and back.
- Multi-location combinations make merchandise feel designed as a complete piece rather than decorated in one open area.
DTF is especially useful for these jobs because full-color artwork, fine details and multiple design shapes can be arranged together. Bear Transfers hot-peel transfers include a 100+ wash guarantee, helping shops create durable details without adding screens for every placement.
Recommended Sizes and Placement Starting Points
There is no universal measurement for every shirt. Pocket dimensions, sleeve shapes, seams and garment sizes vary, so treat measurements as starting points and verify them on the actual blank before pressing.
| Placement | Typical Print Size | Positioning Starting Point | Best Uses |
|---|---|---|---|
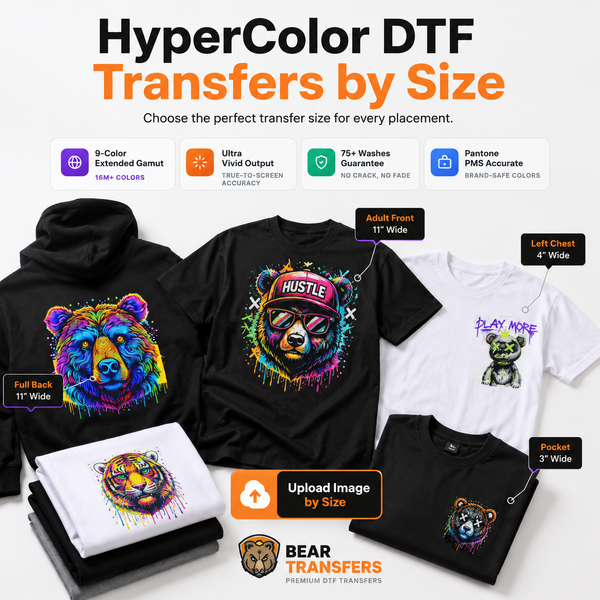
| On a pocket | 2 to 3 inches wide | Centered within the usable pocket area | Initials, icons and compact logos |
| Above a pocket | 2.5 to 3.5 inches wide | Centered over the pocket with visible breathing room | Brand names and horizontal marks |
| Pocket area without a pocket | 3 to 4 inches wide | Upper-left chest, adjusted for garment size | Standard business and team logos |
| Short sleeve | 2 to 3.5 inches wide | Centered between the shoulder seam and sleeve opening | Badges, dates and sponsor marks |
| Long sleeve | 2 to 3.5 inches wide or 5 to 10 inches tall | Centered on the visible outer sleeve | Vertical type and repeating graphics |
| Exterior back neck | 2.5 to 4 inches wide | Centered below the collar seam | Brand marks and collection names |
Pocket and pocket-area prints
First decide whether the design will sit directly on a sewn pocket, above it or in the traditional left-chest area of a shirt without a pocket. These are different placements and should not share one automatic alignment rule.
Keep an on-pocket design away from the pocket stitching and folded edges. Thick seams can prevent even pressure and may cause part of the transfer to apply poorly. If the pocket is too small or difficult to isolate on the press, move the design above the pocket or use a pocket-area placement instead. For more garment-specific guidance, review the left-chest logo sizing chart for shirts and jackets.
Sleeve prints
Short-sleeve graphics should face outward when the garment is worn. Lay the shirt flat, identify the visible center of the sleeve and check that the artwork will not wrap under the arm. Avoid placing the transfer over the sleeve hem or directly against the shoulder seam.
For long sleeves, decide whether the design should read from shoulder to wrist or wrist to shoulder. Document that choice on the work order; otherwise, two operators may interpret the same vertical artwork differently.
Back-neck prints
An exterior back-neck print should be centered on the garment, not simply centered between wrinkles or hanger marks. Measure from stable construction points such as the collar or shoulder seams. Leave enough space below a thick collar seam for the press to make even contact.
Design Small Artwork for Real-World Readability
A logo that looks clear on a large monitor can become crowded at three inches wide. Before production, view the artwork at its final physical size and confirm that the smallest elements still support the design.
- Simplify secondary text. Remove taglines or tiny registration marks that are not essential.
- Strengthen delicate lines. Hairlines, narrow gaps and tiny distress marks may not remain visually distinct at a small finished size.
- Use contrast. Select colors that remain visible against the garment. Dark artwork on black fabric or pale artwork on white fabric can disappear from normal viewing distance.
- Export at final size. Prepare artwork at 300 DPI when possible and avoid enlarging a low-resolution file after export.
- Remove unwanted backgrounds. A transparent file should contain only the elements you intend to print.
The guide to DTF artwork resolution, DPI, file size and small text explains how to inspect detailed files before submitting an order.
Standard DTF is a strong fit for most logos and spot illustrations. Designs with vivid gradients, neon-inspired color or artwork created in an RGB workflow may benefit from HyperColor 9-color RGB DTF transfers. Always evaluate the final design at its actual print dimensions rather than choosing a print process based only on the enlarged screen preview.
Build Profitable Multi-Placement Products
Small prints sell best when they support a clear product concept. Adding unrelated graphics to every open area can make a shirt feel busy, but repeating a shape, phrase or color creates a coordinated story.
Create simple placement packages
- Essential: one pocket-area logo.
- Branded: pocket-area logo plus exterior back-neck mark.
- Premium: front detail, sleeve print and back-neck mark.
- Event edition: front logo with a date or location on the sleeve.
Show every included location in the mockup and product description. Customers should know whether “two-sided” means front and full back, front and sleeve, or front and back neck. Clear naming reduces approval errors and makes add-on pricing easier to explain.
You can also use placement details to connect products across a collection. Put the same small back-neck symbol on tees, hoodies and crewnecks, then vary the main graphic. For cost-conscious sourcing, browse blank apparel priced near cost and confirm each garment’s seams, pockets and fabric construction before standardizing placement.
Use gang sheets to control transfer cost
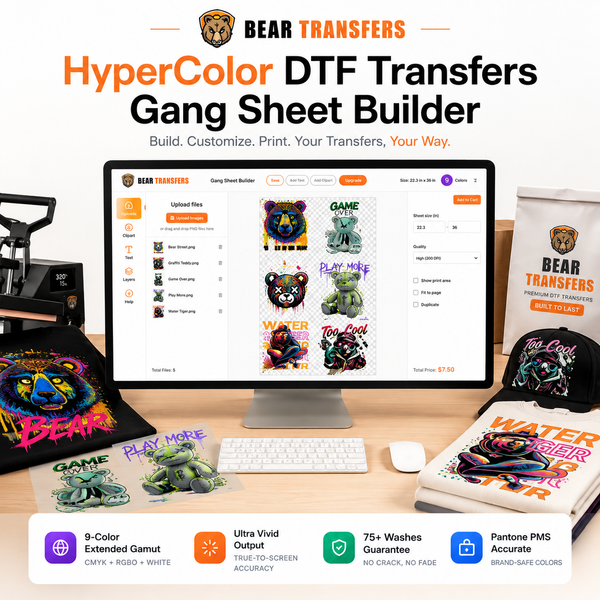
Small graphics are well suited to gang sheets because multiple pocket, sleeve and neck designs can share one layout. Group the transfers by order, garment size or placement, and leave enough room to cut each design cleanly.
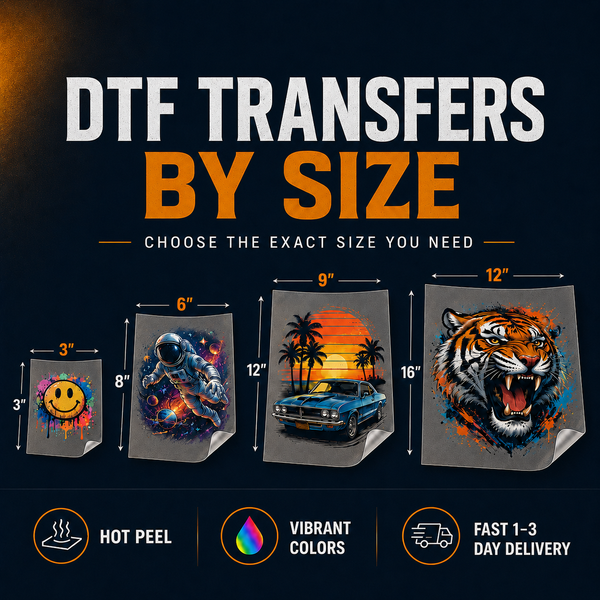
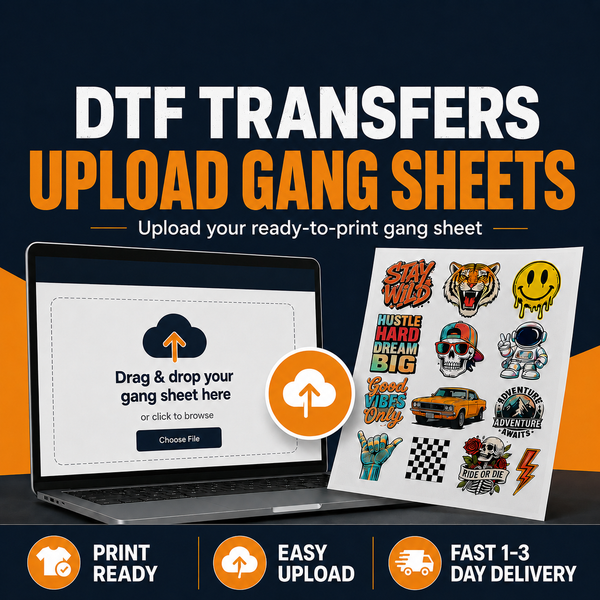
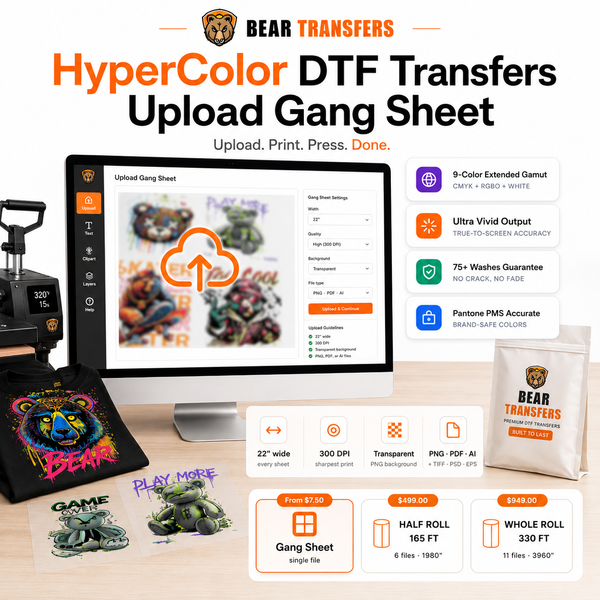
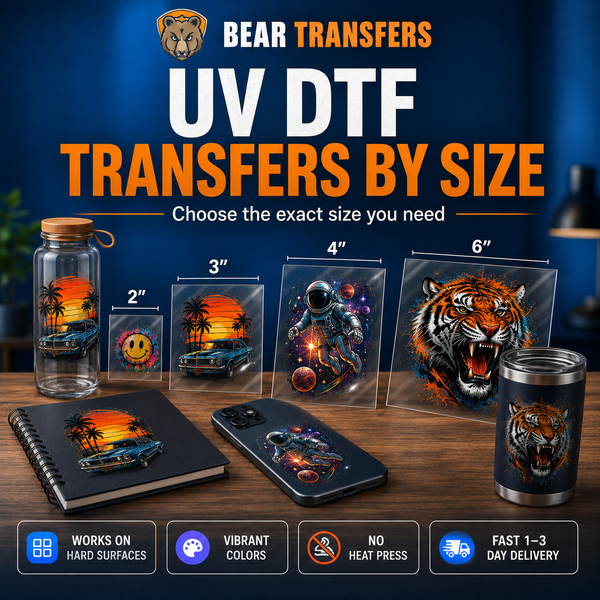
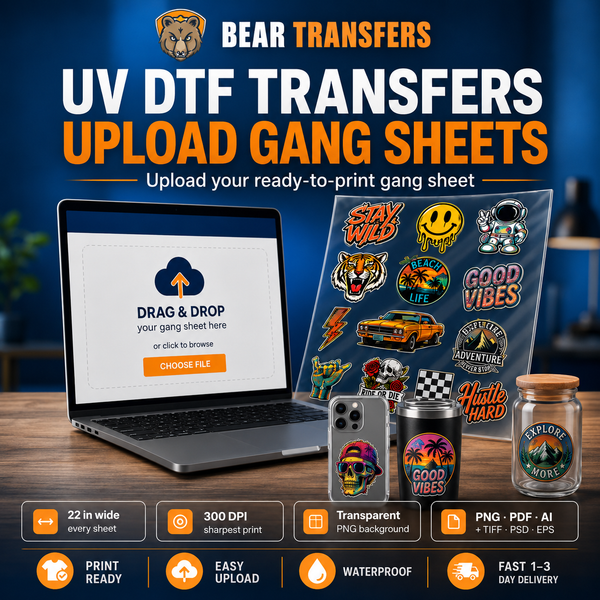
If your artwork is already nested, you can upload your own ready-made gang sheet. For a short run or an unusual one-off size, it may be simpler to order DTF transfers by size. DTF gang sheets start at $2.58 per foot, and Bear Transfers offers free shipping on orders over $99, a same-day production cutoff and one-to-three-day UPS shipping.
Press Consistently Across Awkward Garment Areas
Small transfers still require full, even pressure. Pockets, sleeve seams, cuffs, collars, zippers and drawcords can lift part of the garment away from the platen and create an uneven application surface.
Use a pressing pillow or a suitable platen when necessary to raise the print area above nearby seams. Smooth the fabric, pre-press as directed, and confirm that no pocket edge or collar ridge sits beneath the transfer. Follow the current time, temperature, pressure, peel and finishing instructions supplied with your transfers rather than relying on settings from another product.
- Make a placement template for repeat orders.
- Record measurements by garment style and size range.
- Press a sample before completing a large run.
- Inspect edges and fine details immediately after application.
- Keep left and right sleeve orientation clearly labeled.
For youth and extended adult sizes, consider proportional artwork or separate placement notes. The same three-inch sleeve mark may dominate a youth sleeve but look understated on a larger long sleeve. A physical sample helps you decide whether one transfer size can serve the full run.
FAQ
How big should a pocket print be?
Most compact pocket or pocket-area designs start around 2 to 4 inches wide, depending on whether they sit on the pocket, above it or on a shirt without a pocket. Measure the usable area and keep the transfer away from thick stitching.
Which sleeve should receive the print?
Either sleeve can work. Choose based on the design, customer preference and other garment details, then state “wearer’s left” or “wearer’s right” on the work order to prevent confusion.
How far below the collar should a back-neck print sit?
Place it far enough below the collar seam to achieve flat, even pressure while keeping it visually connected to the neckline. Test the position on the actual garment because collar shapes and seam thickness vary.
Can pocket, sleeve and back-neck transfers share one gang sheet?
Yes. Arrange different sizes and shapes together, leave cutting space around each transfer, and label similar-looking artwork so operators can quickly match every piece to its intended placement.
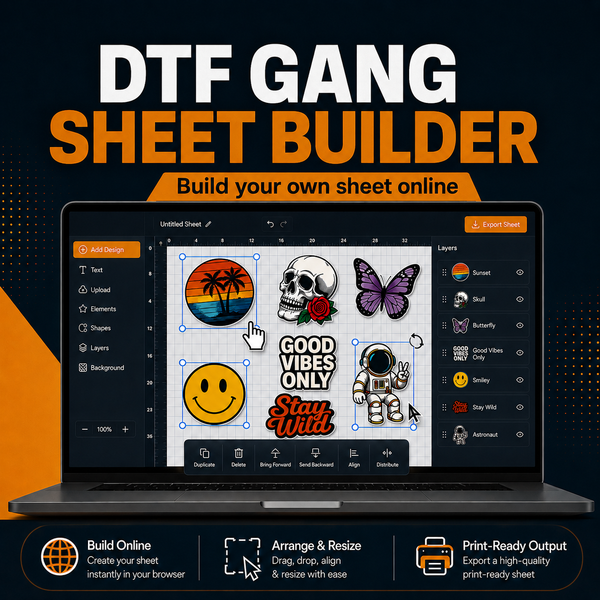
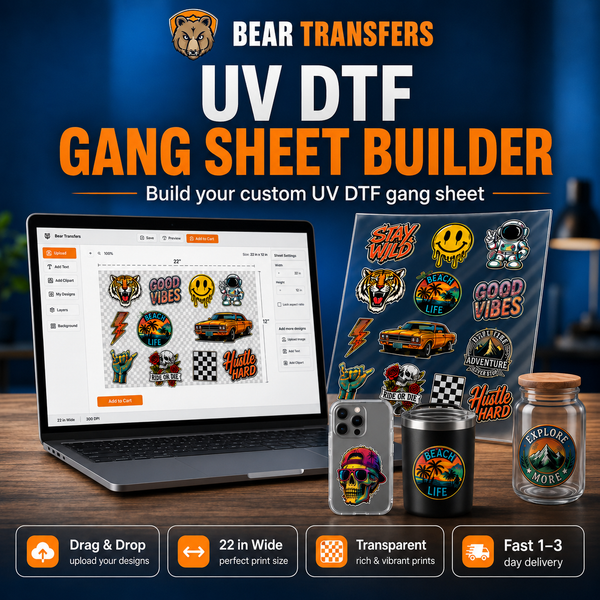
Organize your next set of small placement designs with the online DTF gang sheet builder.