



Quality Control Checklist for Every DTF Order

Most DTF mistakes are less expensive to fix before pressing and much harder to fix after an order reaches the customer. A consistent quality control checklist helps your shop catch artwork, transfer, garment, application, and packing problems before they become reprints or refunds.
Preflight the Order Before Production
Start quality control with the approved order details, not the press. Keep the customer approval, artwork files, garment list, transfer sizes, placement notes, due date, and shipping method together in one digital or printed job ticket.
- Confirm the design: Match the production file to the artwork the customer approved.
- Verify dimensions: Check the exact width and height for every front, back, sleeve, pocket, or label print.
- Review image quality: Inspect raster artwork at production size for pixelation, rough edges, or compression artifacts.
- Check transparency: Remove unintended backgrounds and inspect faded or semi-transparent details carefully.
- Proof the text: Recheck names, dates, phone numbers, team numbers, and spelling.
- Set color expectations: Identify brand colors or unusually bright hues that require special attention.
Do not assume that a file named final is actually approved. Add a version number or approval date to the production file so employees do not pull an older design from a shared folder. For repeat orders, compare the new job ticket with the previous completed order before using saved settings.
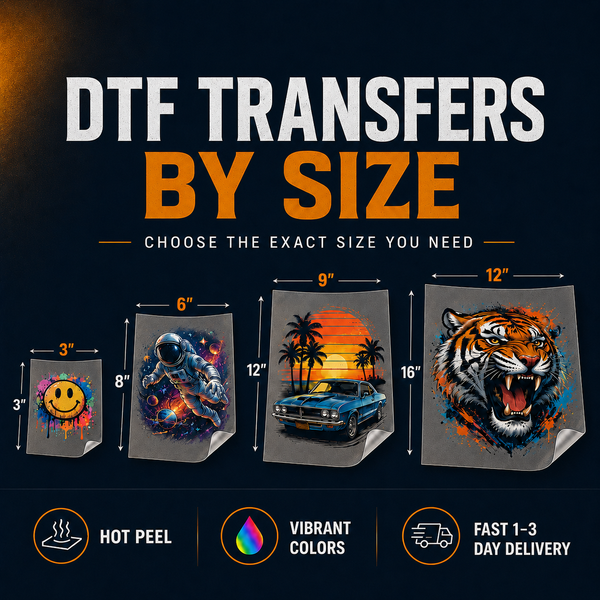
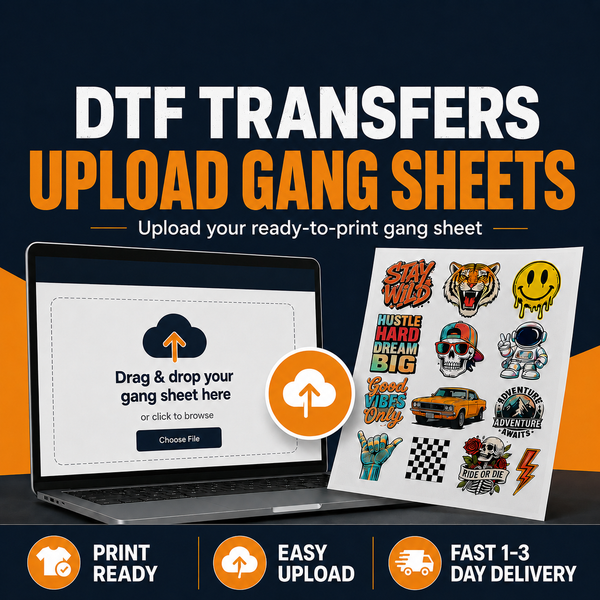
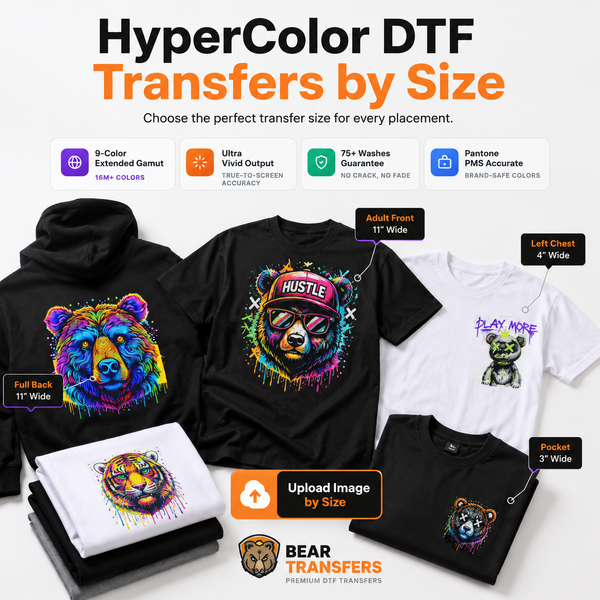
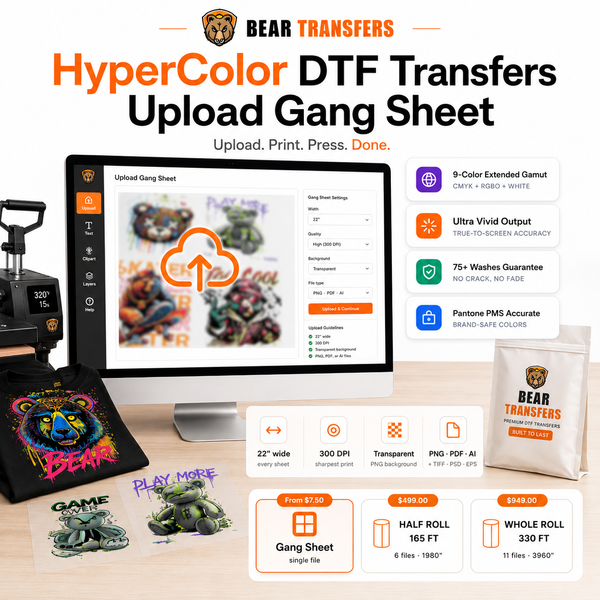
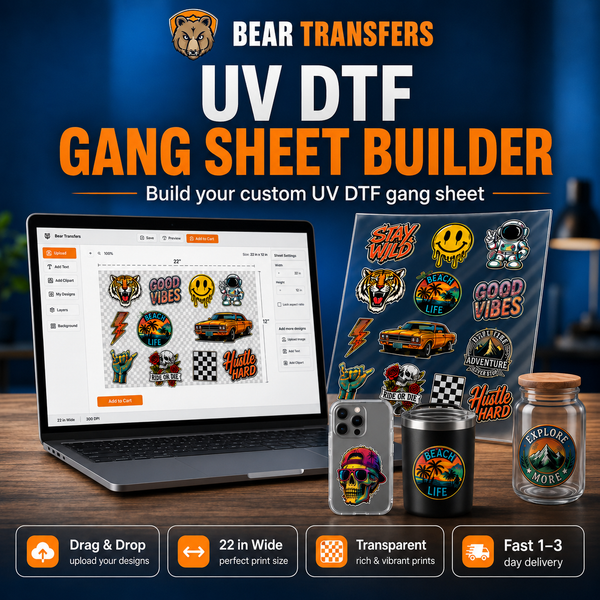
Choose the ordering method that fits the job. You can upload your own ready-made gang sheet when your layout is complete, or order DTF transfers by size when you want individual designs prepared to specified dimensions. If a logo has strict color requirements, review the practical limits covered in color matching brand logos in DTF before promising an exact screen-to-print match.
Inspect Transfers, Blanks, and a Sample Press
Check the Transfers When They Arrive
Unroll or unpack transfers in a clean, dry area with good lighting. Compare the shipment with the job ticket before cutting apart designs or distributing them to multiple press stations.
- Count each design and size.
- Confirm that dimensions match the order.
- Look for missing colors, streaks, damaged edges, or contamination.
- Verify that fine text and small details are complete.
- Keep transfers clean, flat, and protected until pressing.
Evaluate colors under consistent lighting rather than beside a window that changes throughout the day. For artwork that depends on a wider, brighter gamut, consider HyperColor 9-color RGB DTF transfers. A DTF + UV DTF sample pack can also help you evaluate materials and finishes before accepting a demanding customer project.
Inspect Every Blank Before Pressing
A good transfer cannot hide a damaged shirt. Check blanks before loading them onto the press so you do not spend time and material applying a design to an item that should have been set aside.
- Match the brand, style, color, and size to the order.
- Inspect fronts and backs for stains, holes, snags, fading, or dye variation.
- Check seams, collars, zippers, pockets, and hems for construction defects.
- Remove lint, loose fibers, and packaging debris from the print area.
Keep replacement garments available when the deadline is tight. Bear Transfers offers blank apparel priced near cost, making it easier to order transfers and common production blanks together.
Run and Approve a Sample Press
Press one representative item before starting the full run. Use the same garment style, transfer type, equipment, platen, and application process planned for production.
- Confirm the press temperature, time, and pressure against the transfer instructions.
- Pre-press when instructed to remove moisture and smooth the print area.
- Position the transfer using a ruler, template, or laser alignment system.
- Apply, peel, and finish the transfer according to the supplied directions.
Let the sample cool before approving it. Check adhesion at the edges, surface consistency, color, placement, and stretch where relevant. Uneven garments or raised seams may require the accessories discussed in this guide to pressing pillows, pads, and heat press accessories.
Control the Pressing Process and Finished Print
Once the sample passes, record the approved press settings and placement measurements on the job ticket. Employees should not adjust a working process based only on habit or settings from a different transfer or garment.
| QC point | Pass standard | Action if it fails |
|---|---|---|
| Press temperature | Matches the application instructions and remains stable | Verify with a heat measurement tool and recalibrate if needed |
| Pressure | Even across the entire design area | Adjust pressure and address seams, buttons, or platen obstructions |
| Placement | Matches the approved measurement and appears visually centered | Stop production and reset the alignment guide |
| Peel | Film releases as instructed without lifting the design | Review peel timing, heat, pressure, and contact with the platen |
| Edges | No lifting, gaps, scorching, or visible adhesive halo | Quarantine the item and correct the process before continuing |
| Finish | Consistent appearance across the production run | Compare with the approved sample and inspect press variables |
Inspect the first item, then check at regular intervals during the run and whenever an operator, garment style, transfer batch, or press setting changes. Periodic checks prevent one unnoticed problem from affecting an entire order.
Inspect Each Garment After Cooling
Perform the final print inspection only after the garment and transfer have cooled. Warm prints can look or feel different from their finished state.
- Compare the design with the approved artwork.
- Confirm the correct design is on the correct size and garment color.
- Look across the print under angled light for inconsistent areas.
- Gently check edges and small details for secure adhesion.
- Verify that the garment is not scorched, stained, stretched, or creased.
- Fold the item only after it is fully cool and stable.
Bear Transfers produces hot-peel transfers with a 100+ wash guarantee, but your application process still matters. Following the provided pressing instructions, maintaining your equipment, and testing unfamiliar fabrics are essential parts of delivering durable finished apparel.
Final Count, Packaging, and Order Records
The last inspection should happen at a clean table away from trimming scraps, adhesive residue, drinks, and active pressing. Match every finished item to the packing slip one line at a time.
- Count garments by design, color, style, and size.
- Confirm personalization, names, and numbers against the approved list.
- Remove lint, loose threads, transfer film, and temporary placement marks.
- Check that ink, packaging, or labels cannot touch a warm print.
- Fold consistently without placing a hard crease through the design.
- Use a mailer or box that protects the order without crushing it.
- Verify the recipient address and selected shipping service.
For local pickup or multi-team orders, label bundles clearly so the customer does not need to sort everything again. For shipped orders, account for the 1-3 day UPS transit window when setting expectations. Bear Transfers offers same-day production with the applicable cutoff and free shipping on qualifying orders over $99, but your own finishing, inspection, and packing time still needs to be part of the promised deadline.
Keep a Simple QC Record
Record the transfer order, blank style, press used, settings, operator, completion date, and any failed garments. Keep one photo of the approved sample and another of the packed order when practical.
These records make repeat orders easier and help diagnose problems without relying on memory. If failures cluster around one press, fabric, placement, or operator, you have a clear starting point for corrective action. Update the checklist whenever a mistake reveals a missing control.
FAQ
Should I inspect every DTF garment?
Yes. Every garment should receive a brief final inspection for the correct design, size, placement, adhesion, and garment condition. More detailed process checks can be performed on the first item and at planned intervals throughout production.
How often should I test my heat press?
Check temperature accuracy and pressure routinely, and test immediately when results change. Also verify the press after maintenance, relocation, major setting changes, or before producing an unfamiliar fabric or high-value order.
What should I do with an item that fails inspection?
Separate and label it so it cannot be packed accidentally. Determine whether it can be safely corrected; otherwise, replace it and document the failure so the same issue does not continue through the run.
How much extra time should quality control add?
Build QC into the production schedule instead of treating it as an optional final step. Allow time for file review, incoming inspection, a sample press, cooling, item-by-item checks, counting, and protected packing before the carrier deadline.
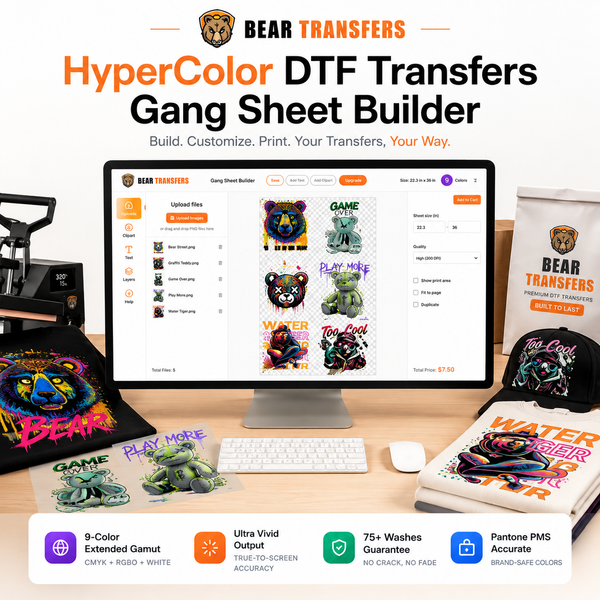
Standardize your next production run and build a DTF gang sheet online for efficient ordering.