


Adult vs Youth vs Toddler Print Sizes: Full Chart

A design that looks balanced on an adult large can overwhelm a toddler tee or disappear on a youth hoodie. This chart gives apparel decorators practical starting dimensions for adult, youth, toddler, and infant DTF prints, along with placement and scaling rules for more consistent orders.
Adult, Youth, Toddler, and Infant Print Size Chart
The dimensions below are recommended starting points, not rigid limits. Garment cut, printable area, artwork shape, pockets, seams, and customer preference can all affect the final size.
Measurements are listed as width first. Let the artwork scale proportionally unless you intentionally need a fixed height or width.
| Garment category | Common garment sizes | Standard front width | Left-chest width | Typical back width |
|---|---|---|---|---|
| Adult | XS-S | 9-10.5 inches | 3-3.5 inches | 10-11 inches |
| Adult | M-L | 10.5-11.5 inches | 3.5-4 inches | 11-12 inches |
| Adult | XL-2XL | 11.5-12.5 inches | 3.5-4.25 inches | 12-13 inches |
| Adult | 3XL and larger | 12.5-14 inches | 4-4.5 inches | 13-14 inches |
| Youth | XS-S | 7-8 inches | 2.5-3 inches | 7.5-8.5 inches |
| Youth | M-L | 8.5-9.5 inches | 3-3.5 inches | 9-10 inches |
| Youth | XL | 9.5-10.5 inches | 3-3.5 inches | 10-11 inches |
| Toddler | 2T-3T | 5-6 inches | 2-2.5 inches | 5.5-6.5 inches |
| Toddler | 4T-5T | 6-7 inches | 2.5-3 inches | 6.5-7.5 inches |
| Infant | 3-6 months | 3.5-4.5 inches | 2-2.5 inches | 4-5 inches |
| Infant | 6-12 months | 4-5 inches | 2-2.5 inches | 4.5-5.5 inches |
| Infant | 12-24 months | 4.5-5.5 inches | 2.25-2.75 inches | 5-6 inches |
A wide logo may reach the recommended width while remaining relatively short. A tall mascot or stacked design may need a narrower width to avoid getting too close to the collar, hem, or side seams. Always evaluate both dimensions before ordering.
Why One Print Size Does Not Fit Every Shirt
Garment size labels do not describe the actual printable area. Two adult medium shirts can have different chest widths, neck openings, and body lengths. Youth and toddler garments vary even more because fitted cuts, fashion tees, onesies, and hoodies have very different proportions.
Print width should follow the garment, not the label
Measure the shirt flat from armpit to armpit, then compare that width with your proposed print. A standard front design generally needs visible breathing room on both sides. If the artwork nearly reaches the side seams while the shirt is flat, it will wrap around the body when worn and become harder to read.
For a mixed adult order, using one 11-inch-wide print across small through XL shirts is often workable. If the order extends from adult XS through 4XL, consider at least two print tiers. For example, use a smaller version for XS-S, a standard version for M-XL, and a larger version for 2XL and above.
Artwork shape changes perceived size
An 11-inch-wide circular logo looks larger and heavier than an 11-inch-wide line of text. Dense rectangular artwork also covers more fabric than an open design with transparent space. Judge the visible printed area rather than relying only on the file canvas.
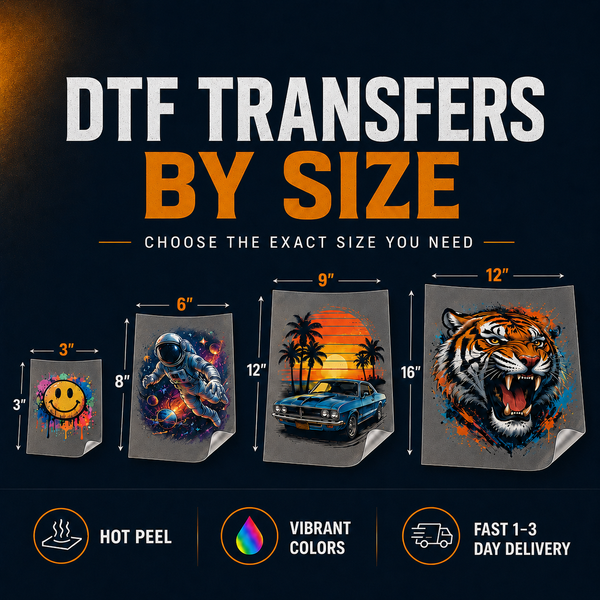
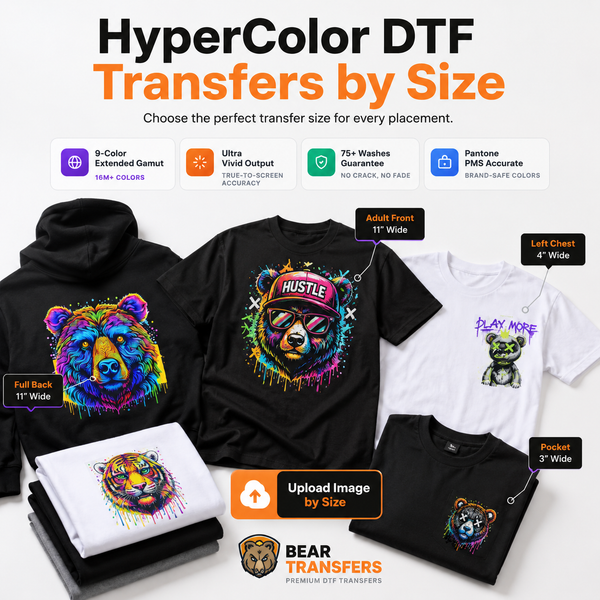
When you need a few exact dimensions instead of a full roll layout, you can order DTF transfers by size. This is useful for testing adult, youth, and toddler versions before committing to a larger production run.
How to Scale Artwork Across Age Groups
Start with the version you expect to sell most, usually an adult medium or large. Set that width first, lock the artwork proportions, and create smaller copies for youth and toddler garments.
- Choose the adult master size. For many standard-front designs, 10.5 to 11.5 inches wide is a practical starting range.
- Create a youth version. Reduce the design to roughly 8 to 9.5 inches wide, then check the resulting height.
- Create a toddler version. Reduce the design to approximately 5 to 7 inches wide based on the garment size.
- Create an infant version if needed. Keep most infant fronts around 3.5 to 5.5 inches wide and check for snaps, zippers, and seams.
- Print paper templates. Cut plain paper to each transfer’s finished dimensions and place it on the actual garment.
Do not resize width and height independently to force artwork into a space. Distorting a logo, character, or type treatment makes the design look unprofessional. If a tall design does not fit, create a separate composition with tighter spacing or fewer stacked elements.
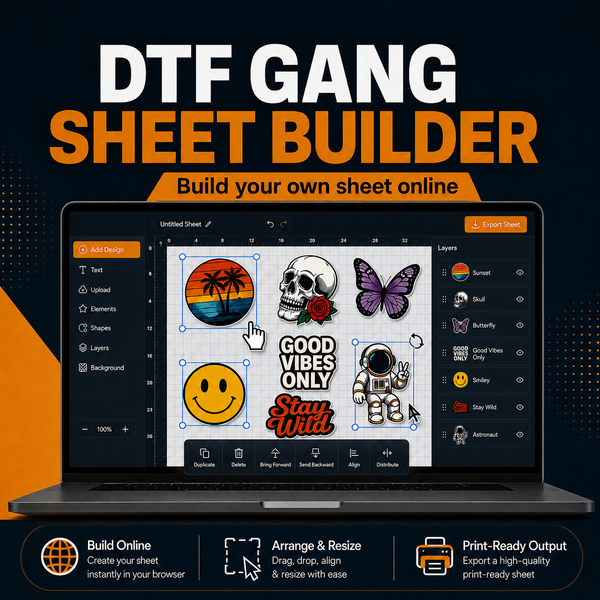
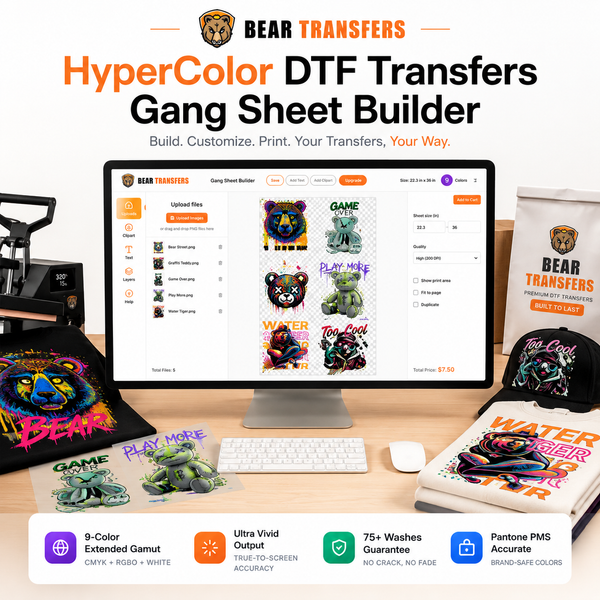
For production, a DTF gang sheet builder lets you combine several adult, youth, and toddler sizes on one sheet. Bear Transfers gang sheets start at $2.58 per foot, making it practical to group multiple size tiers while controlling quantities.
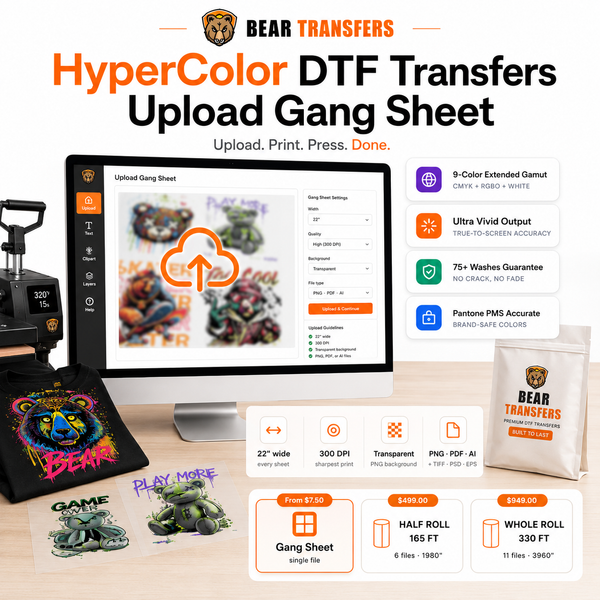
If your layout is already finished at the correct dimensions, you can also upload your own ready-made gang sheet. Before submitting it, review the guidance on how to fix gang sheet spacing, bleed, and rotation mistakes so closely packed designs remain easy to cut and press.
Front, Back, and Left-Chest Placement
Standard front placement
Center the garment by folding it vertically and making a brief press to create a guide. Center the transfer on that line. As a starting point, place the top of an adult front design about 2.5 to 3.5 inches below the bottom of the collar. Youth designs often begin 2 to 2.5 inches below the collar, while toddler designs commonly begin 1.5 to 2 inches below it.
These distances should change when the design is unusually tall or the garment has a deep neckline. Placement should look centered within the usable chest area, not simply follow one fixed collar measurement.
Full-back placement
Back prints can usually be slightly larger than front prints because there are fewer visual interruptions. Start about 3 to 4 inches below an adult collar and closer to 2 to 3 inches for youth sizes. Keep the design clear of hood seams, yokes, and the lower hem.
Left-chest placement
A left-chest logo should sit on the wearer’s left side, not the operator’s left when facing the shirt. On adult apparel, 3 to 4 inches wide works for many logos. Reduce the width for youth and toddler garments rather than moving a full-size logo farther toward the side.
Pockets, zippers, and hoodie drawstrings may require a different location. For product listings, keep placement consistent across your photos and mockups; the guide to photographing and mocking up shirts that sell explains how to present finished apparel clearly.
Build a Repeatable Sizing and Press Workflow
Create a sizing record for every design instead of making placement decisions at the heat press. Your production sheet should list the artwork name, transfer width and height, garment category, placement distance, and any special pressing notes.
- Measure a sample from each garment style and age group.
- Test paper templates before ordering production quantities.
- Label transfer stacks as adult, youth, toddler, or infant.
- Keep the artwork orientation consistent when trimming gang sheets.
- Follow the supplied pressing instructions for time, temperature, pressure, and peeling.
- Wash-test a finished sample before offering a new garment and design combination.
Bear Transfers produces hot-peel transfers backed by a 100+ wash guarantee. Most orders ship within 24 hours, with same-day production available before the posted cutoff and typical UPS transit of 1-3 days. Free shipping applies to qualifying orders over $99.
For designs where expanded color range matters, consider HyperColor 9-color RGB DTF transfers. You can also test print proportions on blank apparel priced near cost before adding a new shirt style to your regular catalog.
FAQ
What is the best standard print size for an adult shirt?
A width of 10.5 to 11.5 inches is a reliable starting point for standard-front prints on many adult medium and large shirts. Check the final height and actual garment measurements before ordering.
Can I use the same transfer for adult and youth shirts?
Sometimes, but an adult print may look oversized on youth garments. A separate youth version around 8 to 9.5 inches wide usually creates better margins and more balanced placement.
How large should a toddler shirt design be?
Use approximately 5 to 6 inches wide for 2T-3T and 6 to 7 inches for 4T-5T. Reduce the width for tall artwork or garments with a narrow printable area.
Should larger adult shirts always receive larger prints?
No. A standard print can work across several adjacent sizes, especially when consistent branding matters. Add a larger print tier when the standard version looks noticeably undersized on 2XL, 3XL, or larger garments.
Once your size tiers are set, build a DTF gang sheet online to arrange adult, youth, toddler, and infant transfers in one production-ready layout.