








How to Press 100 Shirts a Day Without Mistakes

A 100-shirt production day is realistic when every blank, transfer, and tool is ready before the first press cycle. The goal is not to move frantically; it is to remove decisions, extra handling, and preventable reprints from the production line.
Plan the Day Around Sellable Shirts
Your target should be 100 finished, inspected shirts—not 100 press cycles. Misaligned prints, incorrect sizes, scorched garments, and missed defects do not count toward the order.
Start by translating the daily goal into smaller production blocks. If you reserve about six hours for active pressing, you need to finish roughly 17 shirts per hour. That is approximately one completed shirt every three and a half minutes, leaving the rest of an eight-hour day for setup, testing, breaks, final inspection, and packing.
| Time | Task | Running Target |
|---|---|---|
| 8:00–8:30 | Heat press setup, test shirt, first-piece approval | 0 |
| 8:30–10:00 | Production block one | 25 |
| 10:00–10:10 | Quality check and station reset | 25 |
| 10:10–11:40 | Production block two | 50 |
| 11:40–12:10 | Break, count verification, press check | 50 |
| 12:10–1:40 | Production block three | 75 |
| 1:40–1:50 | Quality check and station reset | 75 |
| 1:50–3:20 | Production block four | 100 |
| 3:20–4:00 | Final count, folding, packing, cleanup | 100 |
This schedule is a planning model, not a promise. Pocket prints, sleeve applications, oversized graphics, multiple garment styles, and two-location orders require more time. Run a timed sample batch before quoting high-volume jobs.
Prepare Everything Before Pressing
Stopping production to trim film, locate a medium shirt, or confirm artwork orientation destroys throughput. Treat preparation as its own job, even if one person handles both preparation and pressing.
Stage blanks in press order
Count every garment against the order before production. Separate blanks by design, color, style, and size, then place them in the exact sequence shown on the work order. Keep each stack labeled so similar navy, black, and dark gray garments cannot be mixed.
Inspect blanks for stains, holes, open seams, and manufacturer marks while staging. It is faster to replace a defective blank now than to discover it after applying a transfer. Shops that need to simplify sourcing can order blank apparel priced near cost with their production supplies.
Sort transfers into matching batches
Separate every transfer before heating the press. Arrange them face up in application order and use labeled trays for front, back, sleeve, and pocket locations. If a design has a clear top and bottom, keep every transfer facing the same direction.
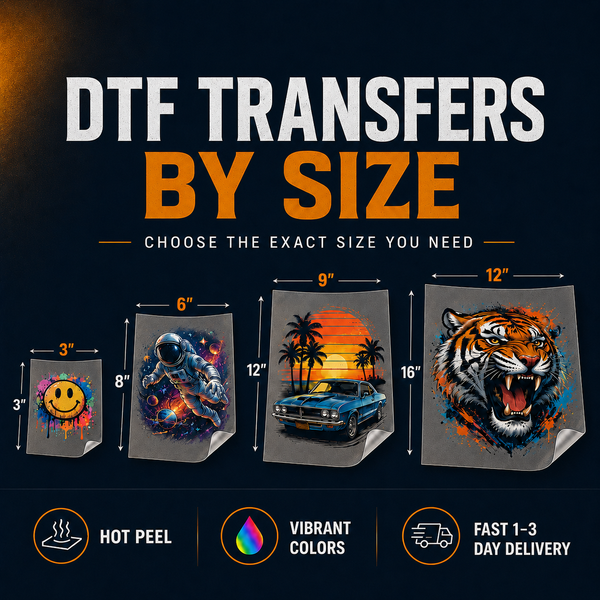
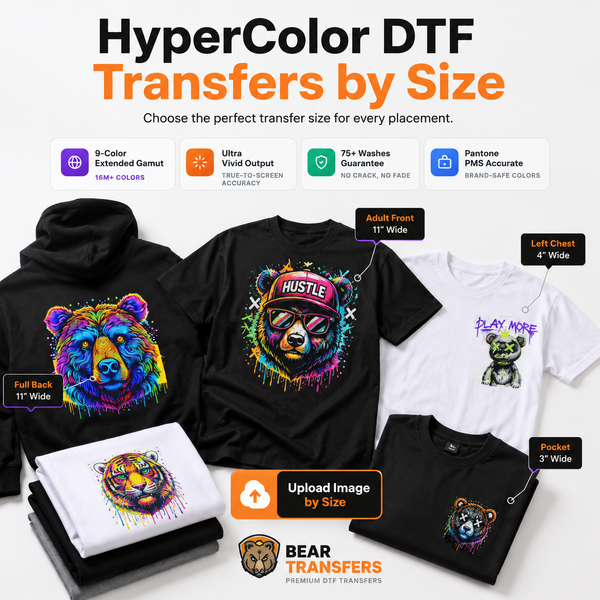
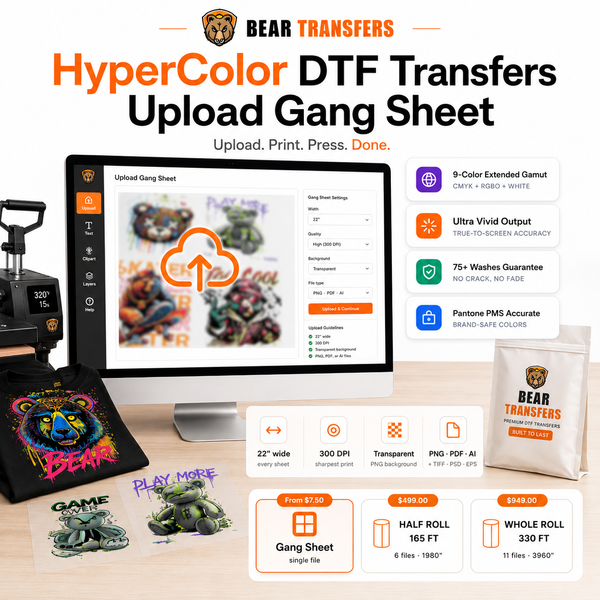
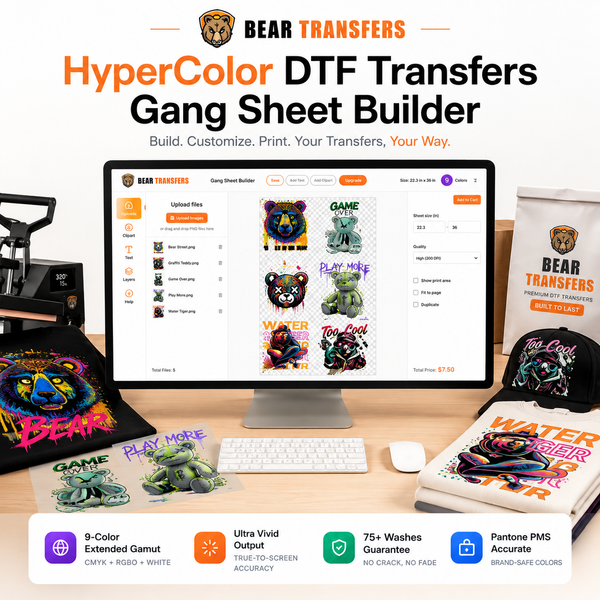
For recurring designs, ordering DTF transfers by size reduces cutting and sorting. If your artwork team already lays out production files, you can upload a ready-made gang sheet and control spacing, quantities, and sheet utilization.
Prepare a few authorized replacement blanks and transfers when possible. Do not silently add overages to a customer invoice, but build approved spoilage into the quote so one mistake does not stop the entire order.
Build a Fast, Repeatable Press Station
A productive station keeps the operator facing the press with everything inside one or two steps. Place unpressed garments on the operator’s dominant loading side and finished shirts on the opposite side. Transfers, alignment tools, lint rollers, heat-resistant tape, and the work order should have fixed locations.
- Use a pressing recipe: Record the correct temperature, time, and pressure for the transfer and fabric.
- Verify actual heat: Allow full warmup time and check the platen regularly with an appropriate temperature measurement tool.
- Mark alignment references: Use a center line, collar reference, placement ruler, or platen guide instead of estimating every shirt.
- Control finished inventory: Move completed shirts into counted stacks of five or ten.
- Keep the platen clean: Remove lint, adhesive, and debris before they transfer onto the next garment.
Do not change pressure by feel throughout the day. Record the starting pressure and avoid mixing garments with dramatically different thicknesses in one batch. Hoodies, tees, and performance shirts may require separate setup and testing.
If you are testing DTF before committing to a large production run, a DTF and UV DTF sample pack lets you evaluate application and finish on your own materials.
Use a Production Loop That Prevents Errors
The fastest safe workflow is a short loop performed the same way for every shirt. Repetition reduces hesitation and makes deviations easier to notice.
- Confirm the next blank. Check the garment color and size against the batch label.
- Load it consistently. Thread or place the shirt on the platen the same way each time, smoothing seams and wrinkles away from the pressing area.
- Pre-press when required. Follow the transfer and garment instructions to remove moisture and flatten the application area.
- Align the transfer. Use fixed collar and center references. Do not rely on the edge of a crooked garment.
- Press with the approved recipe. Use the tested time, temperature, and pressure without improvising mid-batch.
- Peel as directed. Bear Transfers are designed for hot peeling, which eliminates a cooling wait. Peel smoothly while keeping the shirt stable.
- Complete any required finishing press. Follow the supplied application instructions for the transfer and fabric.
- Inspect and stack. Check adhesion and placement before the shirt enters finished inventory.
The first shirt is your production proof. Compare it with the approved mockup, verify placement with a ruler, inspect small text, and stretch-test the print gently after it cools. Do not run the remaining 99 shirts until that first piece is correct.
For two-person production, assign one person to loading, alignment, and pressing while the second person stages blanks, supplies transfers, inspects finished shirts, and maintains counts. Avoid having both people independently change the order sequence.
Catch Problems Before They Become a Full Batch
Checking only the first and last shirts leaves too much room for repeated mistakes. Inspect the first piece closely, then pause at predictable intervals such as every ten shirts or at the end of each size stack.
Check for:
- Correct design, garment, color, and size
- Consistent distance from the collar or other placement reference
- Straight horizontal and vertical alignment
- Fully adhered edges, fine lines, and small lettering
- Press marks, dye migration, scorching, or fabric damage
- Accurate completed and remaining quantities
Keep rejected shirts in a separate, clearly marked area. Never place a questionable shirt in the finished stack to inspect later. Record the reason for each rejection so you can identify whether the problem comes from artwork, garment handling, alignment, or press settings.
Use the complete DTF order quality control checklist to standardize approval, production checks, and final packing. Bear Transfers offers hot-peel transfers with a 100+ wash guarantee, but correct application remains essential for achieving consistent durability.
FAQ
How many heat presses do I need for 100 shirts a day?
One reliable press can handle a straightforward 100-shirt, single-location order when blanks and transfers are fully staged. A second press helps with mixed garments, multiple print locations, or different application recipes, but it also requires enough labor and workspace to keep both machines supplied.
Should I pre-press every shirt?
Follow the application instructions for the transfer and fabric. Pre-pressing can remove moisture and wrinkles, but excessive heat exposure can create press marks or affect sensitive materials. Test the exact garment before beginning the full order.
How do I keep every print in the same position?
Use one measurable reference system for the entire run. Center the garment independently of its seams, set a consistent distance from the collar, and verify placement with a ruler at regular intervals.
How early should I order transfers for a production day?
Leave time for delivery, sorting, and a test application before the job is due. Bear Transfers has a same-day production cutoff, most orders ship within 24 hours, and UPS shipping generally takes 1–3 days, but production should not be scheduled around a package arriving at the last possible moment.
Prepare your next high-volume run with the online DTF gang sheet builder and organize every design before press day.