

DTF on Stretch Fabrics: Stop Cracks on Leggings

Leggings and athletic jerseys put DTF transfers under more strain than a standard cotton T-shirt. A print that looks perfect on the press can crack later if the artwork, fabric, placement, or application process does not allow the garment to stretch naturally.
The solution is not simply adding more heat or pressure. Durable DTF on stretch fabrics starts with choosing the right garment and design, then testing a controlled pressing workflow before production.
Why DTF Cracks on Stretch and Athletic Fabrics
Cracking happens when the printed area cannot move with the fabric. As leggings stretch over knees and hips or a jersey pulls across the shoulders, concentrated stress forms in the ink and adhesive layers.
Common causes include:
- Large solid artwork: A wide block of uninterrupted ink has less room to flex than text, distressed artwork, or a design with open space.
- Insufficient pressure: The adhesive may sit on top of the fabric instead of bonding evenly with its fibers.
- Uneven pressing: Seams, collars, pockets, waistbands, and mesh construction can prevent parts of the transfer from receiving full contact.
- Incorrect heat or time: Under-application can produce a weak bond, while excessive heat may damage synthetic fabric or affect its elasticity.
- Stretching while hot: Pulling the garment immediately after pressing can disturb adhesive before it has stabilized.
- Difficult fabric treatments: Moisture-wicking, water-resistant, or antimicrobial finishes may interfere with adhesion.
Athletic apparel also varies considerably. A smooth polyester jersey, perforated mesh jersey, nylon-spandex legging, and brushed polyester blend should not automatically receive the same settings.
Build Artwork That Can Move With the Garment
Flexible results begin before the heat press. When possible, reduce the amount of solid ink covering areas that experience heavy stretch.
Use negative space strategically
Break large backgrounds into lines, shapes, distressed textures, or separated elements. Negative space allows exposed fabric to stretch between printed areas, reducing the force placed on the transfer.
Keep fine distressed details large enough to print and adhere reliably. Extremely small specks may not contain enough adhesive to remain secure through repeated wear and washing.
Size the print for its placement
A full-width print across the seat or upper thigh of leggings will experience more expansion than a smaller print near the calf. On jerseys, artwork across shoulder seams, side panels, or highly perforated mesh can receive uneven pressure and repeated pulling.
Whenever possible:
- Keep important details away from seams and ribbed panels.
- Avoid placing dense rectangles over the highest-stretch zones.
- Use several smaller elements instead of one oversized solid print.
- Confirm that names and numbers fit within the jersey’s flat pressing area.
Color choice can also affect the visual result on performance apparel. For bright team graphics and saturated gradients, HyperColor 9-color RGB DTF transfers provide an expanded color option. If a customer requests high-visibility tones, review what is achievable in the guide to neon and fluorescent colors in DTF before approving the artwork.
Test the Fabric Before Running the Full Order
The garment label is a starting point, not a complete pressing specification. Two items labeled polyester and spandex can use different knits, coatings, dyes, and elastic fibers.
| Fabric or construction | Main concern | What to test |
|---|---|---|
| Polyester-spandex leggings | High stretch, shine, heat marks | Recovery after cooling and print flex |
| Polyester jersey | Dye migration or scorching | Color change after pressing and cooling |
| Perforated mesh | Uneven contact | Adhesion around holes and texture |
| Nylon blend | Heat sensitivity and coatings | Bond strength on an inconspicuous area |
| Ribbed performance fabric | Raised texture | Coverage without flattening the garment |
Press one sample using the current transfer instructions. Let it cool completely, inspect the fabric for discoloration or press marks, and stretch the printed area to approximately the amount it will experience in normal wear. The print should recover with the garment rather than showing permanent gaps or lifted edges.
For unfamiliar transfer finishes or garment colors, a DTF and UV DTF sample pack provides material for hands-on evaluation. If you need test garments or coordinated inventory for an order, browse blank apparel priced near cost.
Use a Repeatable Pressing Workflow
Once a test produces a clean bond without damaging the fabric, record every setting. Do not rely on memory when moving from a sample to a team or club order.
- Confirm the garment can be heat pressed. Check the care label and supplier information. Do not assume every nylon, coated, waterproof, or elastic-rich garment is compatible.
- Pre-press briefly. Remove moisture and flatten the application area without overheating the fabric. The guide on why to pre-press every garment before applying DTF explains why this step matters.
- Isolate the print area. Place the garment so seams, waistbands, collars, buttons, and zippers are outside the pressing surface. Threading the garment onto the platen is often more reliable than pressing through multiple fabric layers.
- Level difficult areas. Use an appropriate pressing pillow or pad when nearby seams prevent flat contact. The goal is an even print surface, not excessive elevation that reduces pressure.
- Position without stretching. The garment should rest in its natural state. Applying a transfer while the fabric is stretched can cause buckling or wrinkling when it contracts.
- Follow the transfer instructions. Use the specified temperature, time, pressure, and peel method. Bear’s transfers are hot peel, so remove the film according to the supplied directions rather than improvising based on another product.
- Complete the finishing press. Use the recommended cover sheet and finishing time. This helps set the transfer and creates a consistent surface.
- Let the garment stabilize. Do not immediately stretch, fold, stack, or package a hot garment. Allow the print and fabric to return to room temperature first.
If one section lifts during the peel, stop rather than pulling the film across the entire design. Lay it back down, correct the pressure or support problem, and repress according to the transfer instructions.
Control Quality, Washing, and Repeat Orders
Inspect each finished garment under good lighting. Check fine text, corners, number edges, and areas near mesh holes. Lightly flex the fabric after it cools; do not perform an extreme stretch test that exceeds how the garment is designed to be worn.
Give customers straightforward care instructions:
- Wait before the first wash according to the supplied transfer guidance.
- Wash inside out with mild detergent.
- Use cool or cold water and avoid bleach.
- Dry with low heat or hang dry when the garment label permits.
- Do not iron directly over the decoration.
Bear Transfers offers hot-peel transfers with a 100+ wash guarantee when the transfers are applied and cared for as directed. Accurate press settings, compatible fabric, and customer care are essential parts of that performance.
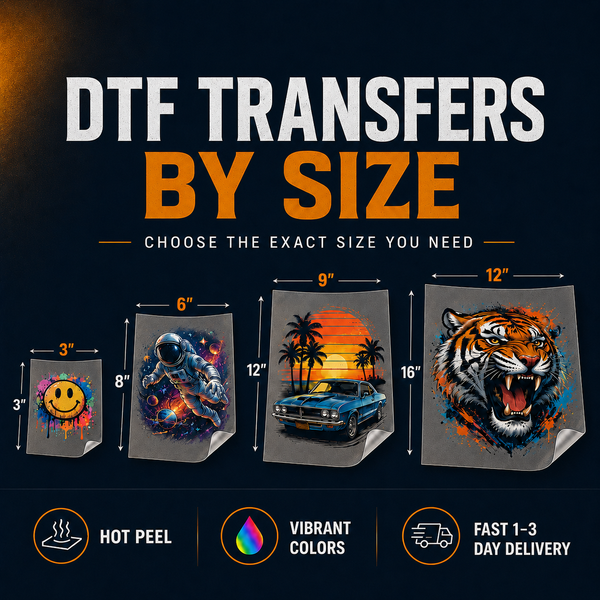
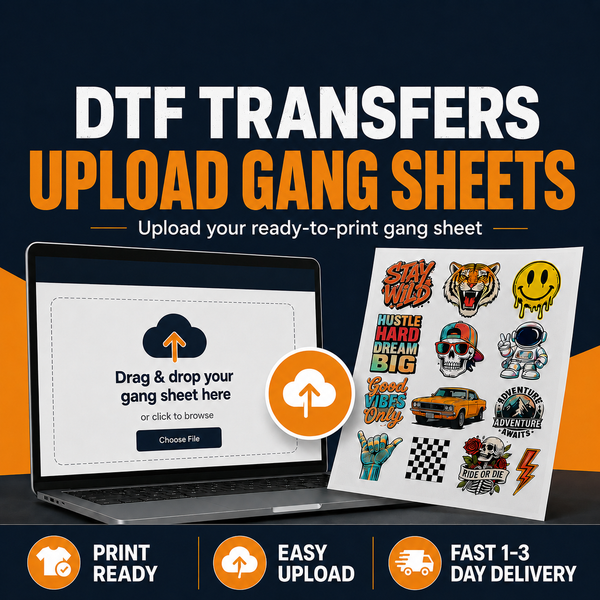
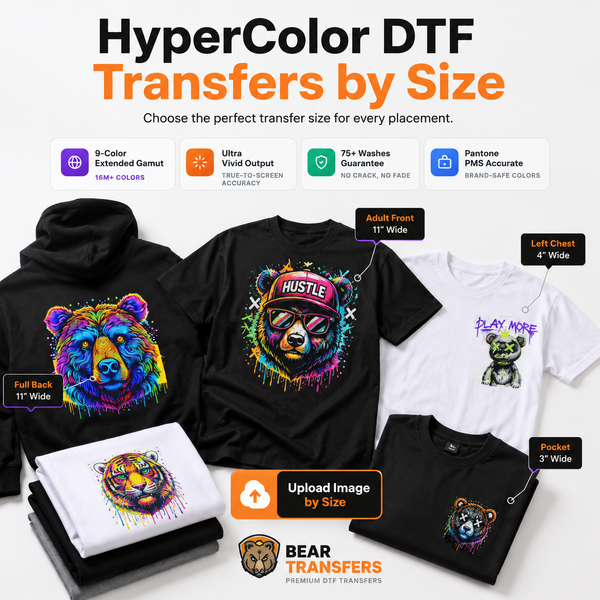
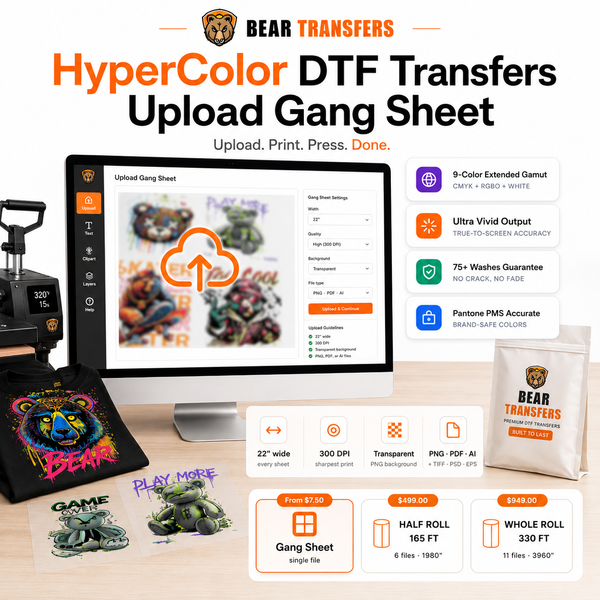
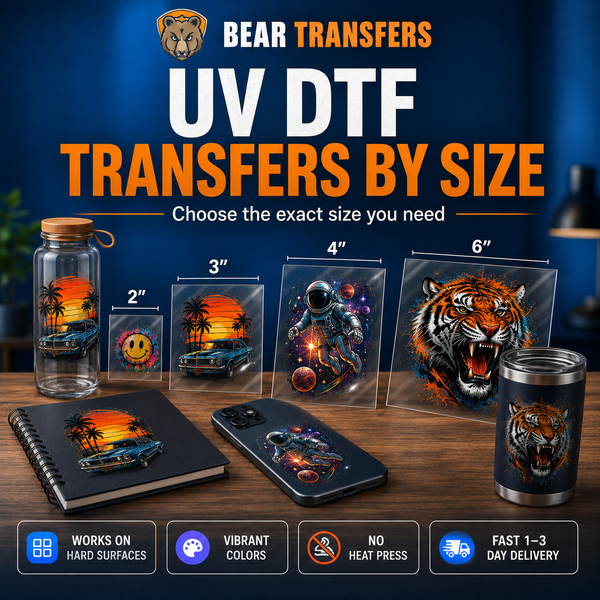
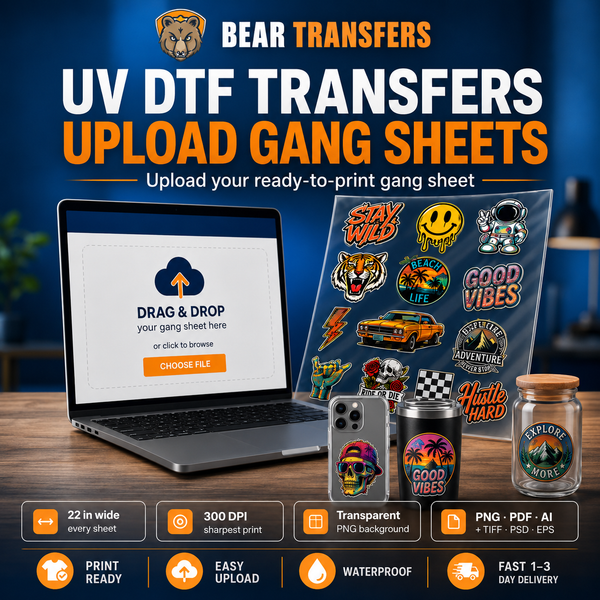
For names, numbers, and small placements, you can order DTF transfers by size. Shops with completed production files can also upload a ready-made gang sheet to organize repeat team orders efficiently.
FAQ
Can DTF transfers stretch with leggings?
Yes, DTF can flex with many legging fabrics when the garment is compatible, the artwork avoids excessive solid coverage, and the transfer is applied with even heat and pressure. Always test the exact style before production.
Why does my DTF print crack only after the leggings are worn?
The printed area may be experiencing more expansion than it can handle. Large solid designs, undersized garments, weak adhesion, or placement over a high-stretch zone can all contribute.
Can I press DTF on polyester sports jerseys?
Many polyester jerseys accept DTF, but you must test for dye migration, scorching, press marks, and uneven contact from seams or mesh. Use the current transfer instructions and the lowest-risk validated setup for that garment.
Should I increase pressure when a transfer lifts on mesh?
Not automatically. First check whether seams or texture are preventing contact. Level the application area and run another test, because excessive pressure can mark or flatten performance fabric.
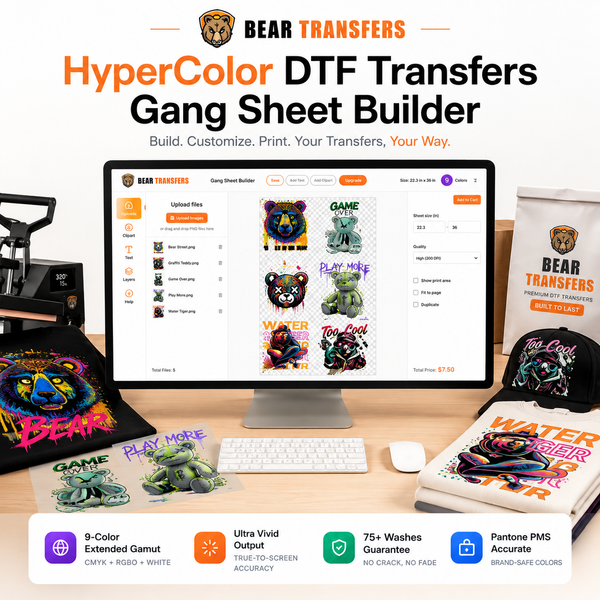
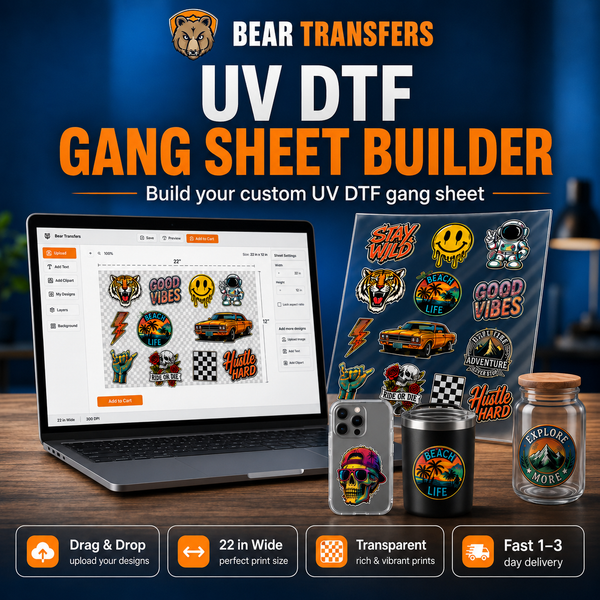
When your artwork and fabric test are ready, build a DTF gang sheet online for your next leggings or jersey order.