









DTF on Hats: Press Settings, Curves and Placement

Applying DTF on hats is less forgiving than pressing a flat T-shirt, but the transfer itself is not the problem. Clean results come from supporting the curved panel, keeping seams out of the artwork and dialing in pressure without crushing the hat.
Use this guide to establish a reliable starting process, then test each hat style before producing a full customer order.
Why DTF on Hats Requires a Different Approach
A shirt lies flat across a heat press platen. A hat has a curved crown, a bill, interior sweatbands, seams and sometimes a stiff buckram layer behind the front panels. Those features can prevent heat and pressure from reaching the entire transfer evenly.
The most common problems are caused by one of three conditions:
- Uneven pressure: The center adheres while the outer edges lift because the hat does not match the press curve.
- Raised seams: A center seam holds part of the transfer away from the platen, creating a visible line or incomplete adhesion.
- Excessive heat: Polyester can develop shine, discoloration or press marks when the temperature or dwell time is too high.
A dedicated hat press is the most repeatable solution because its upper heating element and lower platen are shaped for a crown. Interchangeable lower platens are especially useful when your shop decorates low-profile caps, structured baseball hats and foam-front trucker hats.
A small flat press can work for certain unstructured panels, but it is harder to maintain uniform pressure. Avoid using a household iron because its temperature, contact area and pressure are difficult to control.
Choose the Right Hat, Artwork and Placement
Start with a press-friendly hat
Five-panel hats provide an uninterrupted front area and are generally easier for wide logos. Six-panel hats have a vertical center seam, so small chest-style marks, text and fine details should usually stay on one side or be designed to tolerate the seam.
Structured cotton twill and cotton-polyester caps are practical starting points. Performance polyester requires lower heat and careful testing. Foam trucker fronts can accept DTF, but too much pressure may leave a dent or permanently flatten the foam.
Inspect the hat before accepting a large job. Water-resistant coatings, heavy texture and unusual synthetic materials can change adhesion. Order a few extras for testing, especially when the customer supplies the hats. If you need coordinated garments for the same order, Bear Transfers also offers blank apparel priced near cost.
Size the logo for the actual panel
Measure the usable front panel rather than copying a size from a previous hat. As a practical starting point, many adult front logos fit within approximately 3.5 to 4.5 inches wide and 1.75 to 2.5 inches tall. Low-profile caps often need smaller artwork.
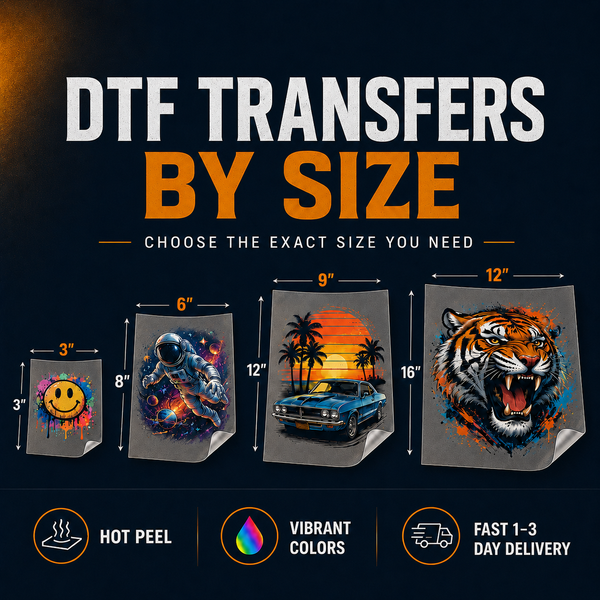
Place a printed paper mockup on the hat before ordering transfers. This catches designs that appear too wide, sit too close to the bill or wrap beyond the area your platen can press evenly. For one-off names or exact logo dimensions, you can order DTF transfers by size.
Set a repeatable placement target
For a standard front logo, begin about 0.5 to 0.75 inch above the bill and adjust for the crown shape. Center the design on the visible front of the hat, not automatically on a seam, snapback opening or manufacturer label.
Mark the vertical and horizontal center of the carrier film with a removable pen or small crease outside the printed area. High-temperature tape can hold the film in place, but keep tape away from the transfer image and avoid stretching the hat while aligning it.
The same visual principles used for small garment locations apply to hats. The guide to pocket, sleeve and back-neck prints that sell offers additional advice for scaling compact logos and building coordinated product sets.
Hat Press Settings for DTF Transfers
Always follow the instructions supplied with your transfer and treat the table below as a testing range, not a universal recipe. Press temperature readings can vary, so verify your platen with a reliable heat probe or temperature strips if results change unexpectedly.
| Hat material | Starting temperature | Starting time | Pressure | Main concern |
|---|---|---|---|---|
| Structured cotton twill | 300–310°F | 10–15 seconds | Medium | Center seams and buckram marks |
| Cotton-polyester blend | 290–300°F | 10–12 seconds | Medium | Heat sensitivity varies by blend |
| Performance polyester | 275–290°F | 8–12 seconds | Light to medium | Scorching, shine and dye migration |
| Foam trucker front | 280–295°F | 8–12 seconds | Light to medium | Crushed or dented foam |
Bear Transfers produces hot-peel transfers backed by a 100+ wash guarantee when applied according to instructions. Peel hot in one smooth motion rather than stopping halfway across the image. If an edge lifts, lay the film back down and repress briefly with slightly more pressure or better crown support.
A short finishing press can improve the surface and confirm adhesion. Cover the design with the recommended finishing sheet and press for approximately three to five seconds. Do not add a long second press automatically; unnecessary heat can damage polyester or leave a platen outline.
For bright logos, gradients and artwork that depends on a wider color range, consider HyperColor 9-color RGB DTF transfers. Test saturated colors on polyester hats because the fabric dye and surface finish can affect the final appearance.
Step-by-Step Hat Press Workflow
- Inspect the hat. Check the material label, front seam, buckram, coating and interior sweatband. Remove cardboard inserts, stickers and packaging.
- Test the press fit. Load the hat without a transfer. The front panel should lie smooth against the lower platen without wrinkles or gaps.
- Move the sweatband. Flip it away from the pressing area when possible. Pull the hat firmly onto the platen and secure it with the press lever or strap.
- Pre-press briefly. Use two to three seconds to remove moisture and flatten the panel. A long pre-press can create unnecessary shine or heat marks.
- Align the transfer. Position the artwork using the bill and panel boundaries as reference points. Confirm that the entire design sits inside the pressable area.
- Press once. Apply the tested time, temperature and pressure. Avoid pressing the bill or plastic adjustment hardware.
- Peel hot. Remove the carrier in a controlled, continuous motion while keeping the hat stable on the platen.
- Inspect and finish. Check edges, narrow letters and fine lines. Complete a short covered finishing press if required.
Document successful settings for every hat model. Record the supplier, style number, color, platen used, temperature, time and pressure position. A black polyester cap may react differently from a white cotton cap even when the crown shape looks identical.
Hat logos are efficient gang sheet fillers because multiple small designs fit into unused spaces. You can test layouts with a DTF + UV DTF sample pack before committing to a new material or product line. Bear Transfers offers DTF gang sheets from $2.58 per foot, same-day production when ordered before the current cutoff, one-to-three-day UPS shipping and free shipping on orders over $99.
Troubleshooting Common Hat Transfer Problems
Edges lift after peeling
The panel probably had insufficient pressure at the edges. Reload the hat more tightly, confirm the platen matches the crown and repress with a finishing sheet. Increasing time or temperature will not fix a physical gap between the hat and heating element.
A line appears through the design
A raised center seam is interfering with contact. Reduce the artwork width, move the design to one panel or use artwork with fewer fine details where it crosses the seam. A seam cushion may help, but it must support the surrounding print area evenly.
The fabric looks shiny or discolored
Stop production and lower the temperature or pressing time. Test on a hidden area or spare hat before continuing. A protective sheet can prevent direct contact, but it does not eliminate damage caused by excessive heat.
The hat has a platen outline
Reduce pressure and confirm that the correct lower platen is installed. On foam and performance caps, use the least pressure that still produces full adhesion. Let the hat cool in its natural shape instead of stacking it while warm.
FAQ
Can you apply DTF to polyester hats?
Yes, but polyester should be tested at a lower temperature and shorter time. Watch for shine, scorching, coating damage and dye migration before running the full order.
Can DTF cross the center seam of a six-panel hat?
It can, but the seam may prevent consistent pressure and distort small text. Bold, simple artwork is safer than thin lines, and five-panel hats are better for uninterrupted wide logos.
Do I need a dedicated hat press?
A curved hat press provides the most consistent support and pressure. A small flat press may work on certain unstructured panels, but it is less reliable for repeat production.
How large should a front hat logo be?
Measure the pressable panel first. Many adult caps accommodate logos around 3.5 to 4.5 inches wide, but crown height, seams and platen size should determine the final dimensions.
When your artwork is sized and tested, build a DTF gang sheet online to arrange multiple hat logos efficiently.